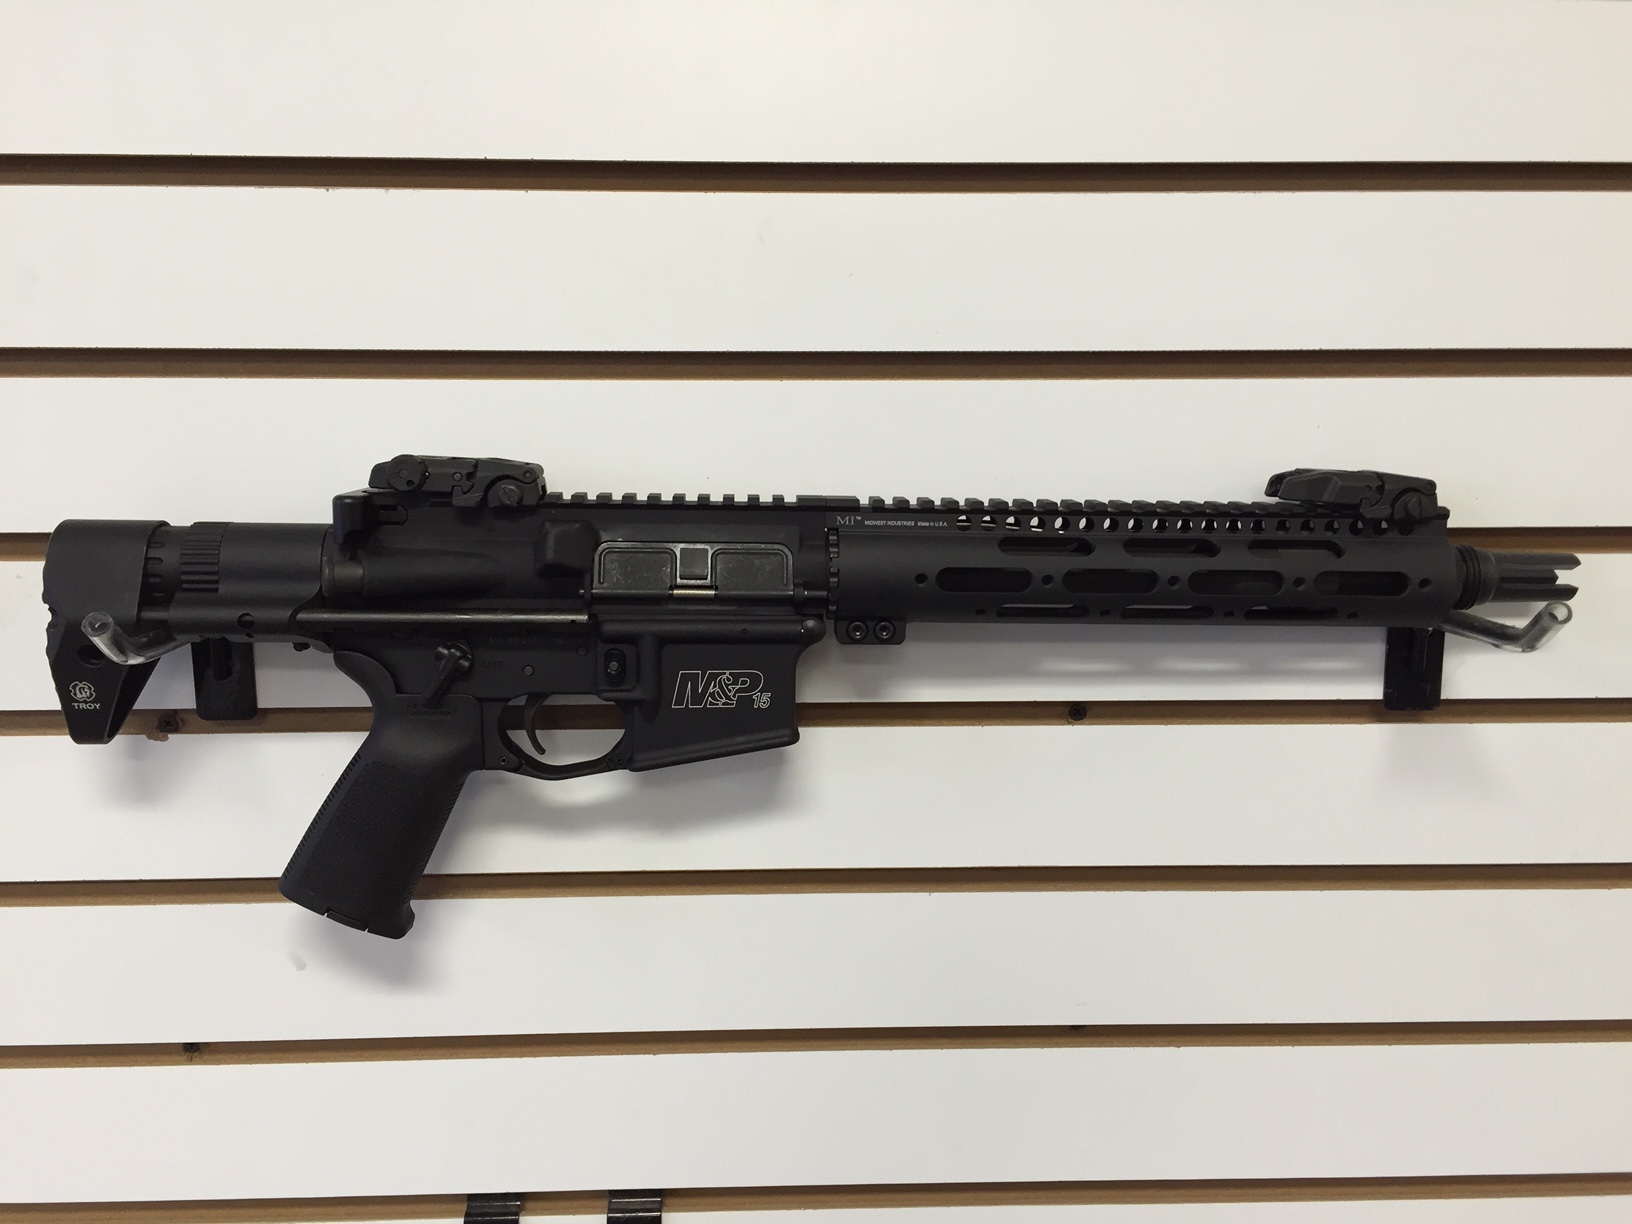
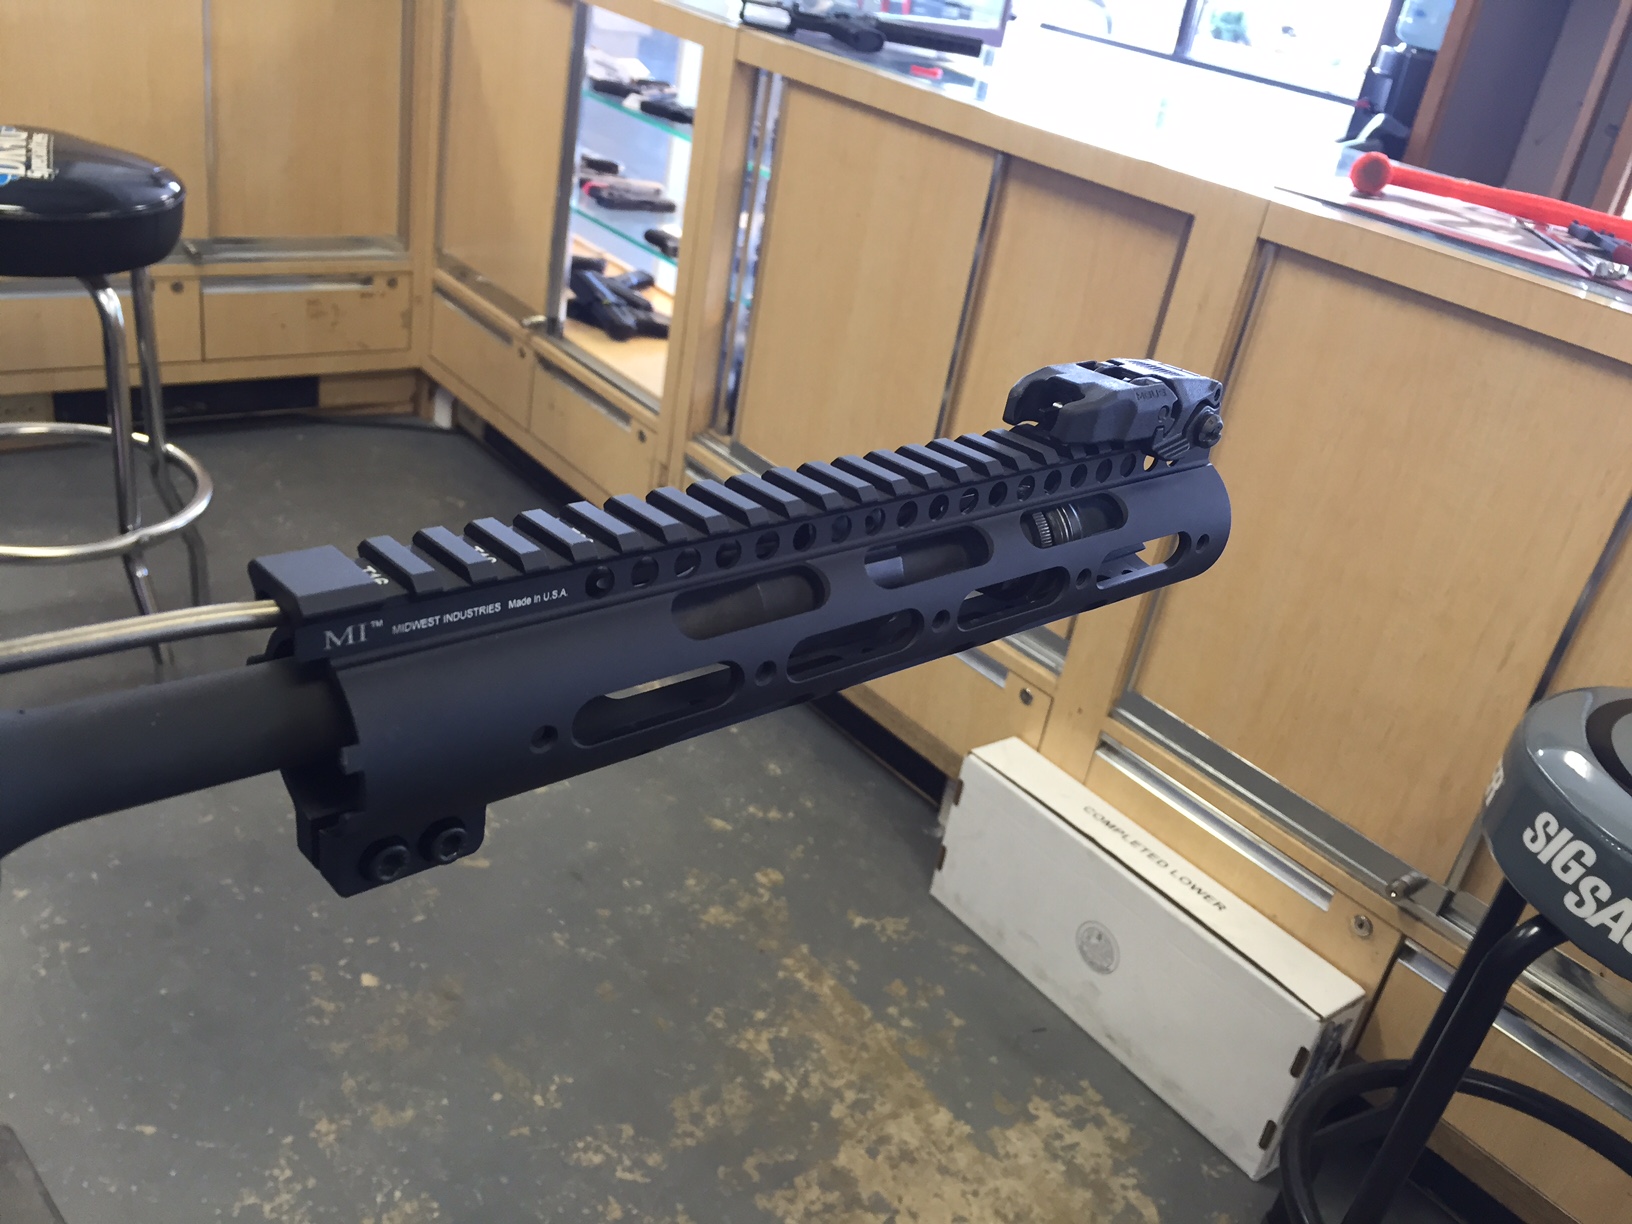
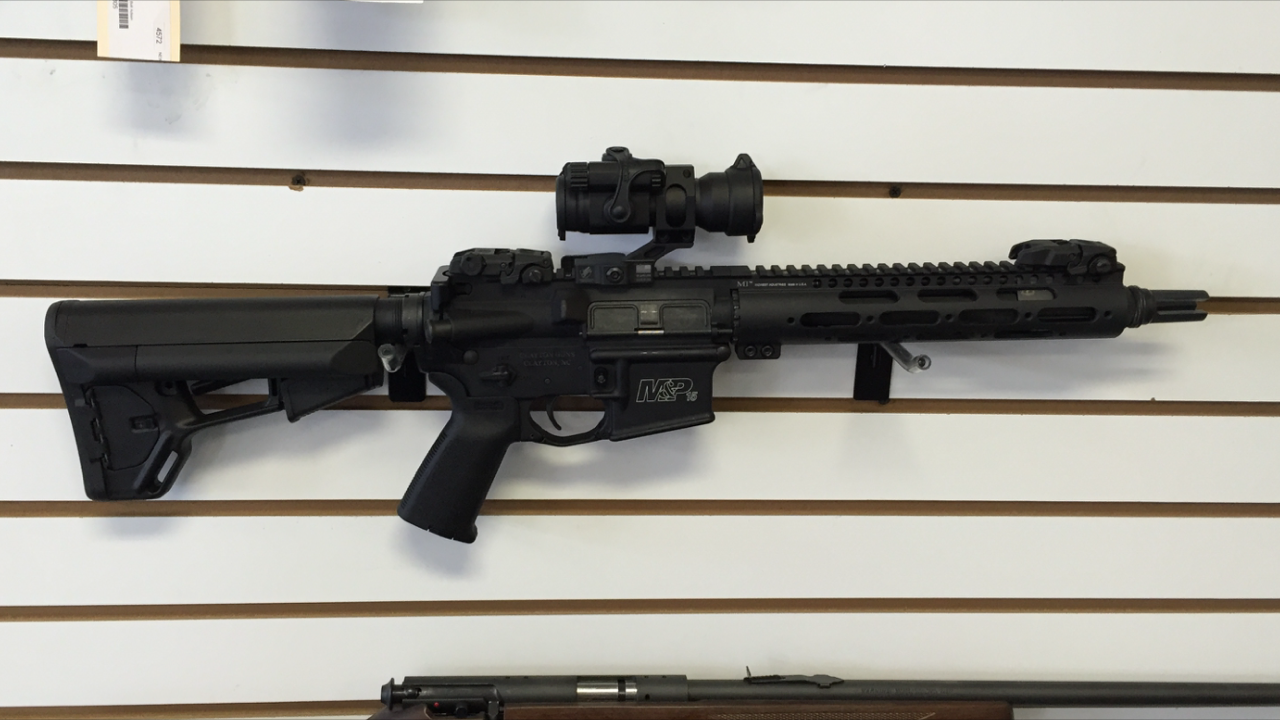
 Original SBR Setup with Troy Industries PDW Stock
I have put this project on the back burner long enough and it was time to redo my build, start fresh, and do it correctly. I decided I was going to get an Adams Arms XLP Carbine Length Piston Driven kit. I am familiar with Adams Arms and they make outstanding products. So, I purchased the kit and we’re going to go over step by step on how to install this kit while using a Midwest Industries M-Lok Handguard and barrel nut. If you are not familiar with Adams Arms kits, this kit is designed to be used with the standard AR barrel nut set up. So this is a custom build and we’re going to go over how it’s done.
First off, here are the tools that you are going to need:
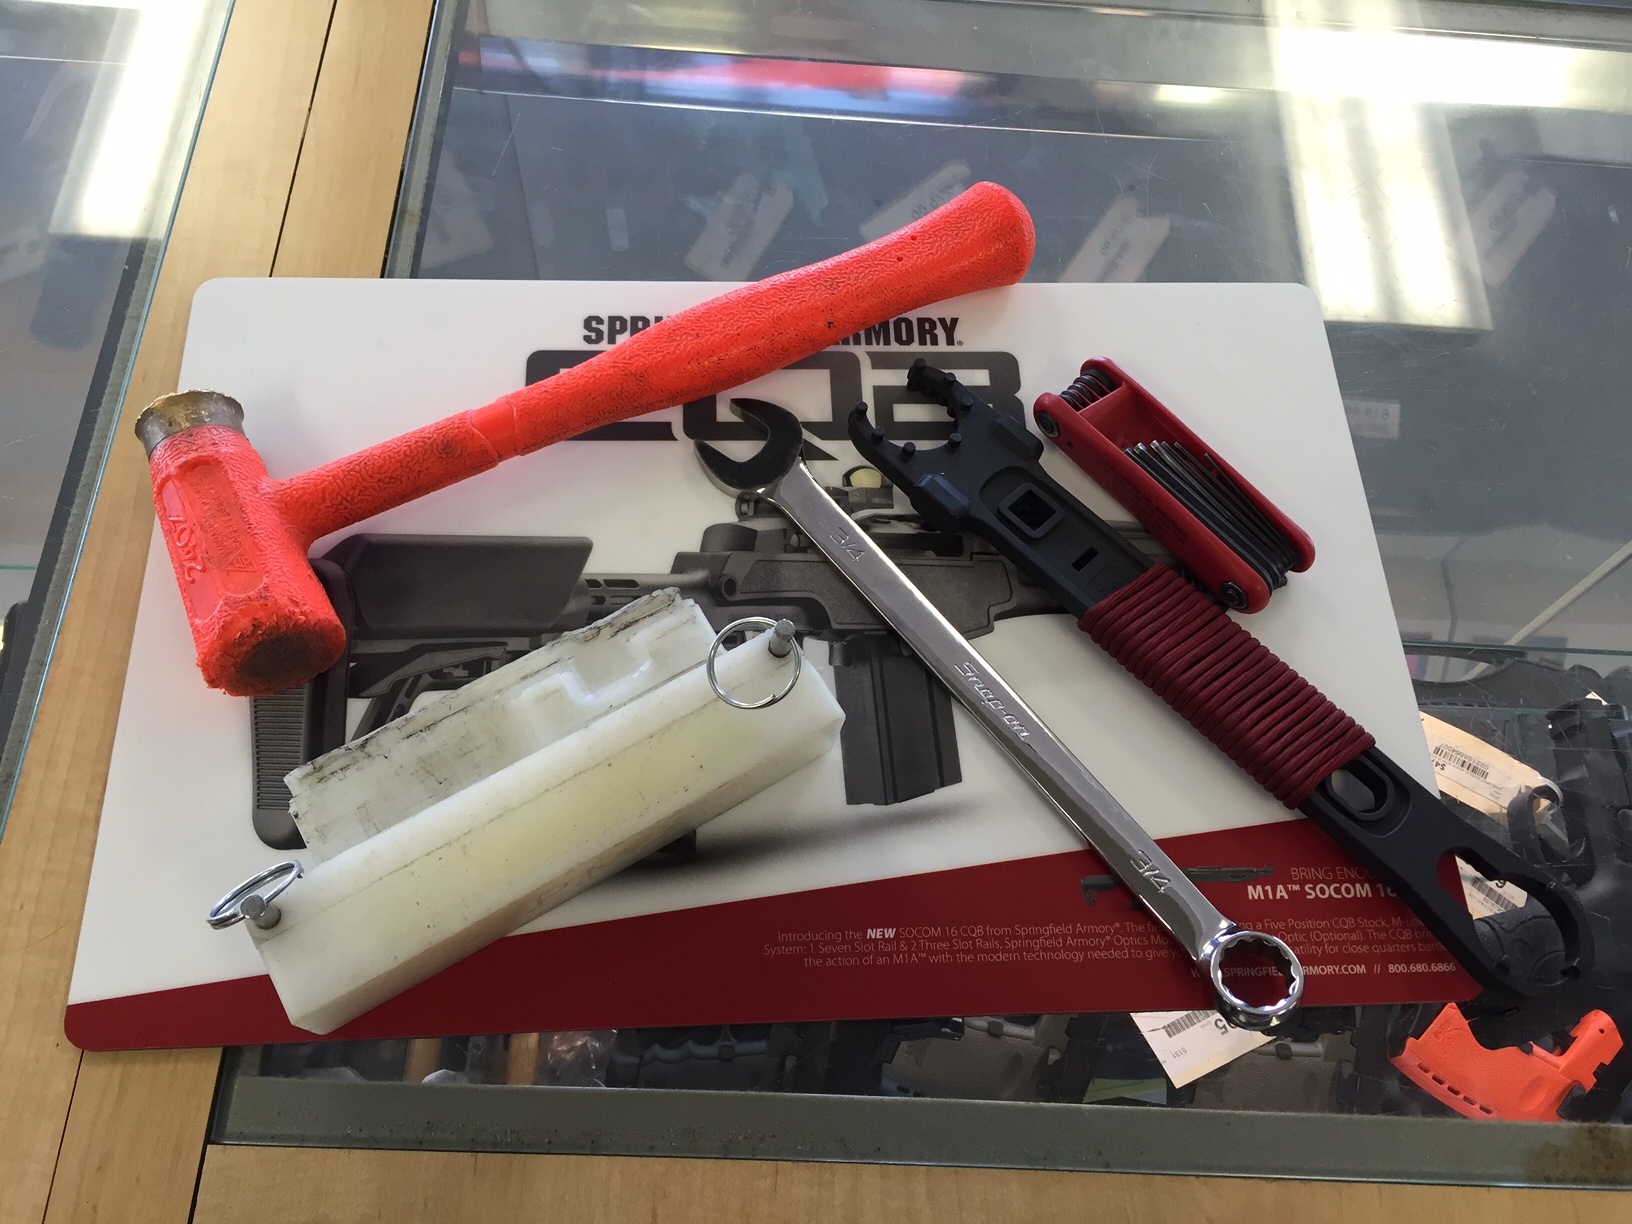 AR Vise Block, Magpul Armorer Wrench, 3/4″ Wrench, Allen Bits, and Hammer
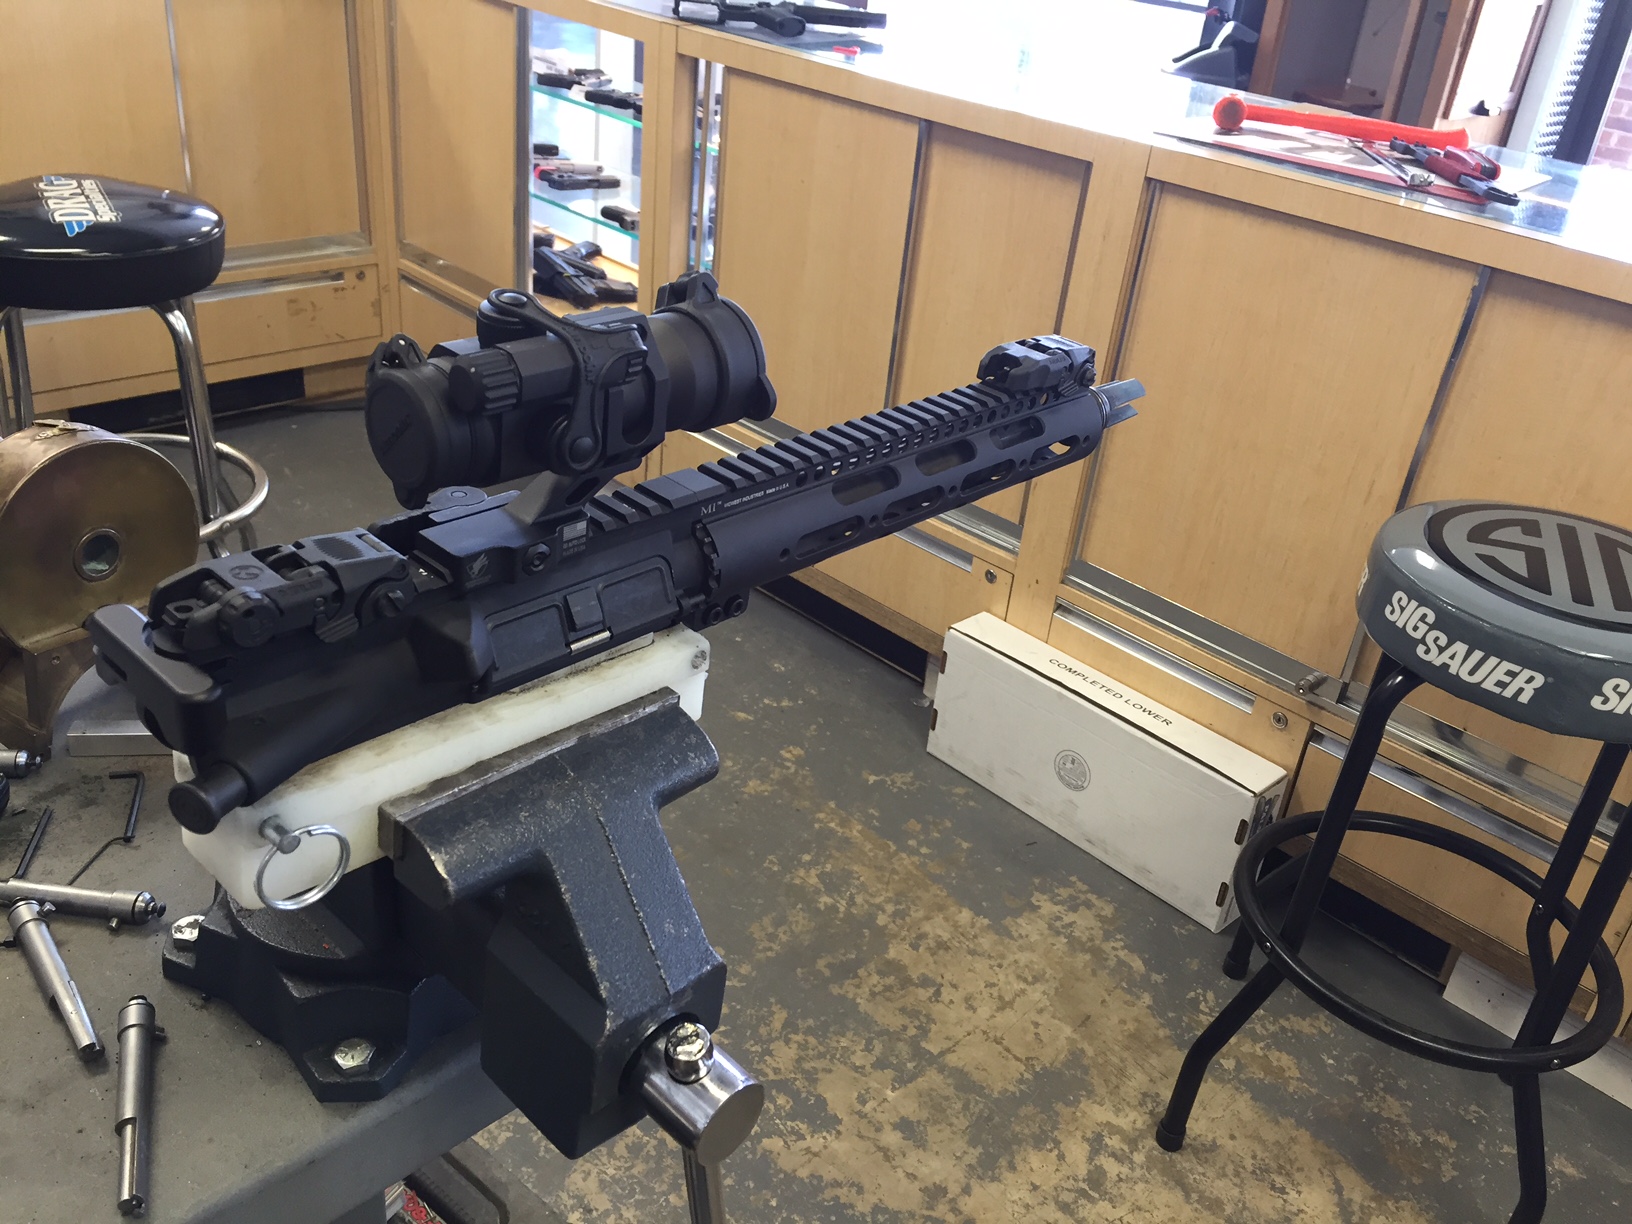
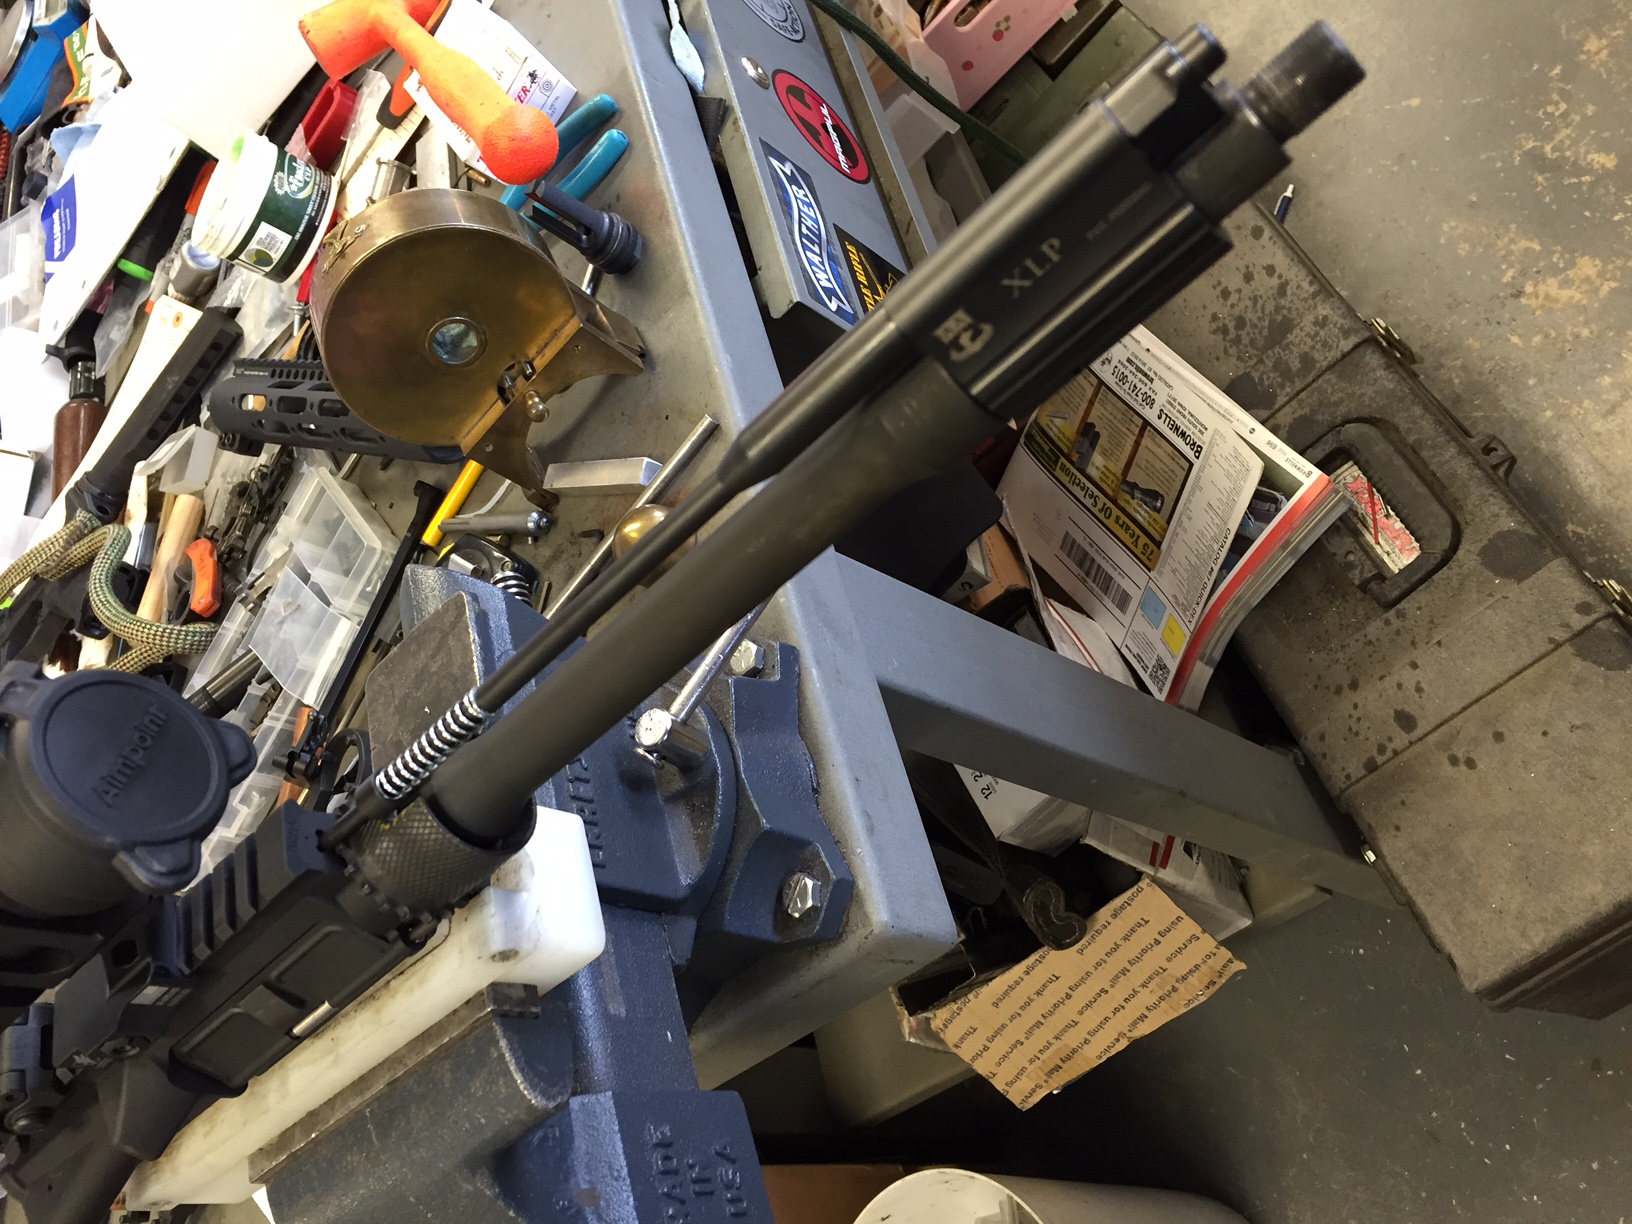
Step 1: Place your AR in the vise block and secure it with the pins on a vise.
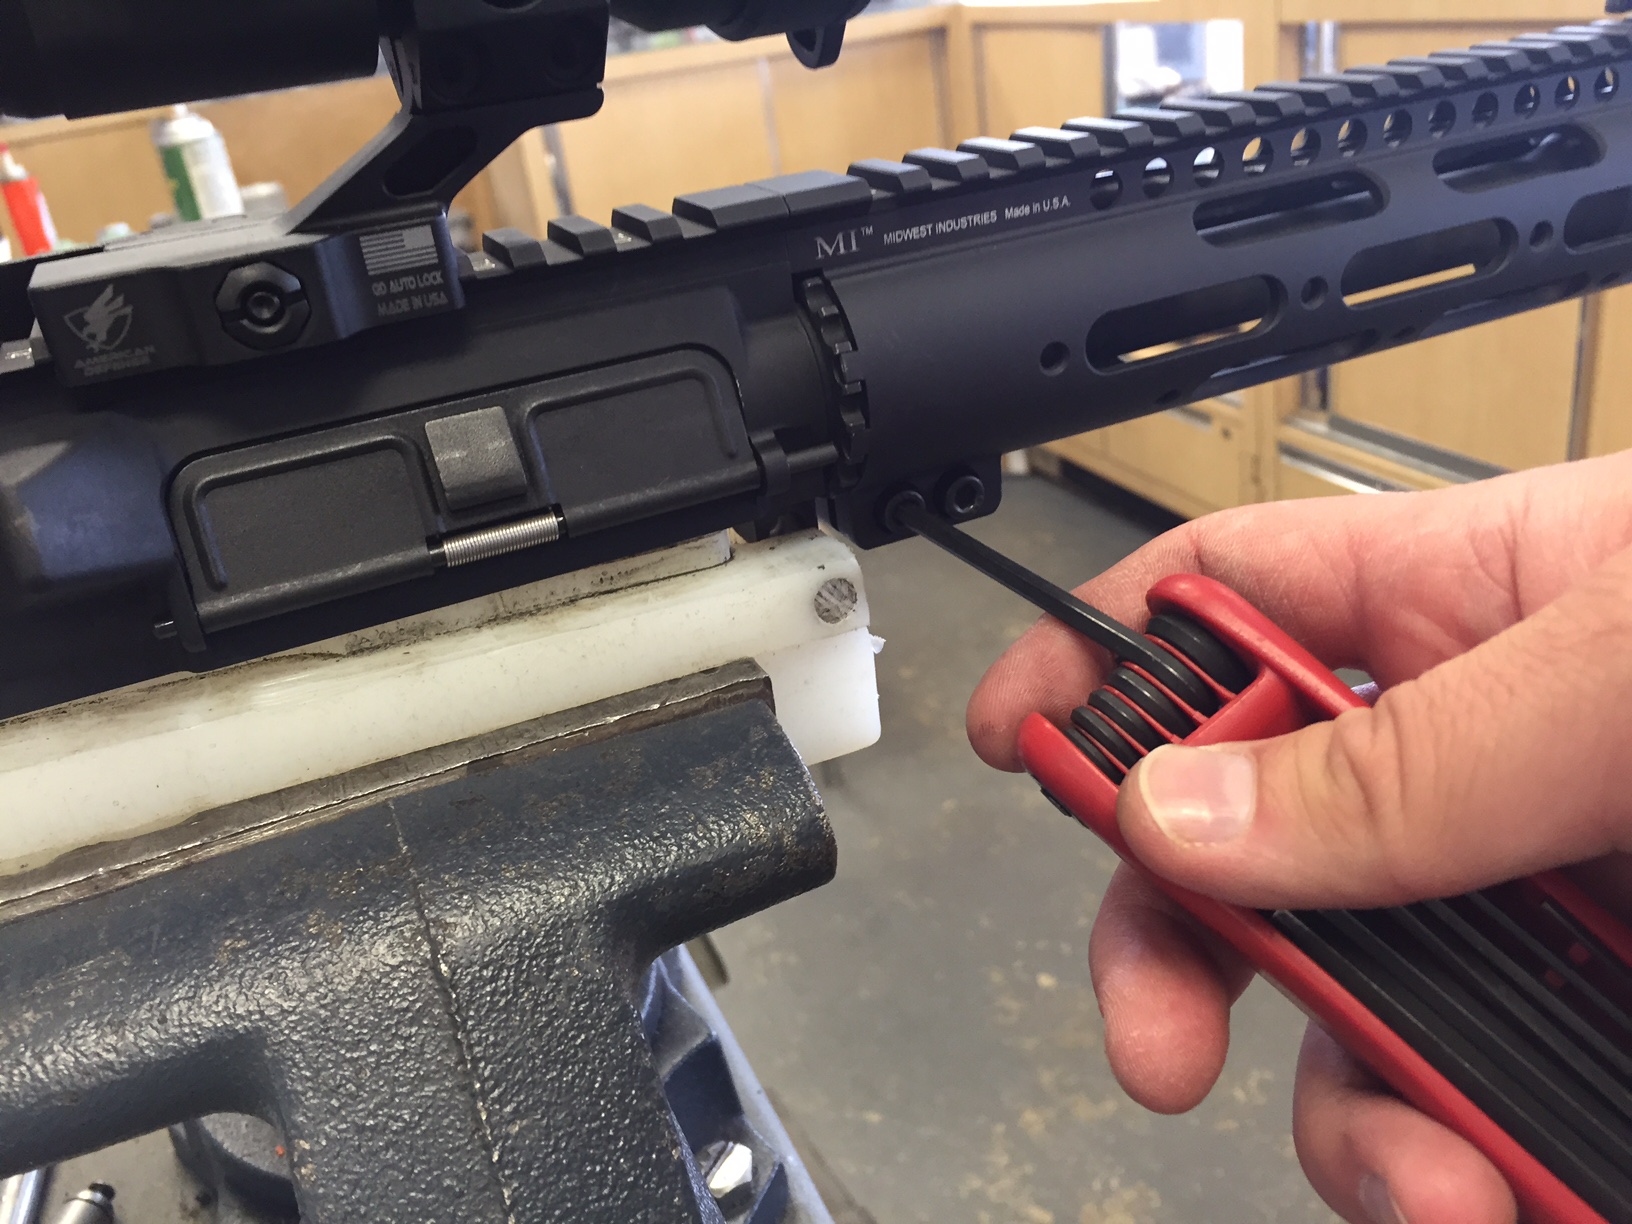
Step 2: Loosen the bolts on the side of the Handguard and then remove the handguard.
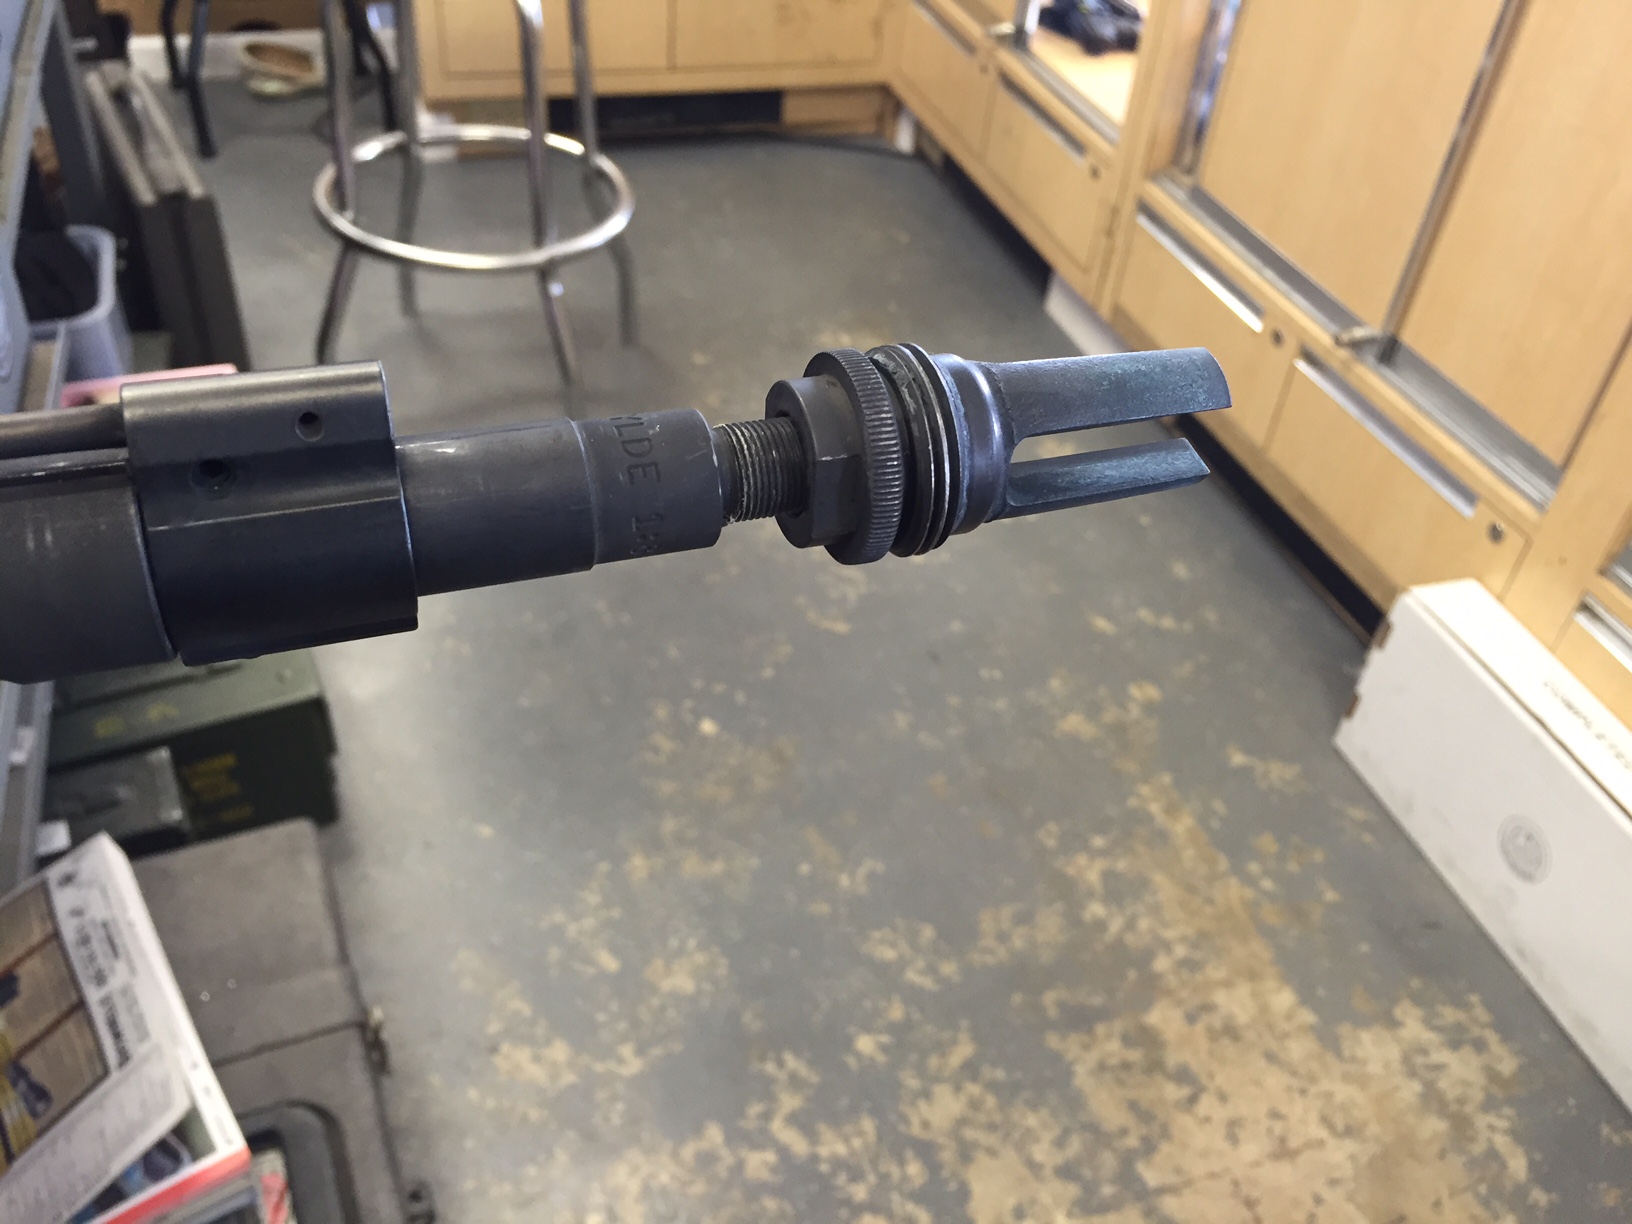
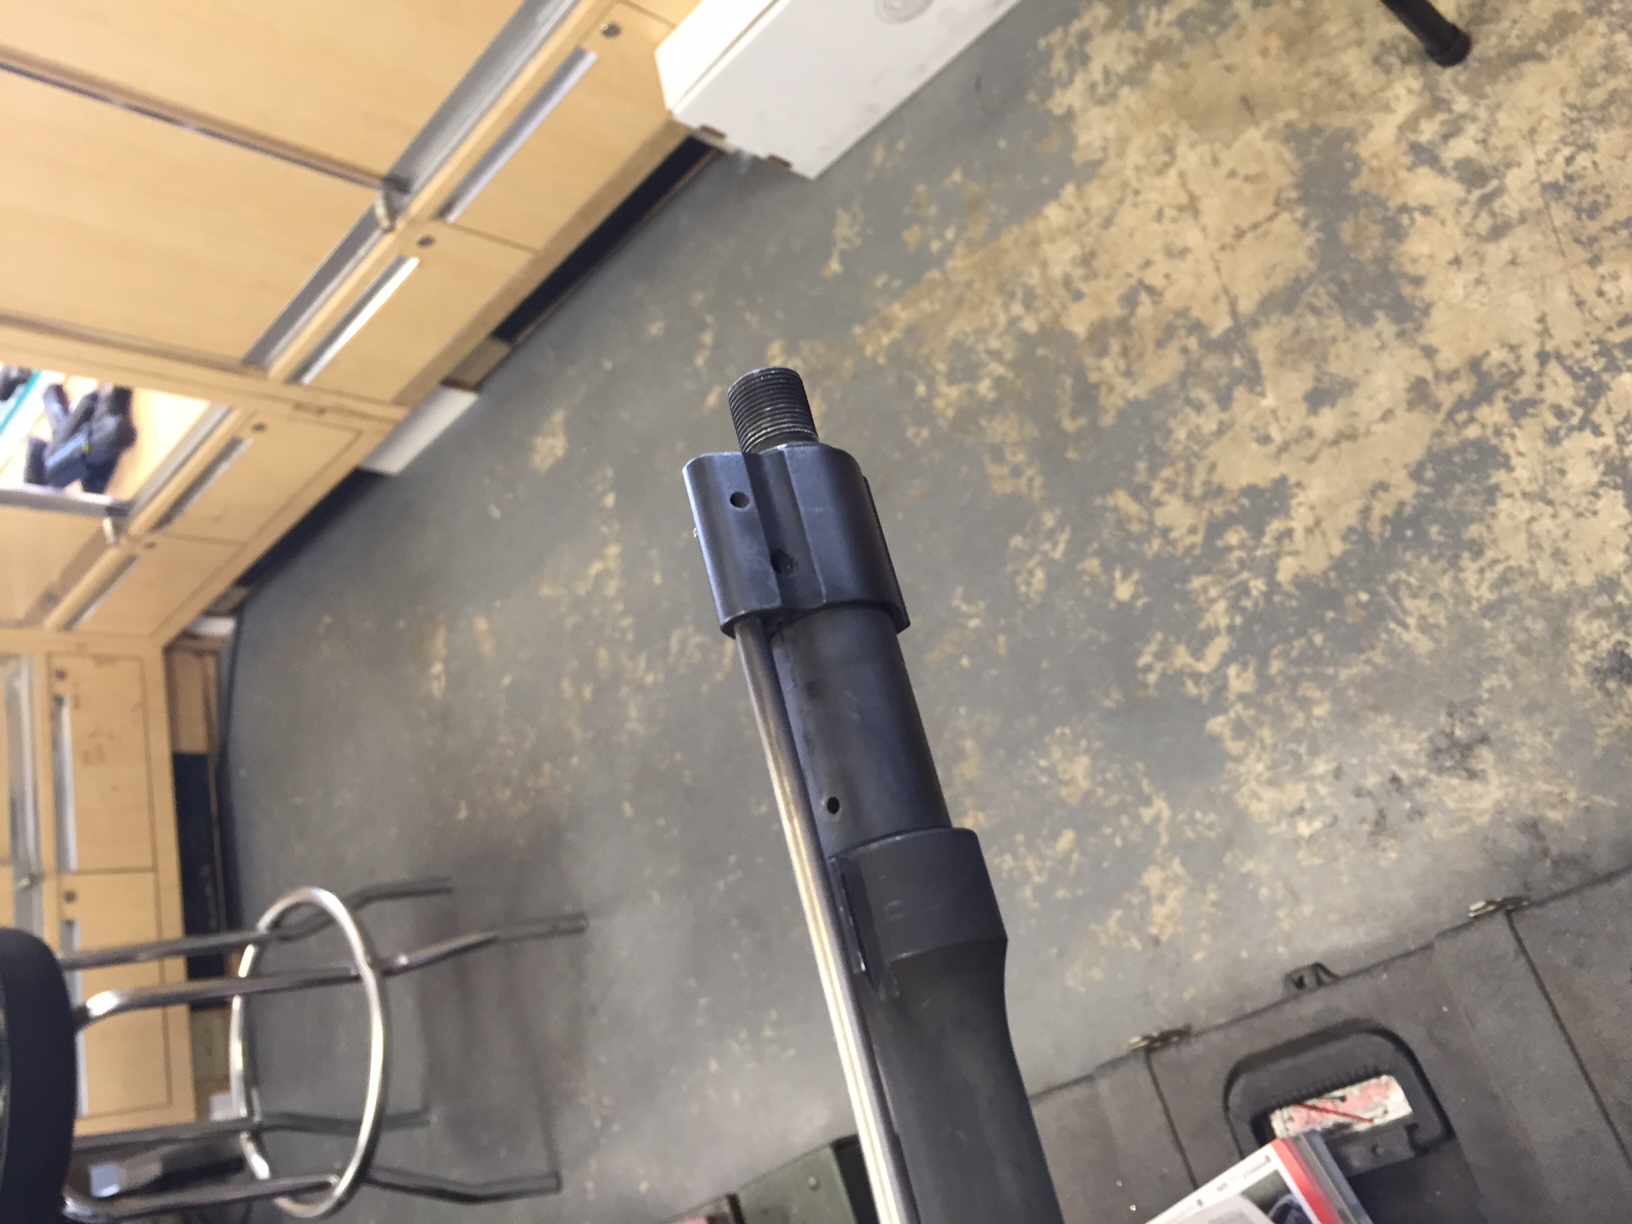
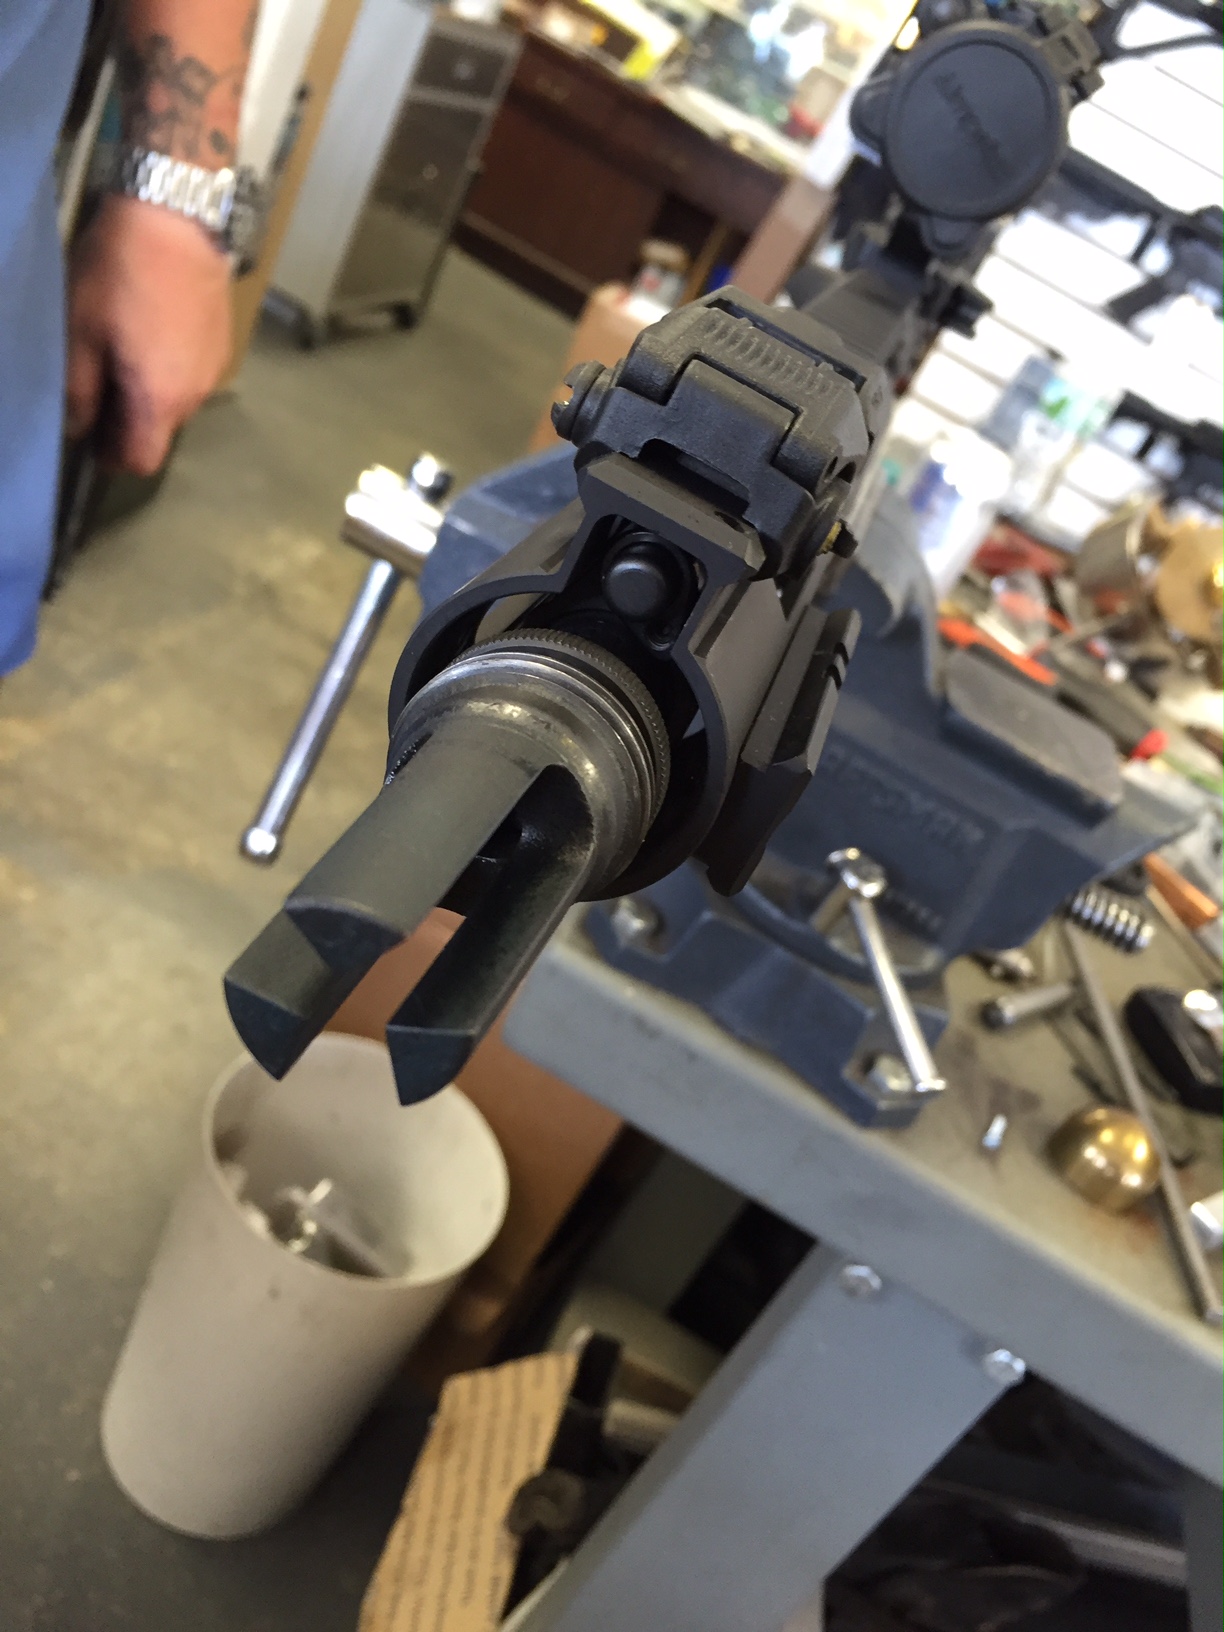
Step 3: Use the 3/4″ Wrench to loosen your muzzle device and then remove it.

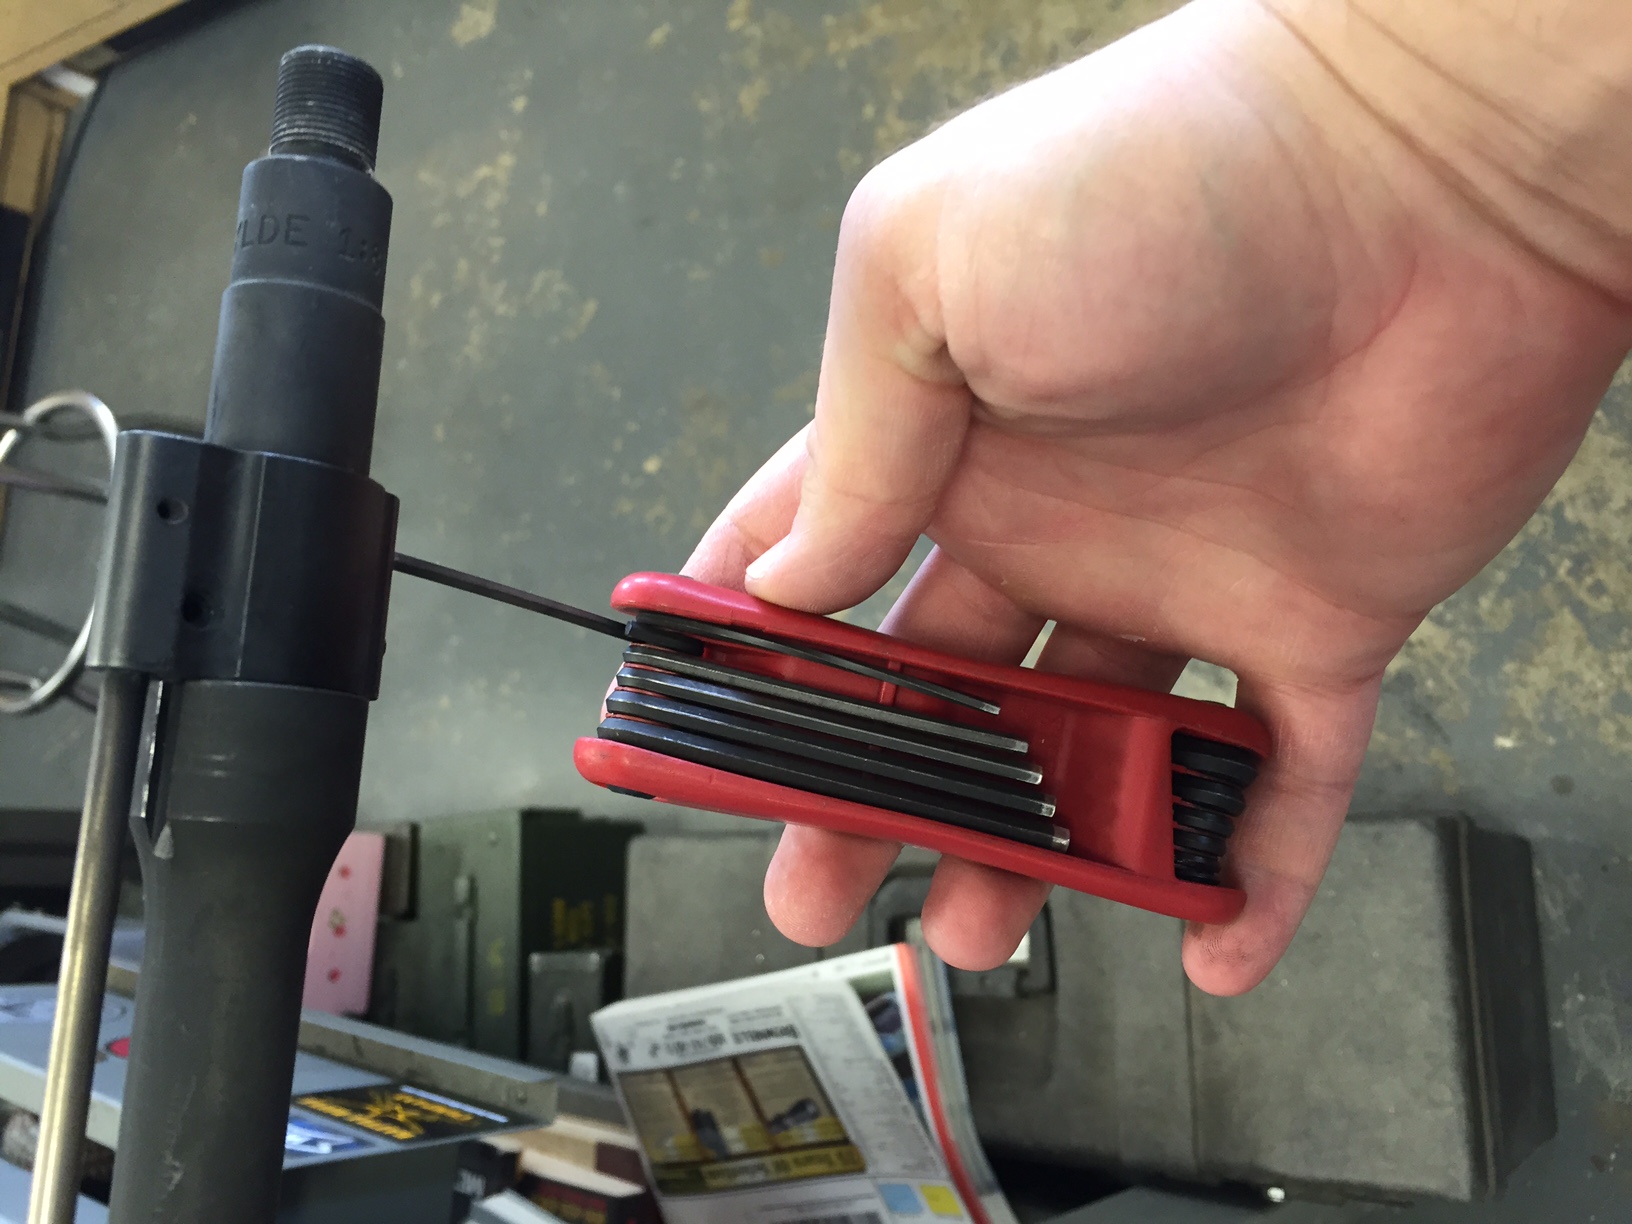
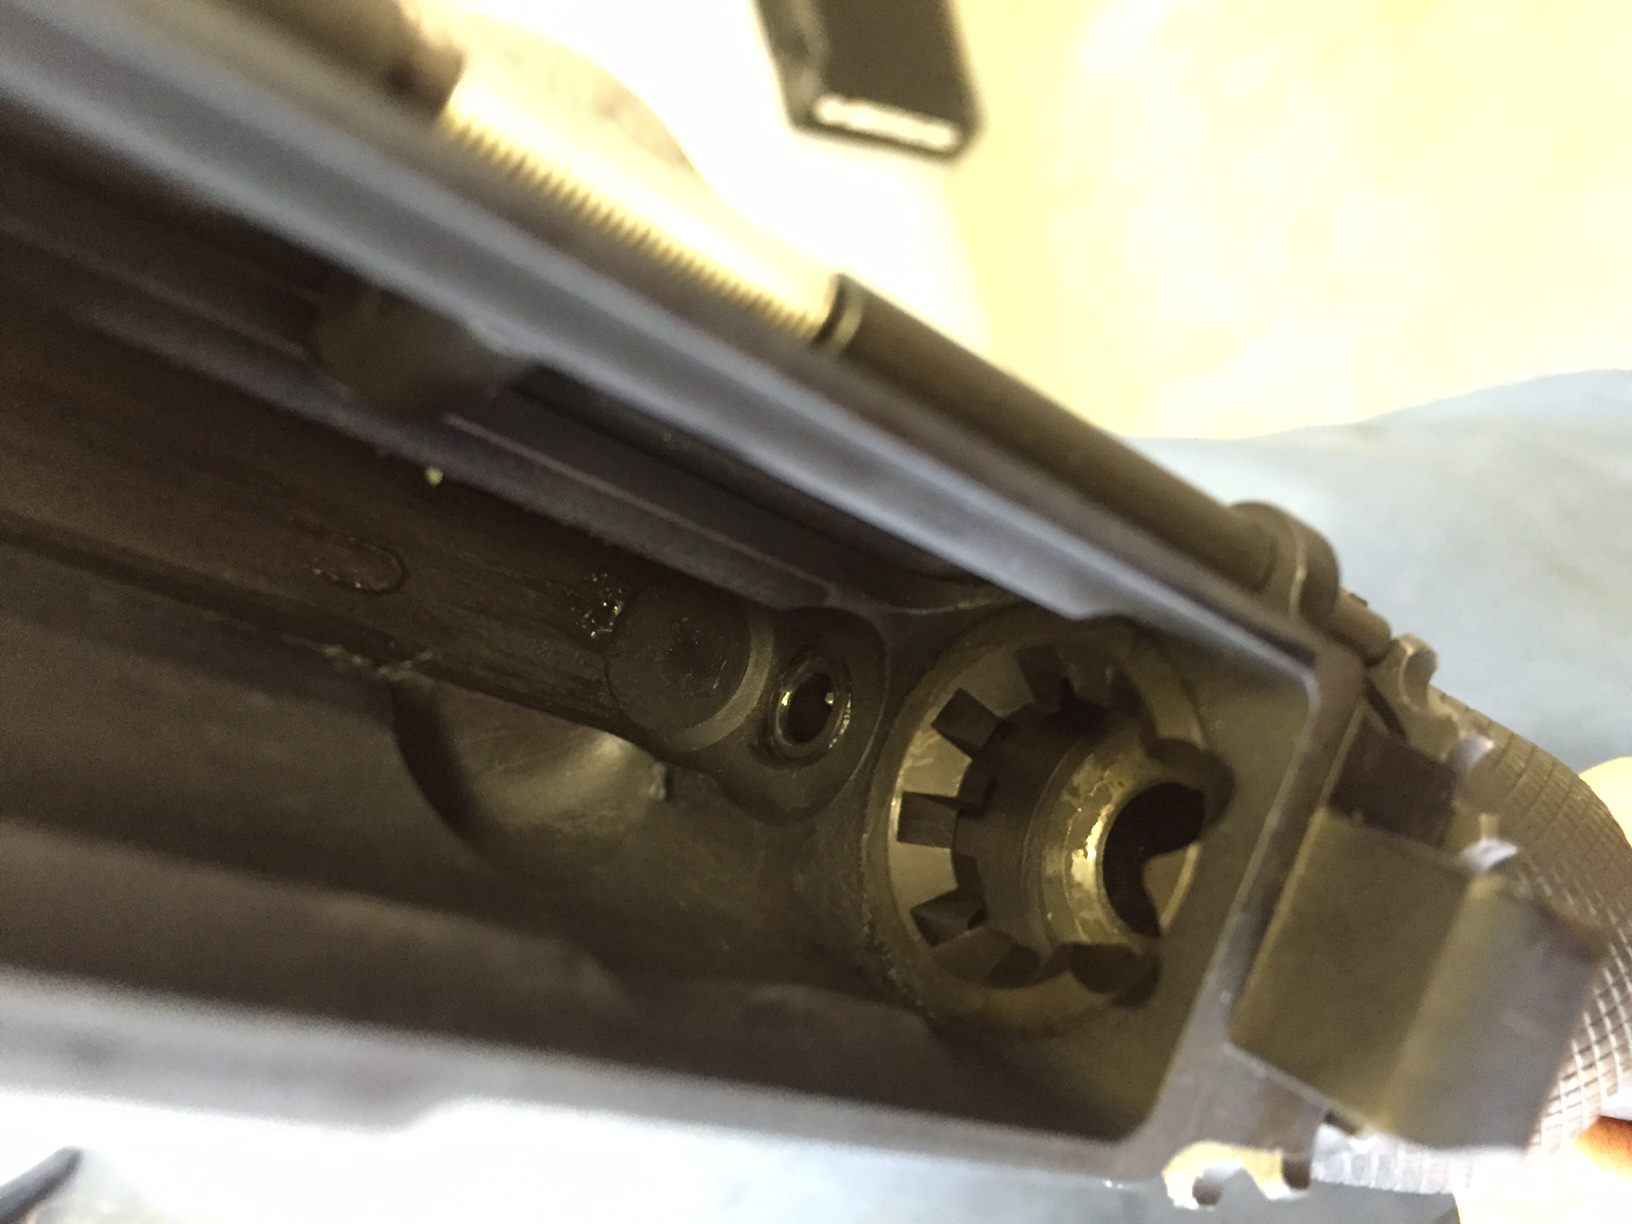
Step 4: Use the Allen Bits to loosen the gas block screws located on the bottom of the gas block. Then remove gas block and tube assembly.
[easy_ad_inject_4]
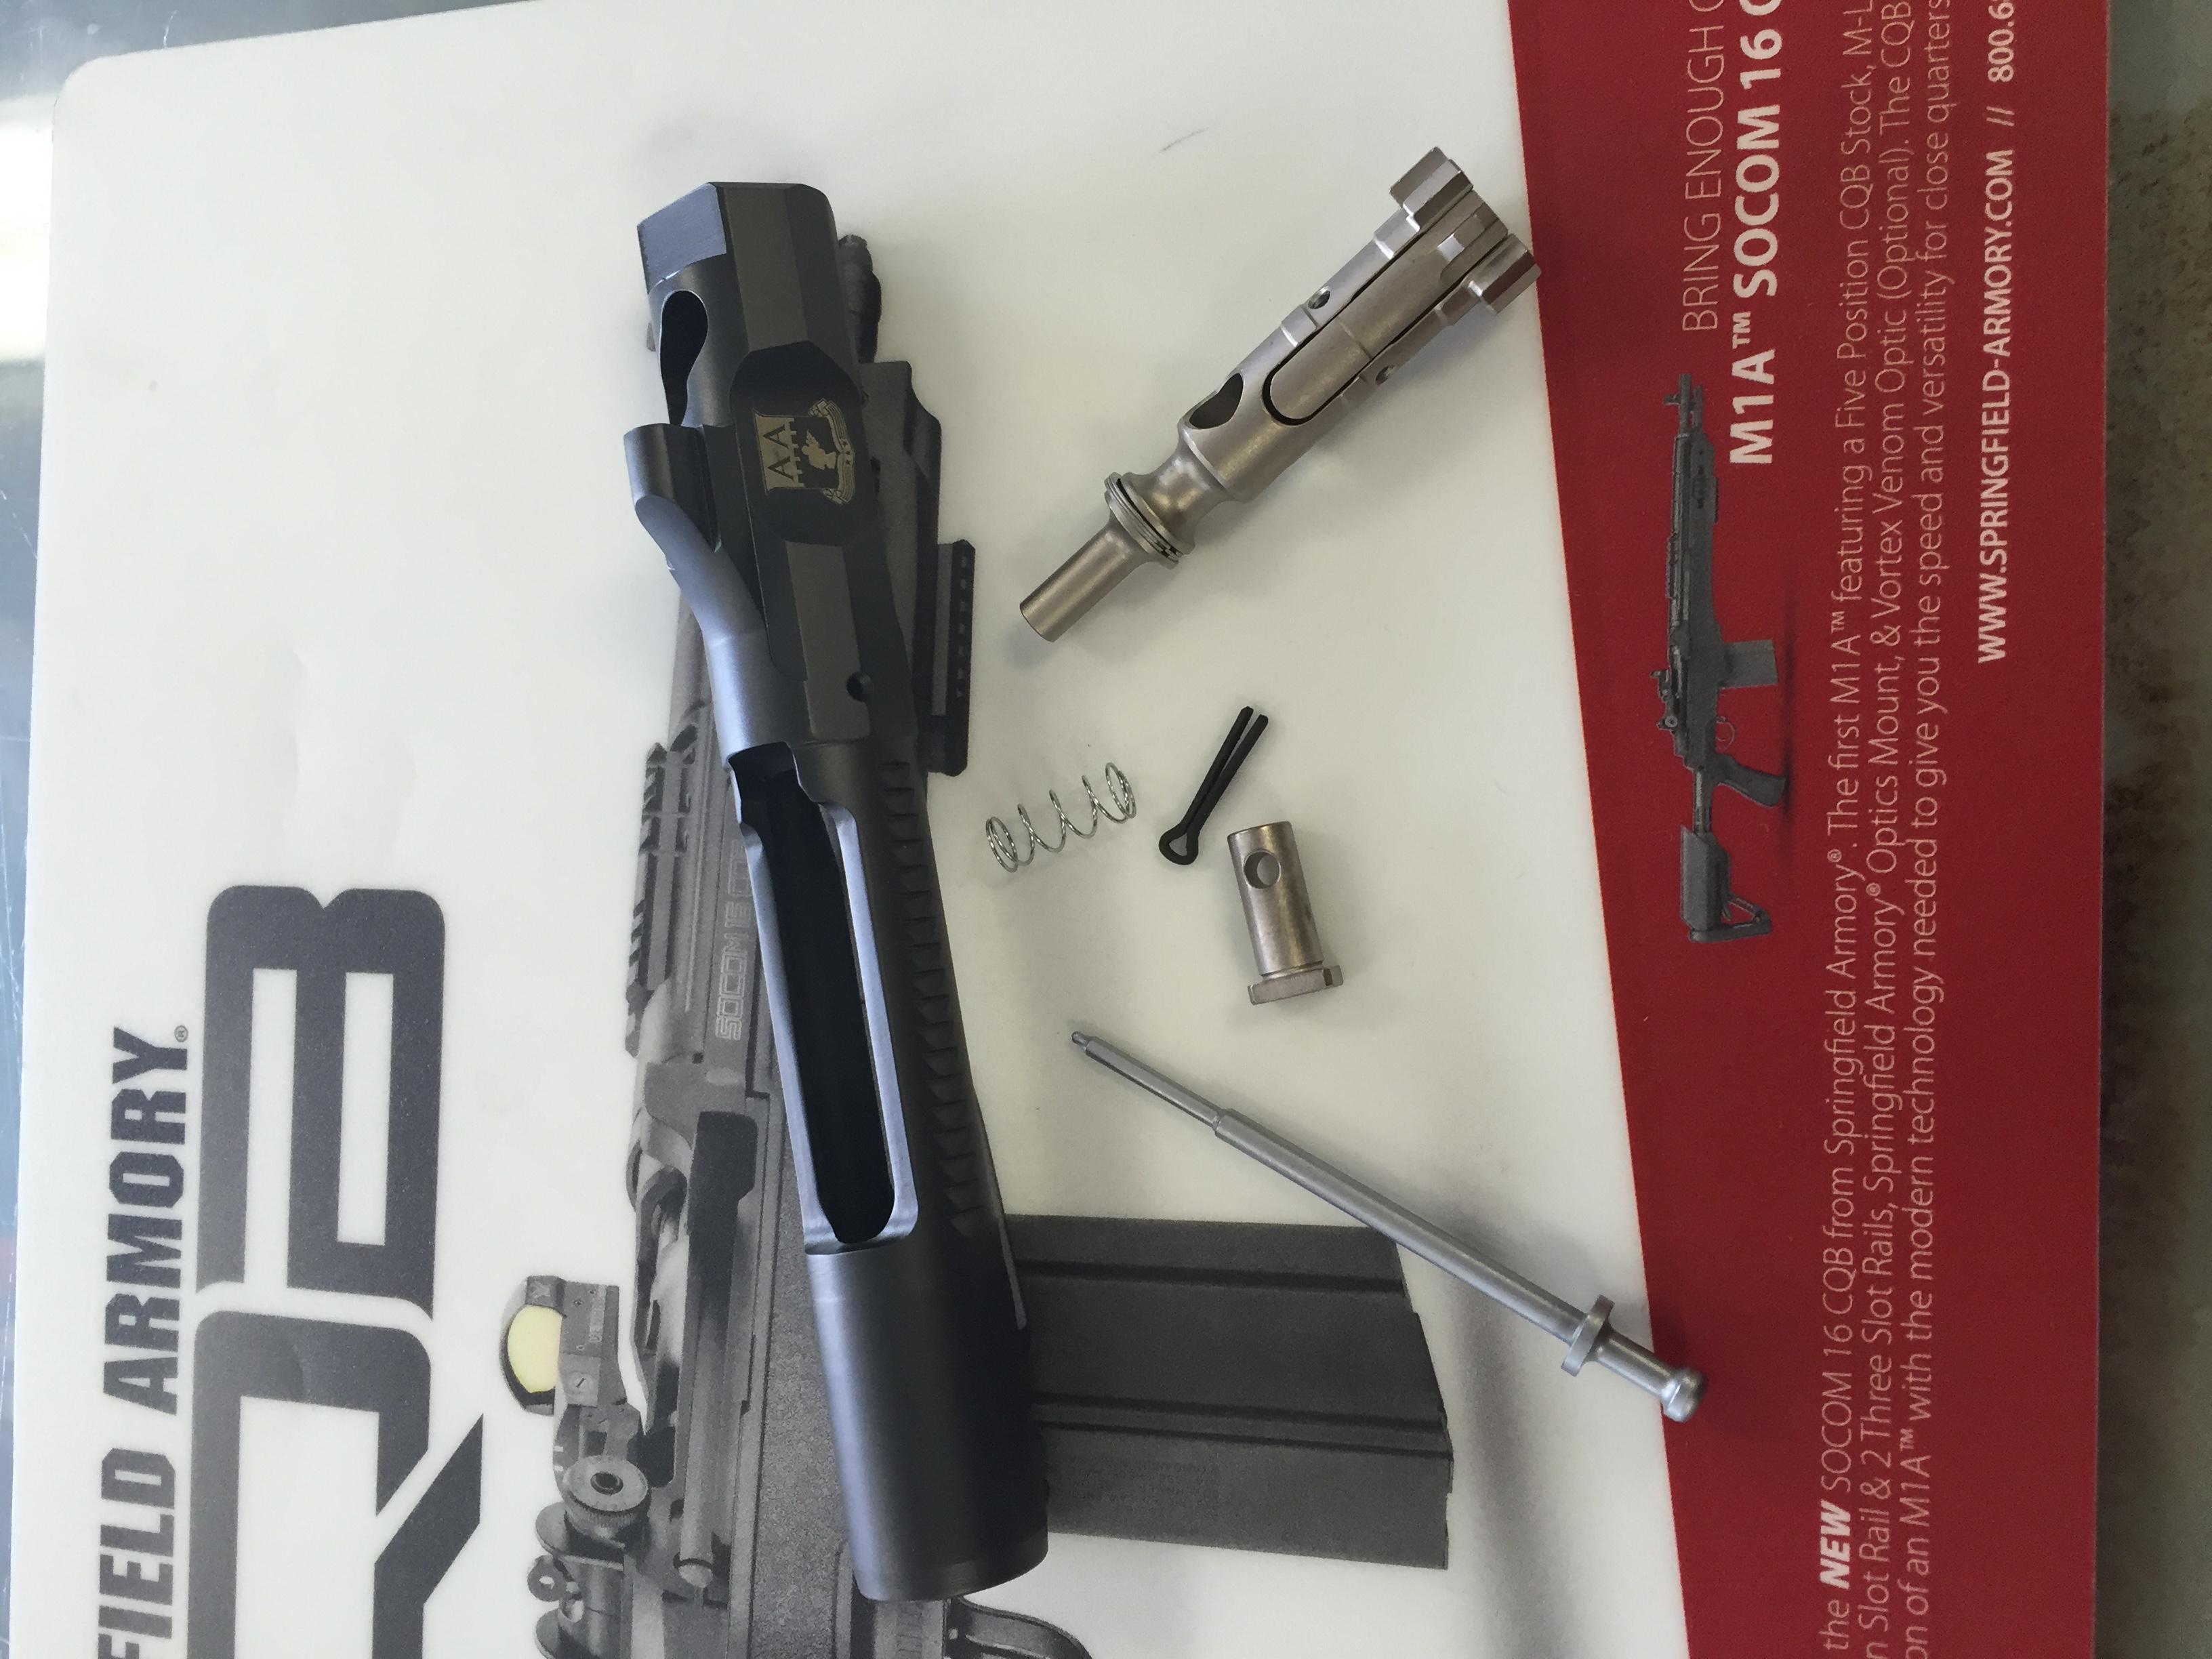
Here is the Adams Arms XLP Kit. This kit includes the bolt carrier assembly, install tool, piston kit, piston gas block, bushing, spring for the bolt, and the Instructional DVD. This kit included the Standard Bolt Carrier, but Adam Arms also offers a Nickel Boron Standard Carrier as well as a Low-Mass Carrier that can be either Standard Coating or Nickel Boron for a little bit more money. Either one you chose will be fine.
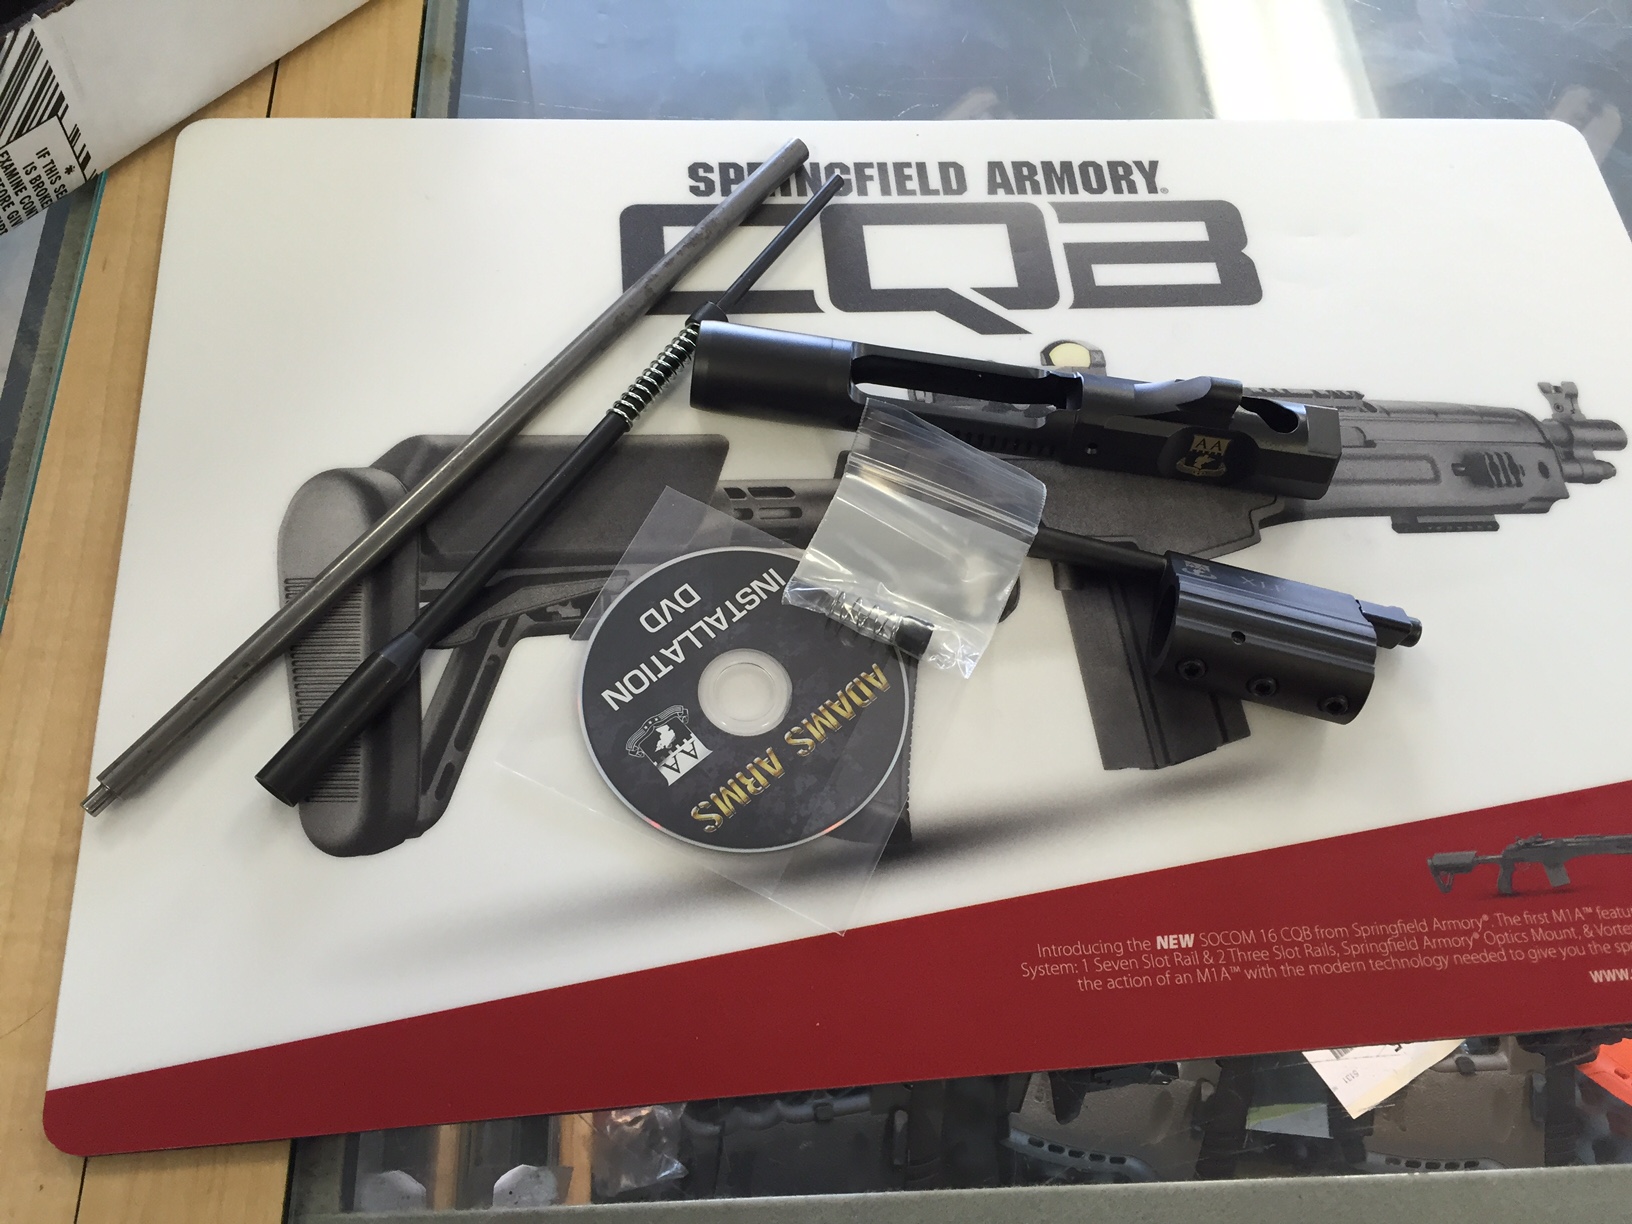 Installation Tool, Piston Rod, Bolt Carrier, XLP Gas Block, Bolt Spring, Bushing, and Installation DVD
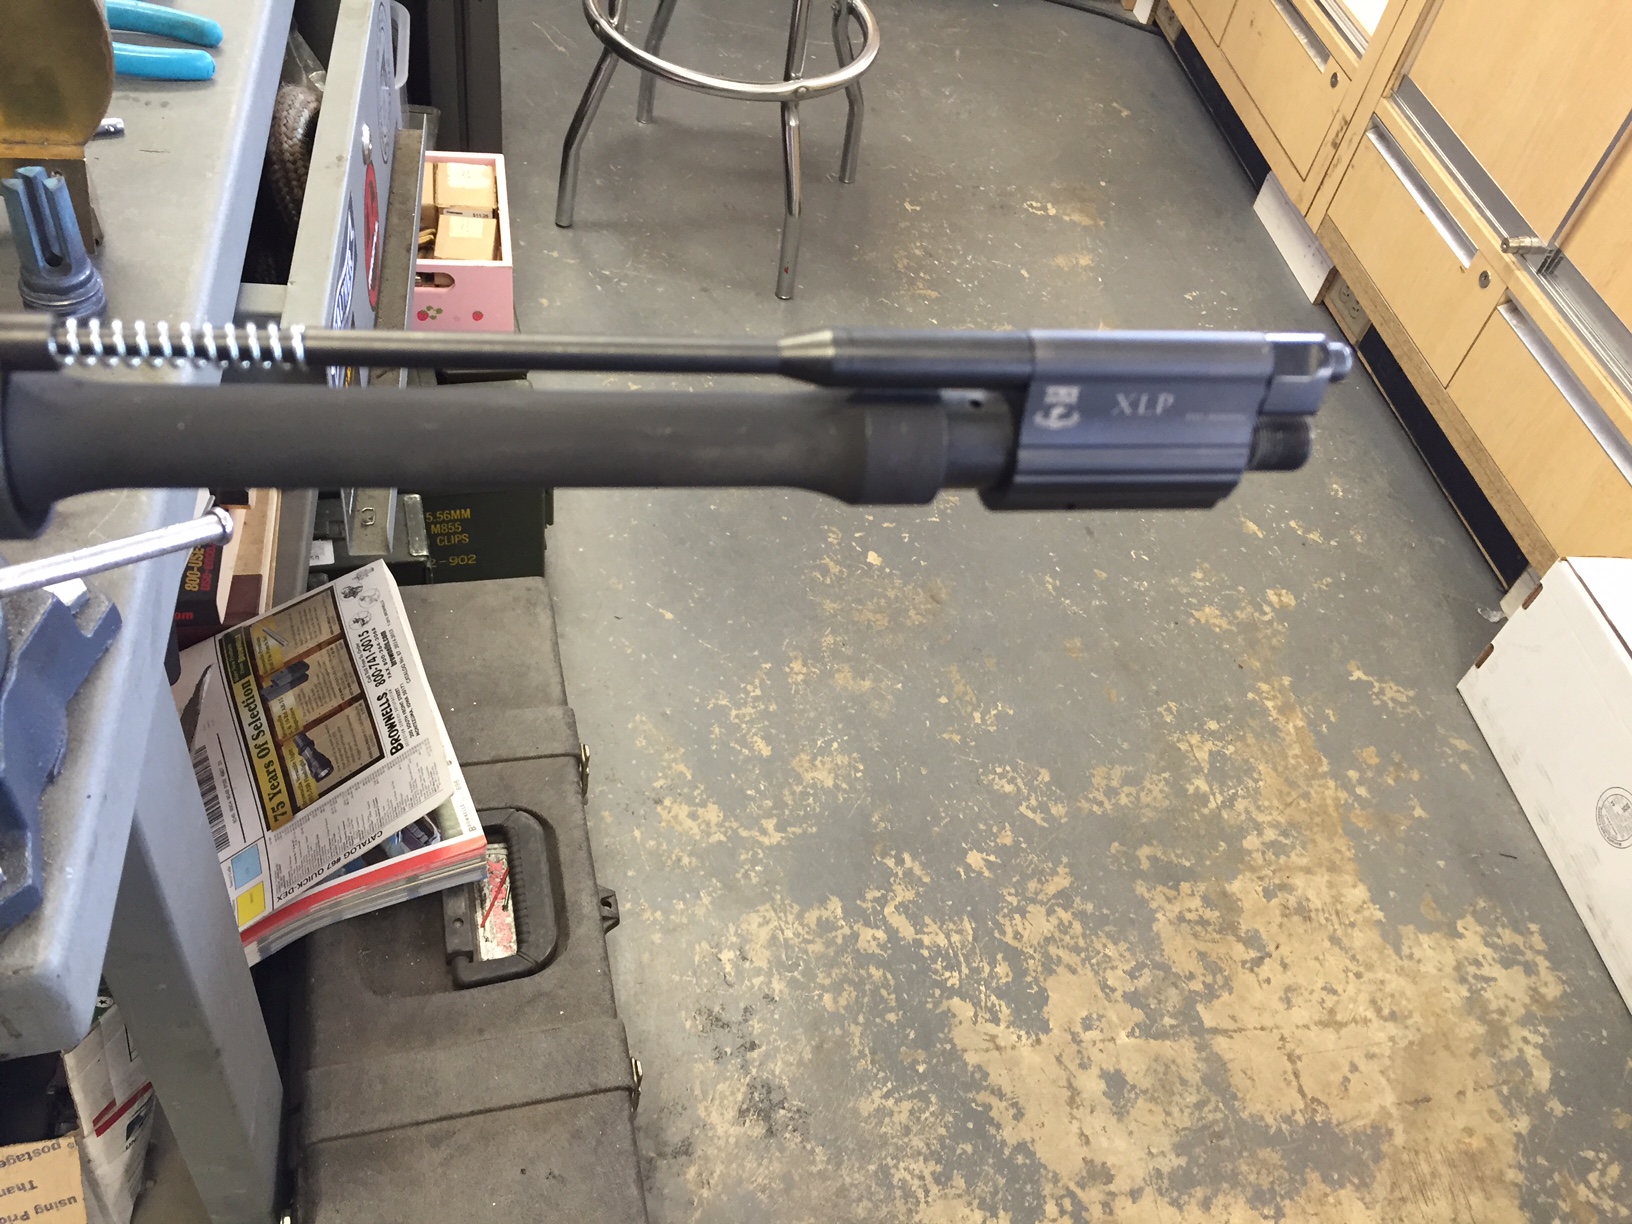
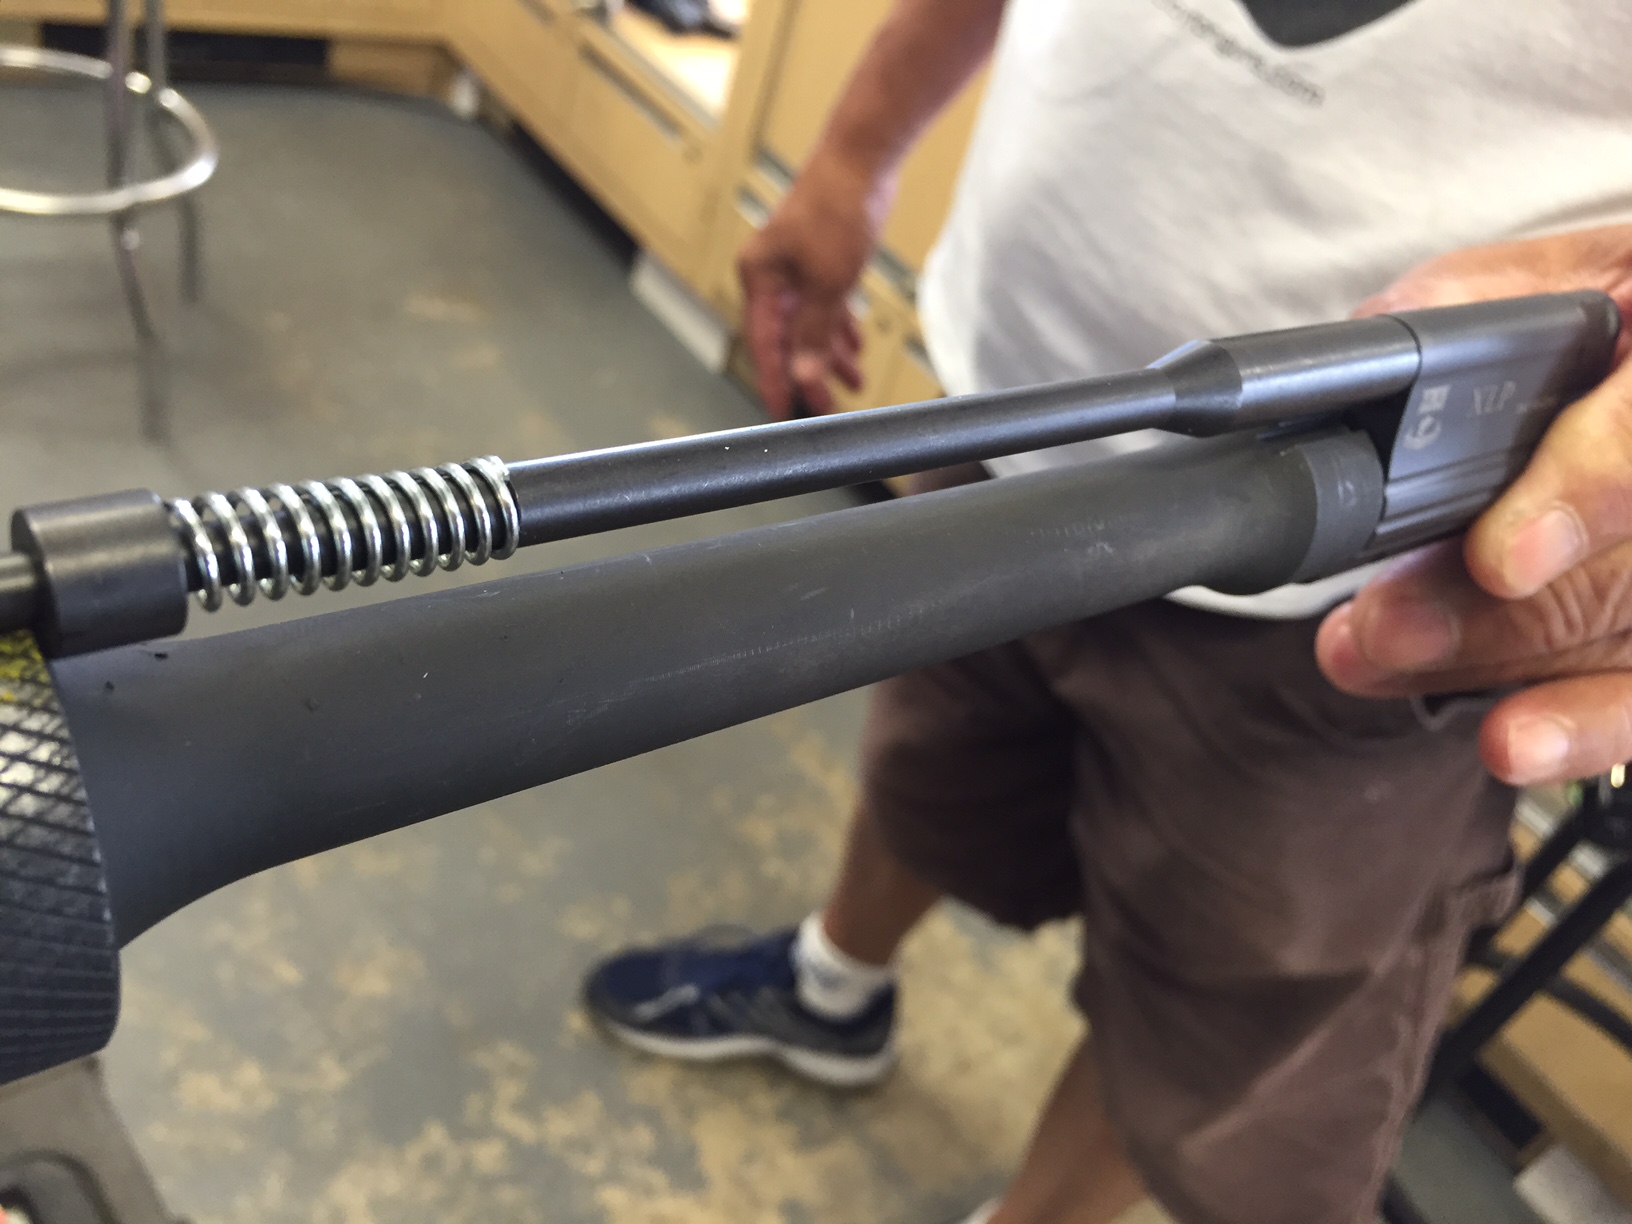
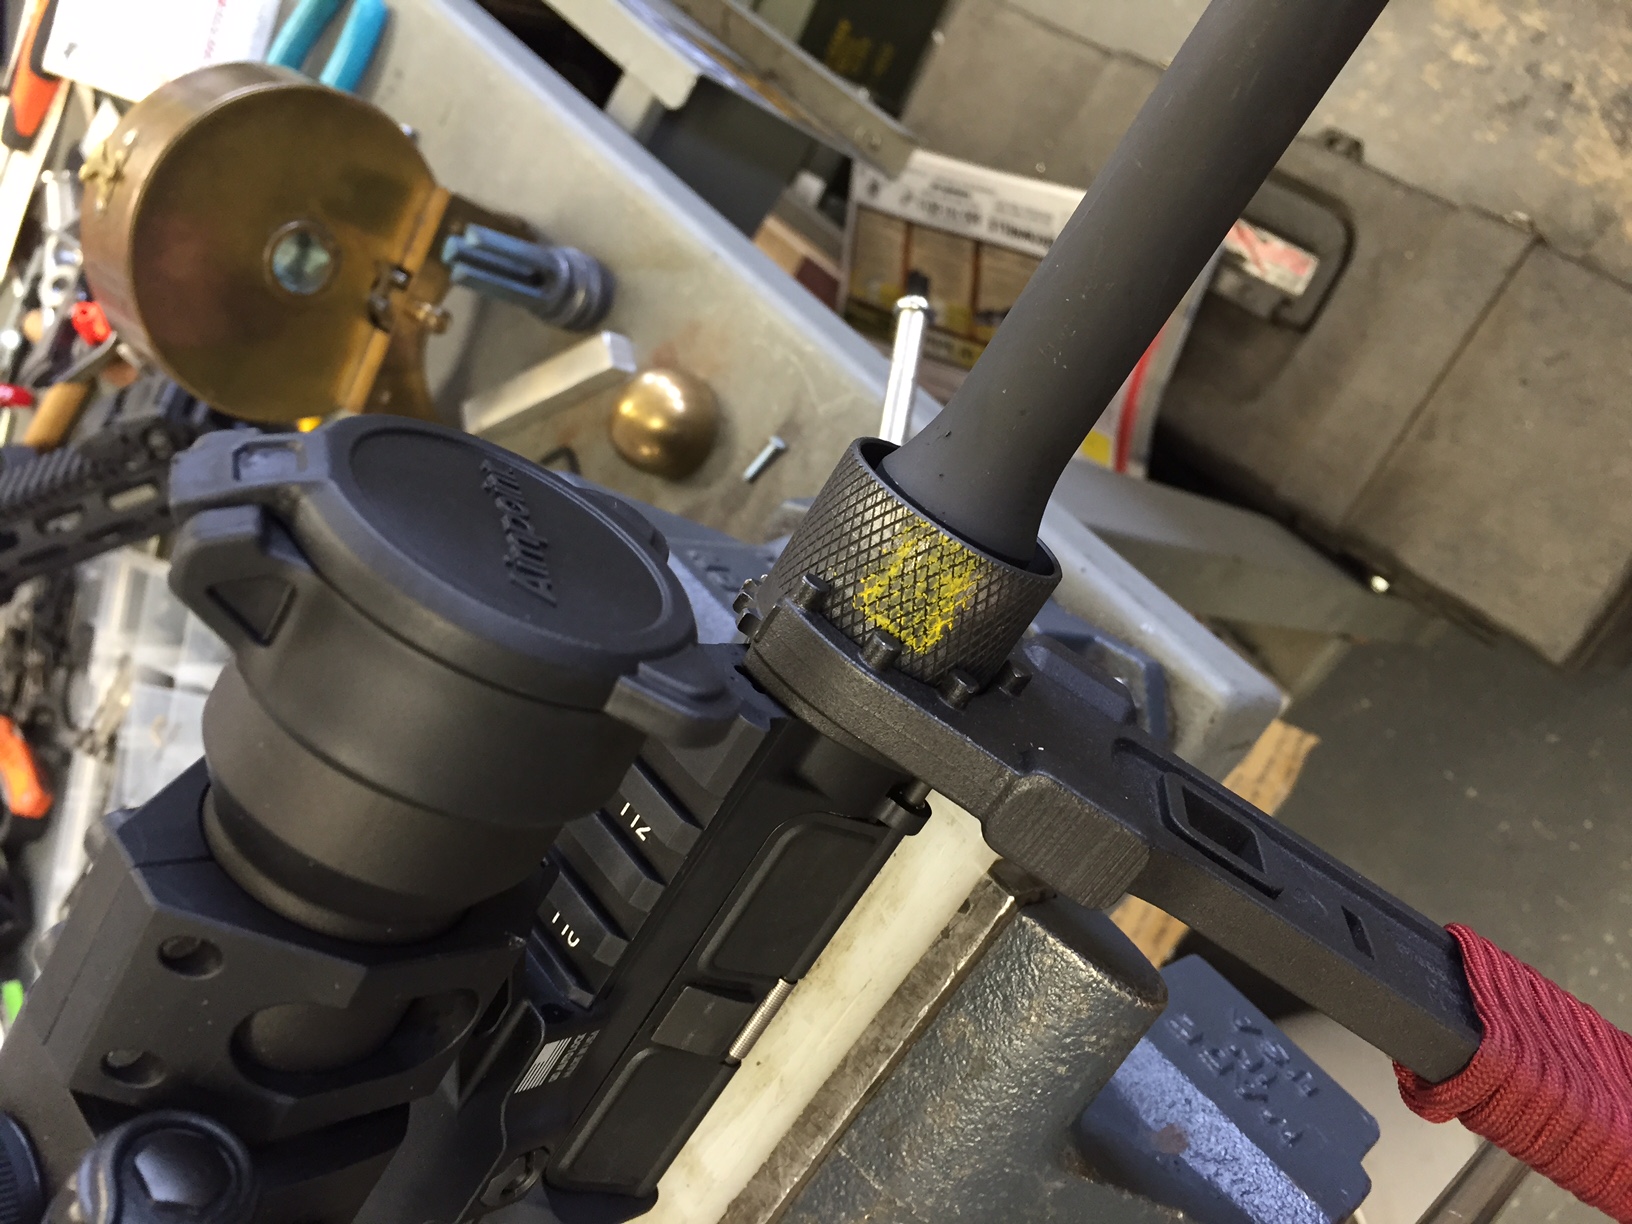
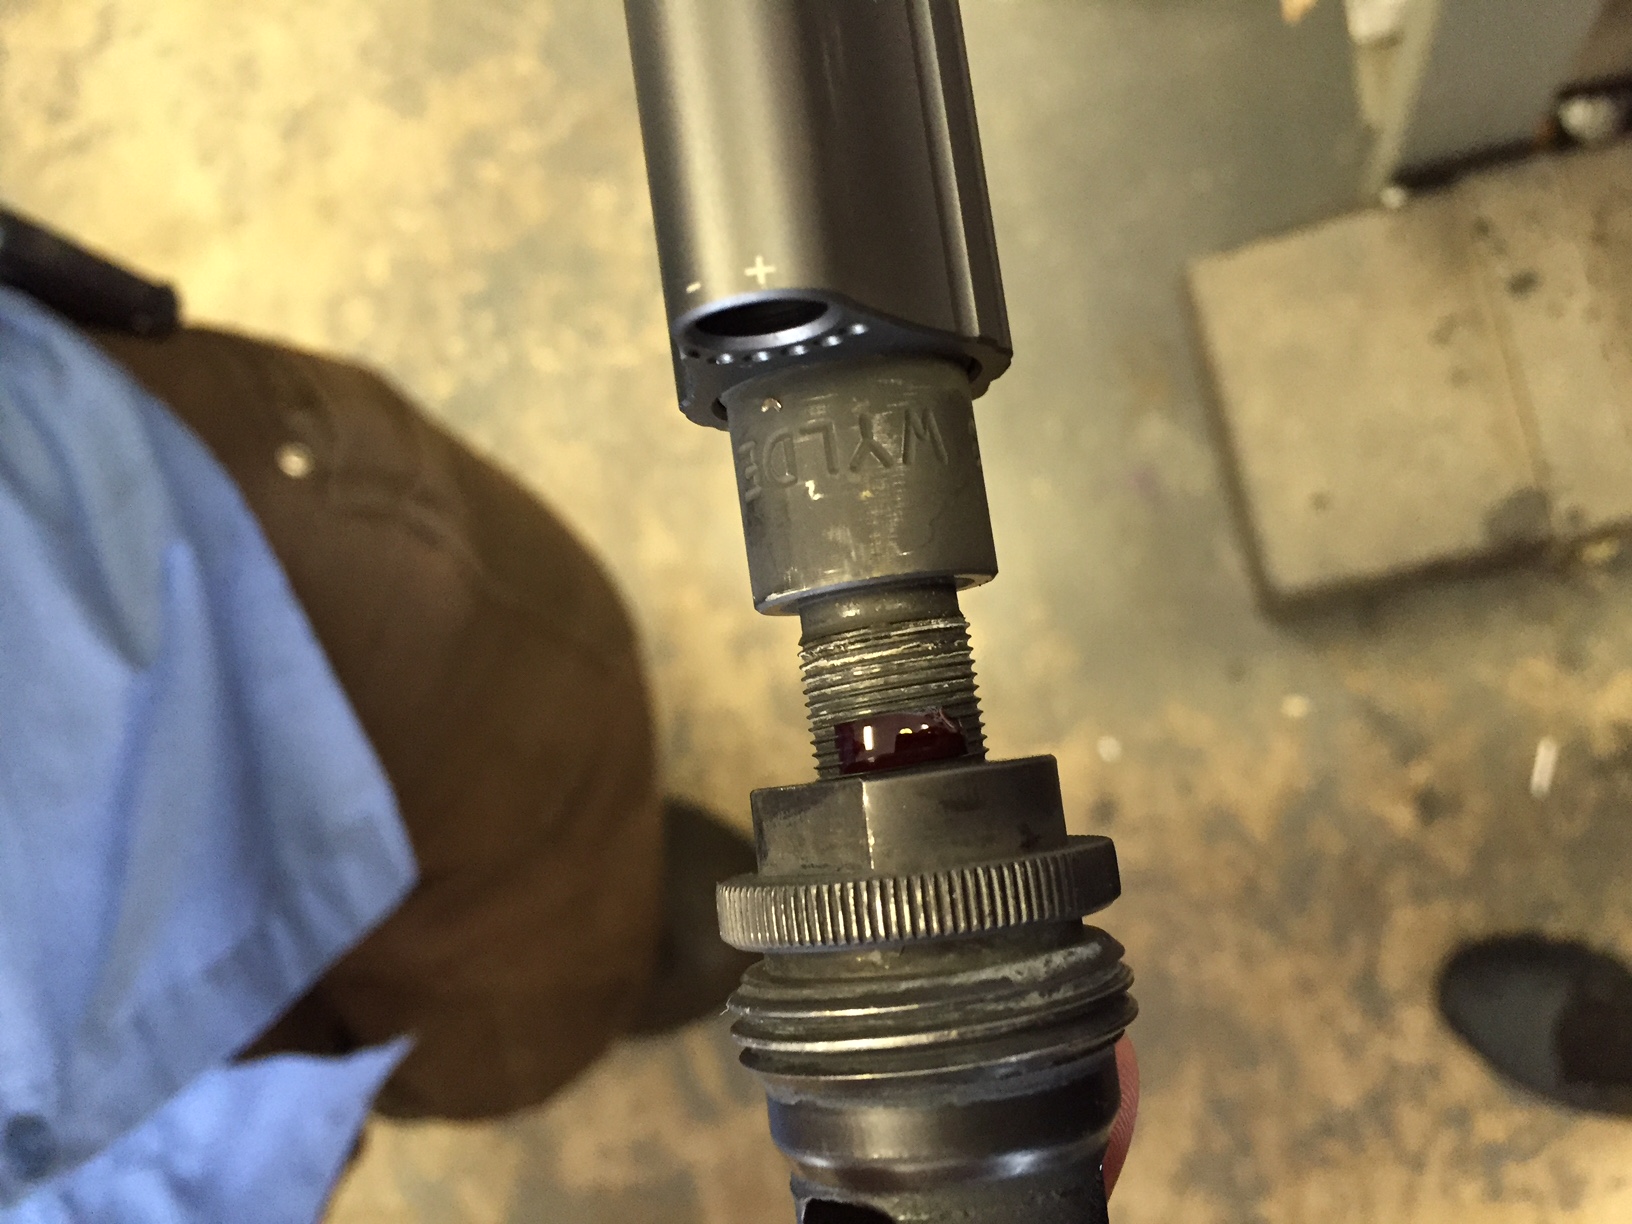
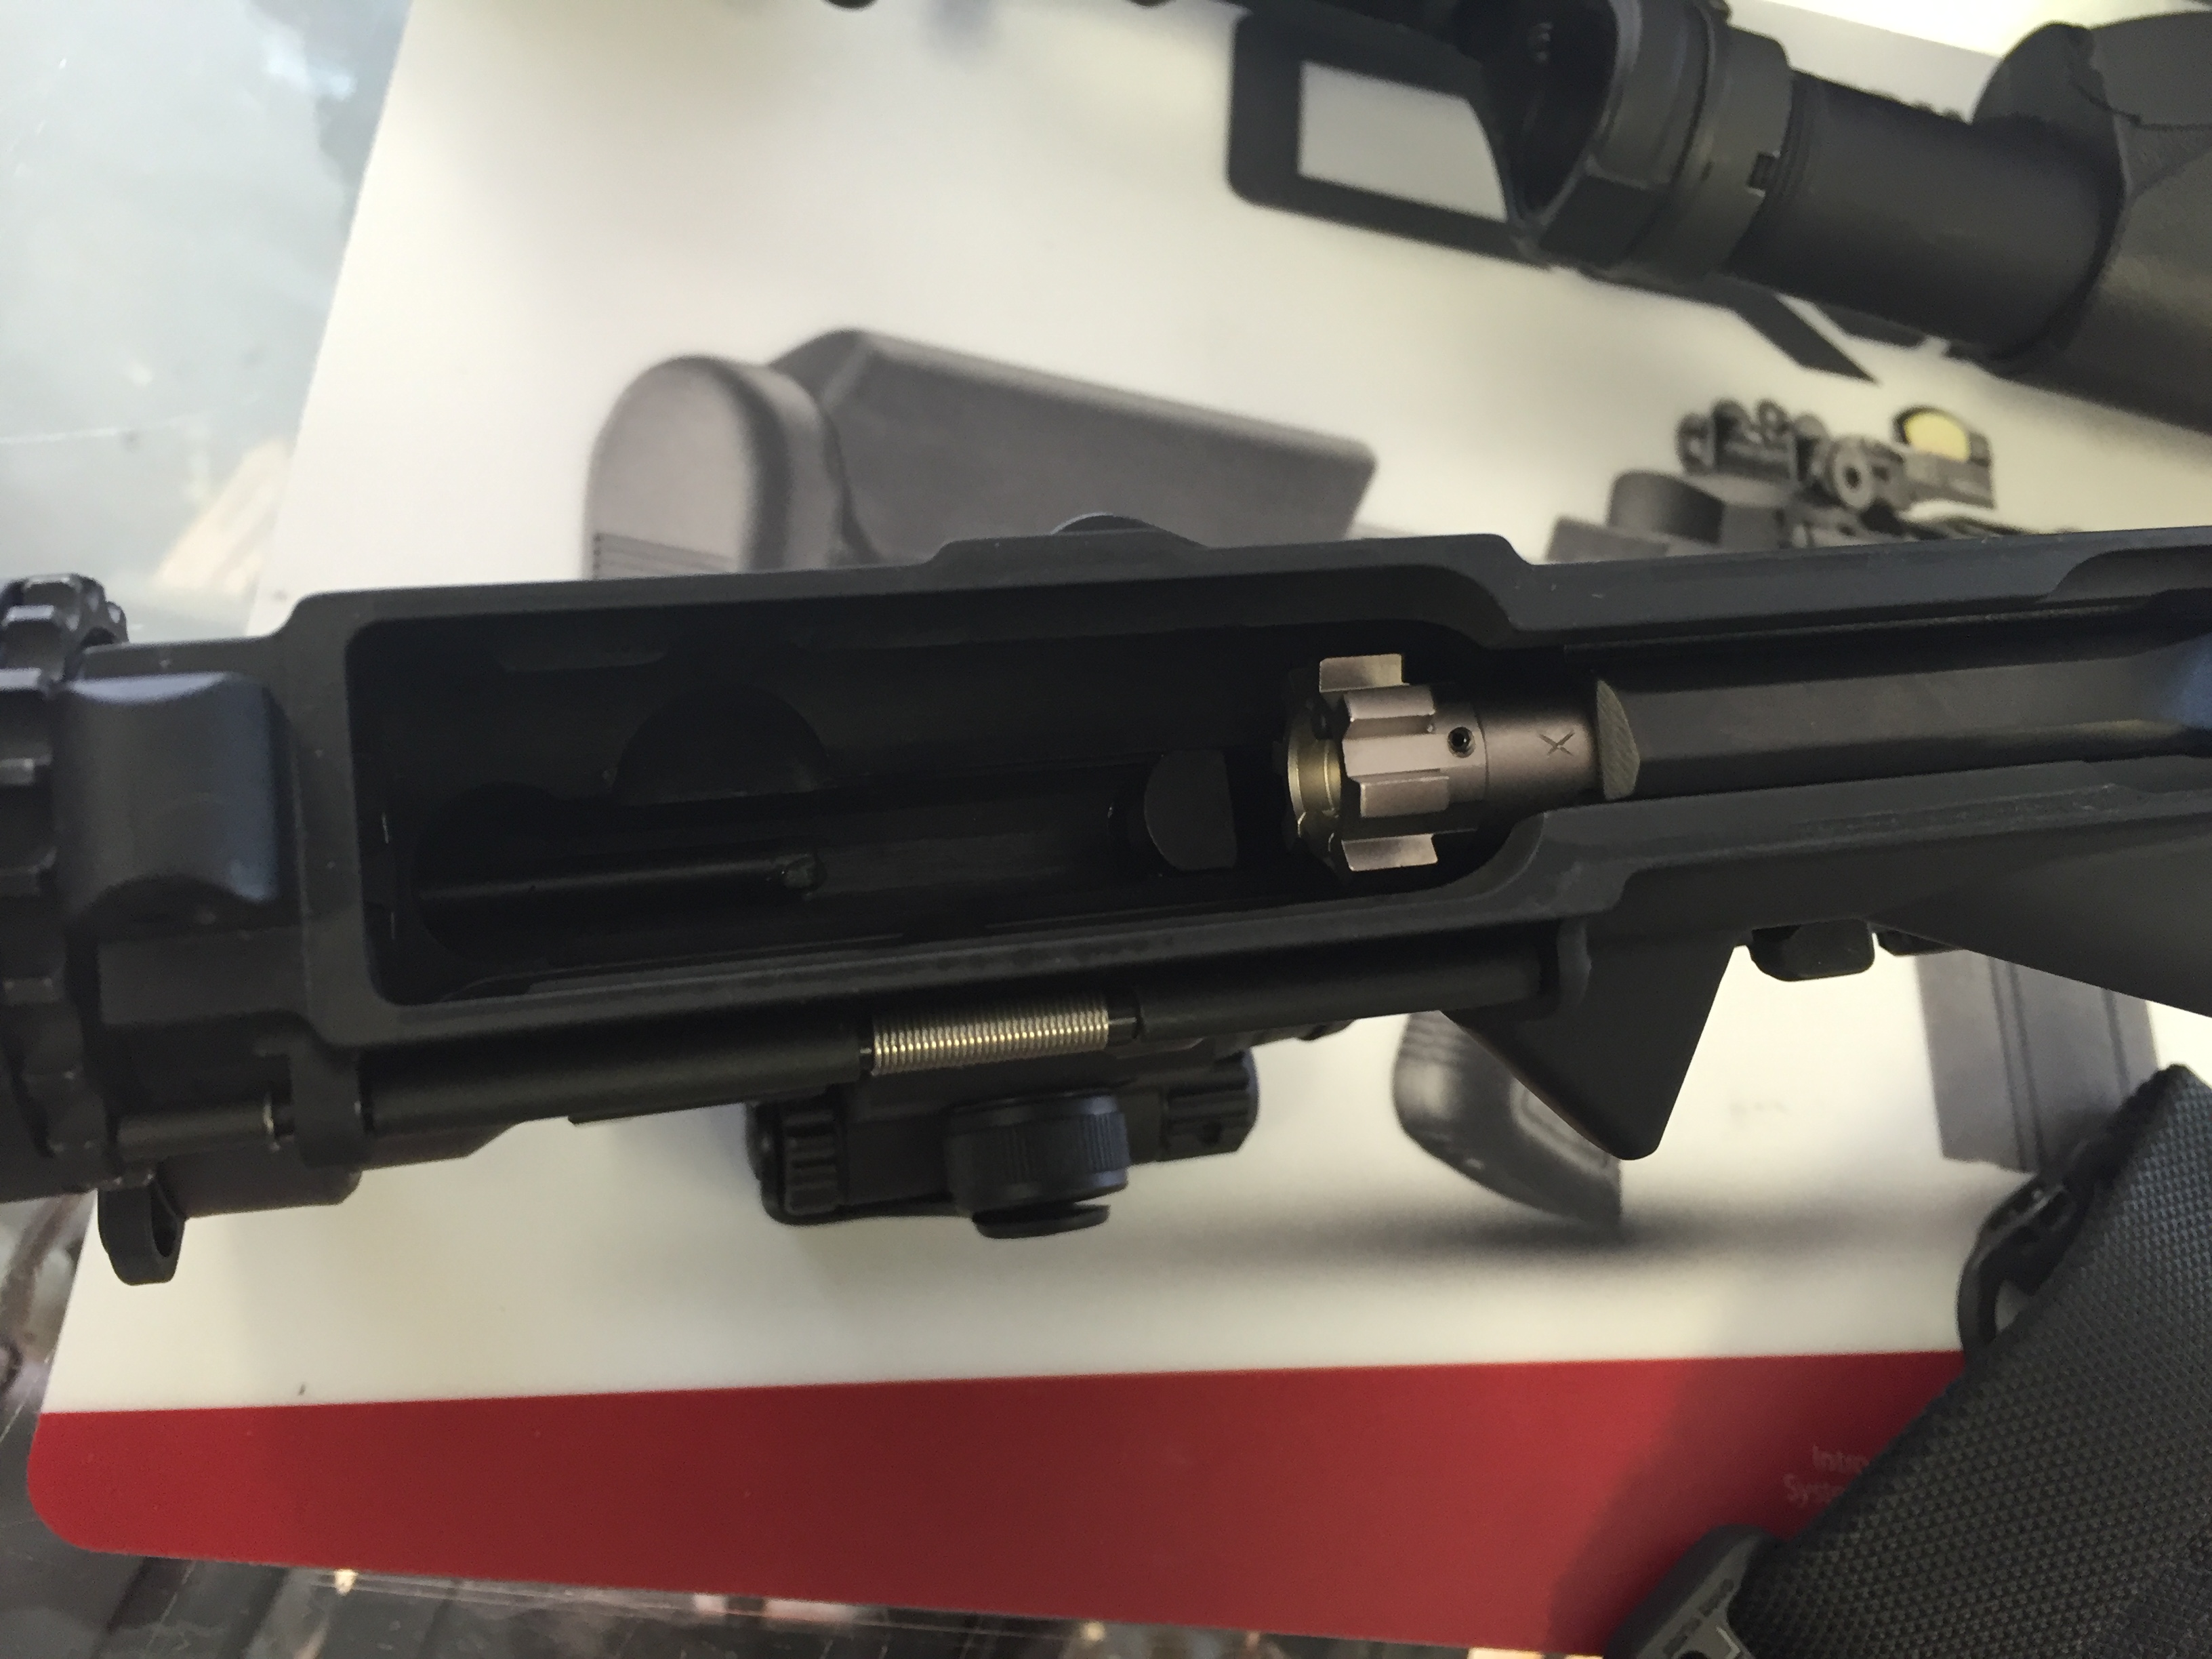
Step 5: Now it is time to test fit the kit to your rifle. Slide on the piston rod and the gas block onto the rifle. You notice that the bushing that’s attached to the piston is hitting the barrel nut, which is compressing the piston rod spring. If the spring is being compressed, then it won’t work properly. So this kit will not work with the barrel nut that comes with the Midwest Industries M-Lok Handguard. But if you are building a custom rifle, you will inevitably run into problems like this. Earlier in this custom build, I had to notch a portion of the barrel so I could get an Allen bit to adjust the gas on the Radical Firearms Low Profile Gas Block. So, it isn’t custom until you have to start manipulating parts and what have-you’s to make it custom.
So after I got it mocked up, I measured how much the gap was between where the gas block should be to where it is currently sitting at.
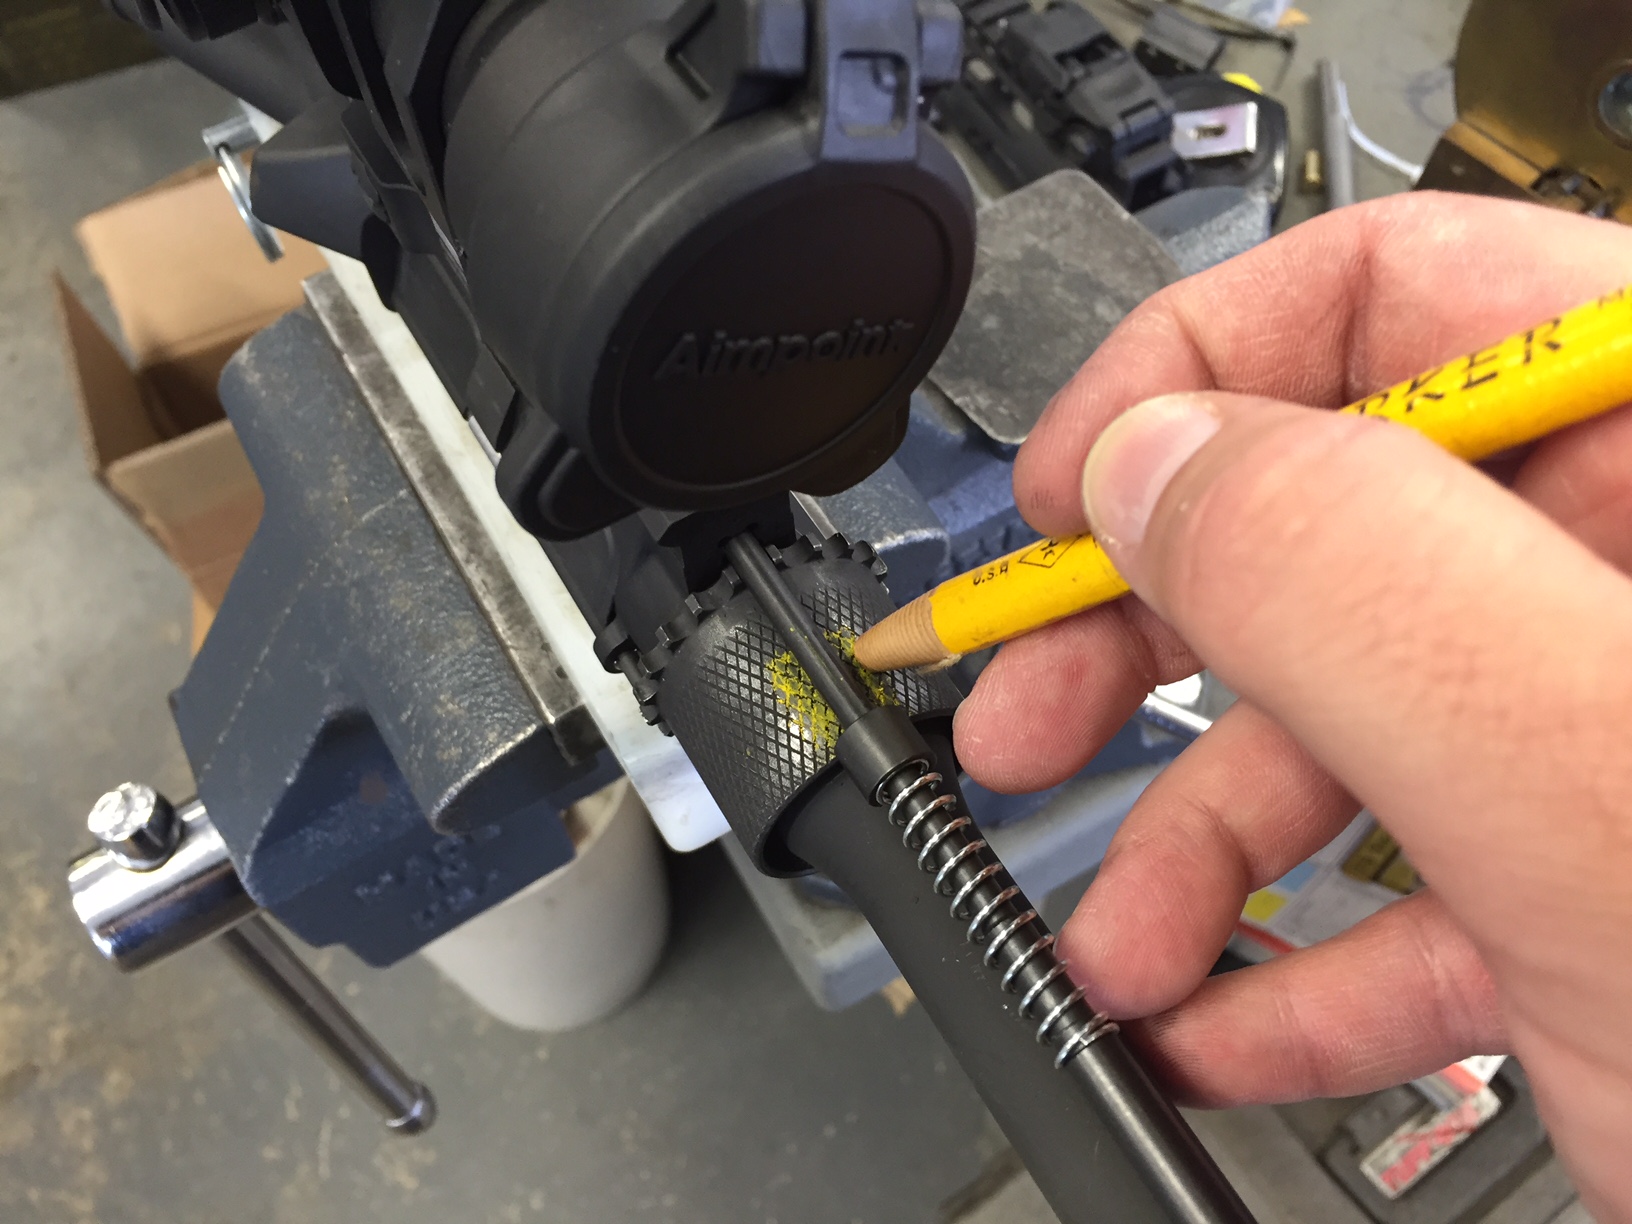
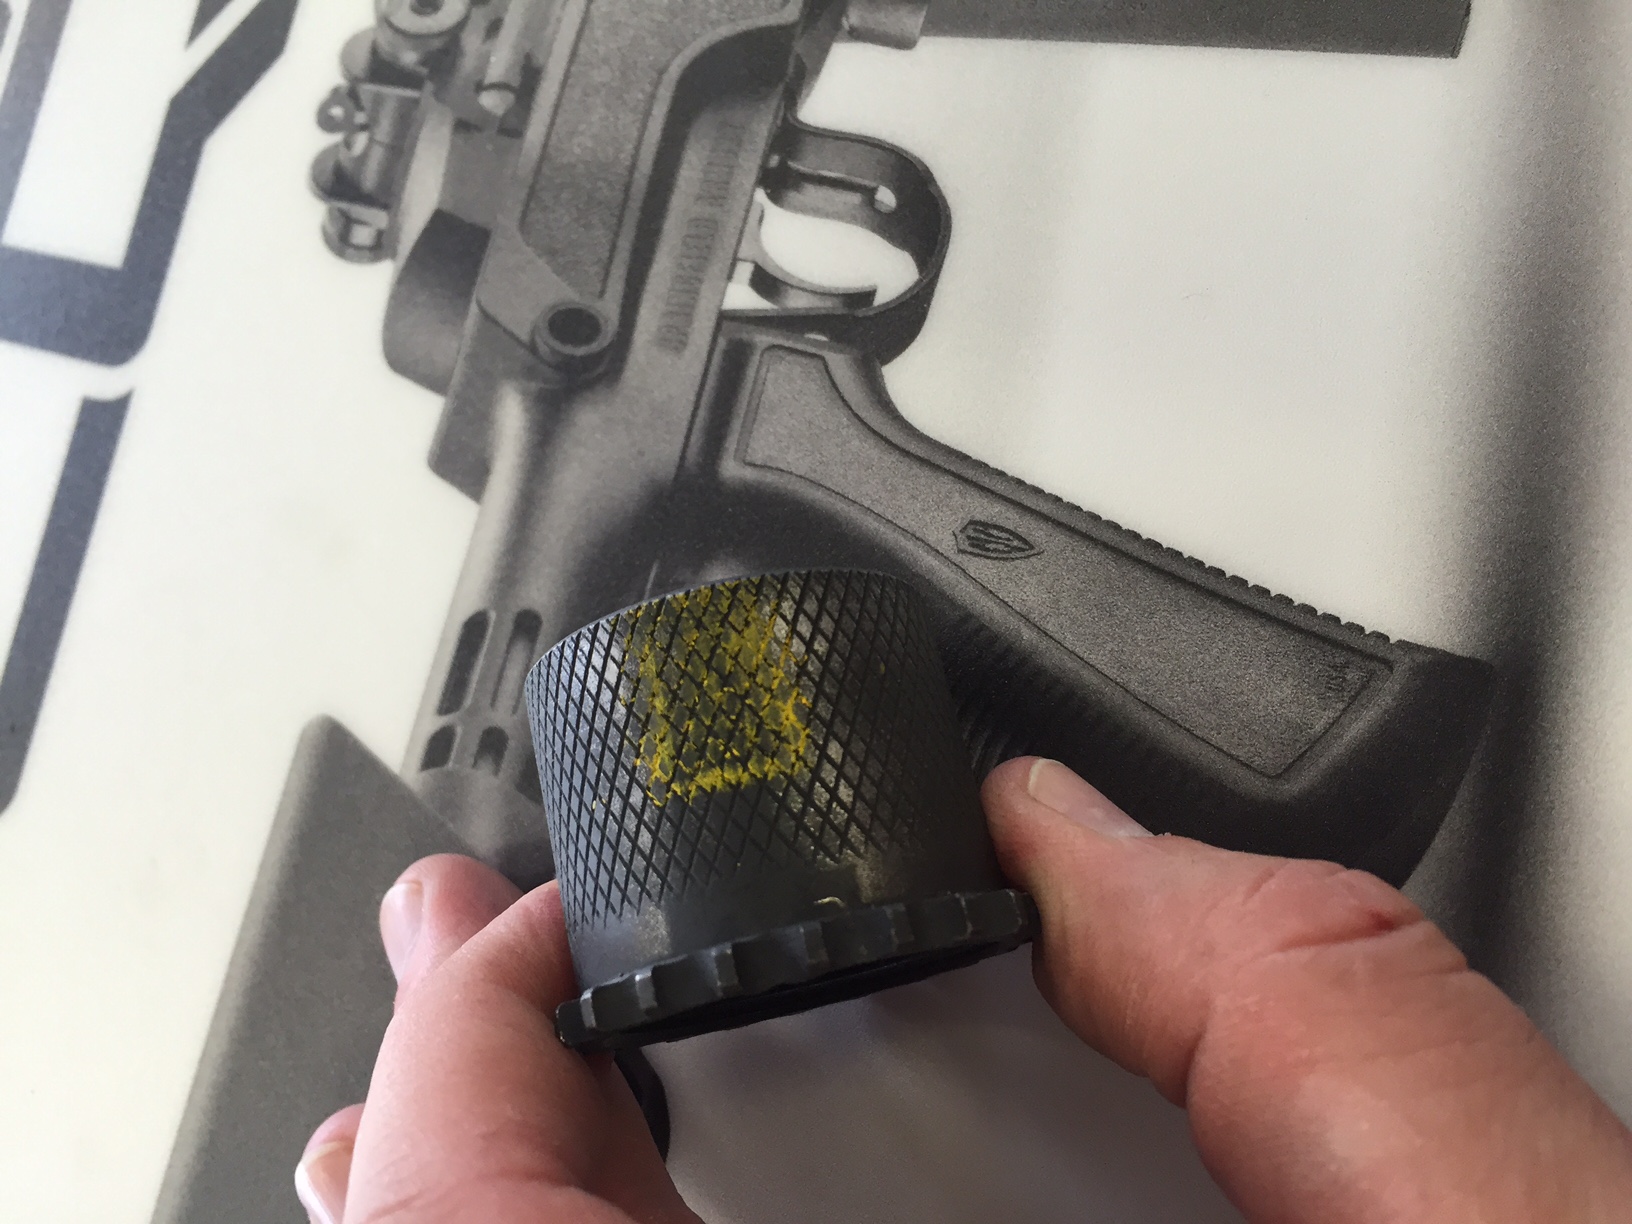
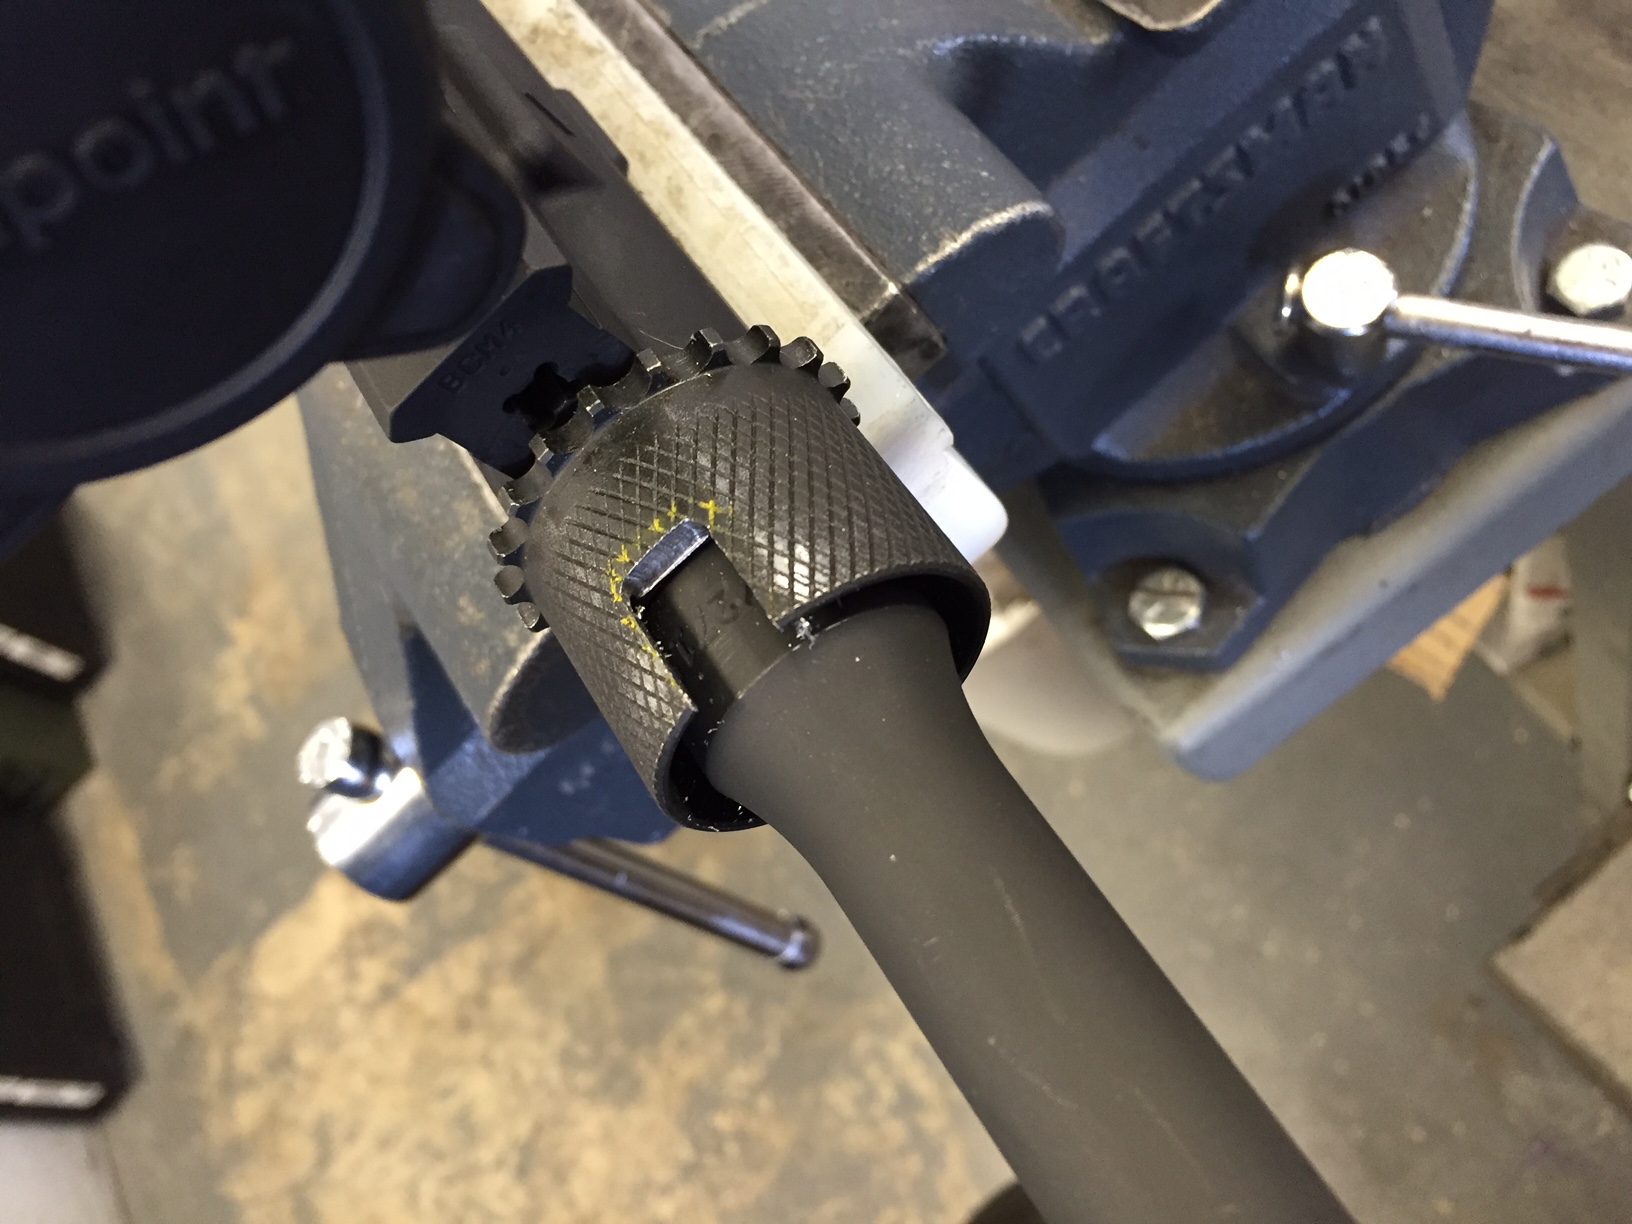
Step 6: Take a marker or paint pen and measure on the barrel nut how much to cut out on the Midwest Industries barrel nut so the piston rod will move freely. Take off the gas block and rod and then remove the barrel nut.
Step 7: Once you have measured it, take and gently remove the portions marked (I was fortunate enough to have a mill to help with cutting out the notch, but a hack-saw or cut-off wheel will work). Then re-install the barrel nut and torque it to appropriate ft/lbs. Test fit the gas block and piston rod to ensure that it moves freely and doesn’t hit anything.
***Make sure after you remove the needed portion to apply a thin coat of cold blue to prevent rust.***
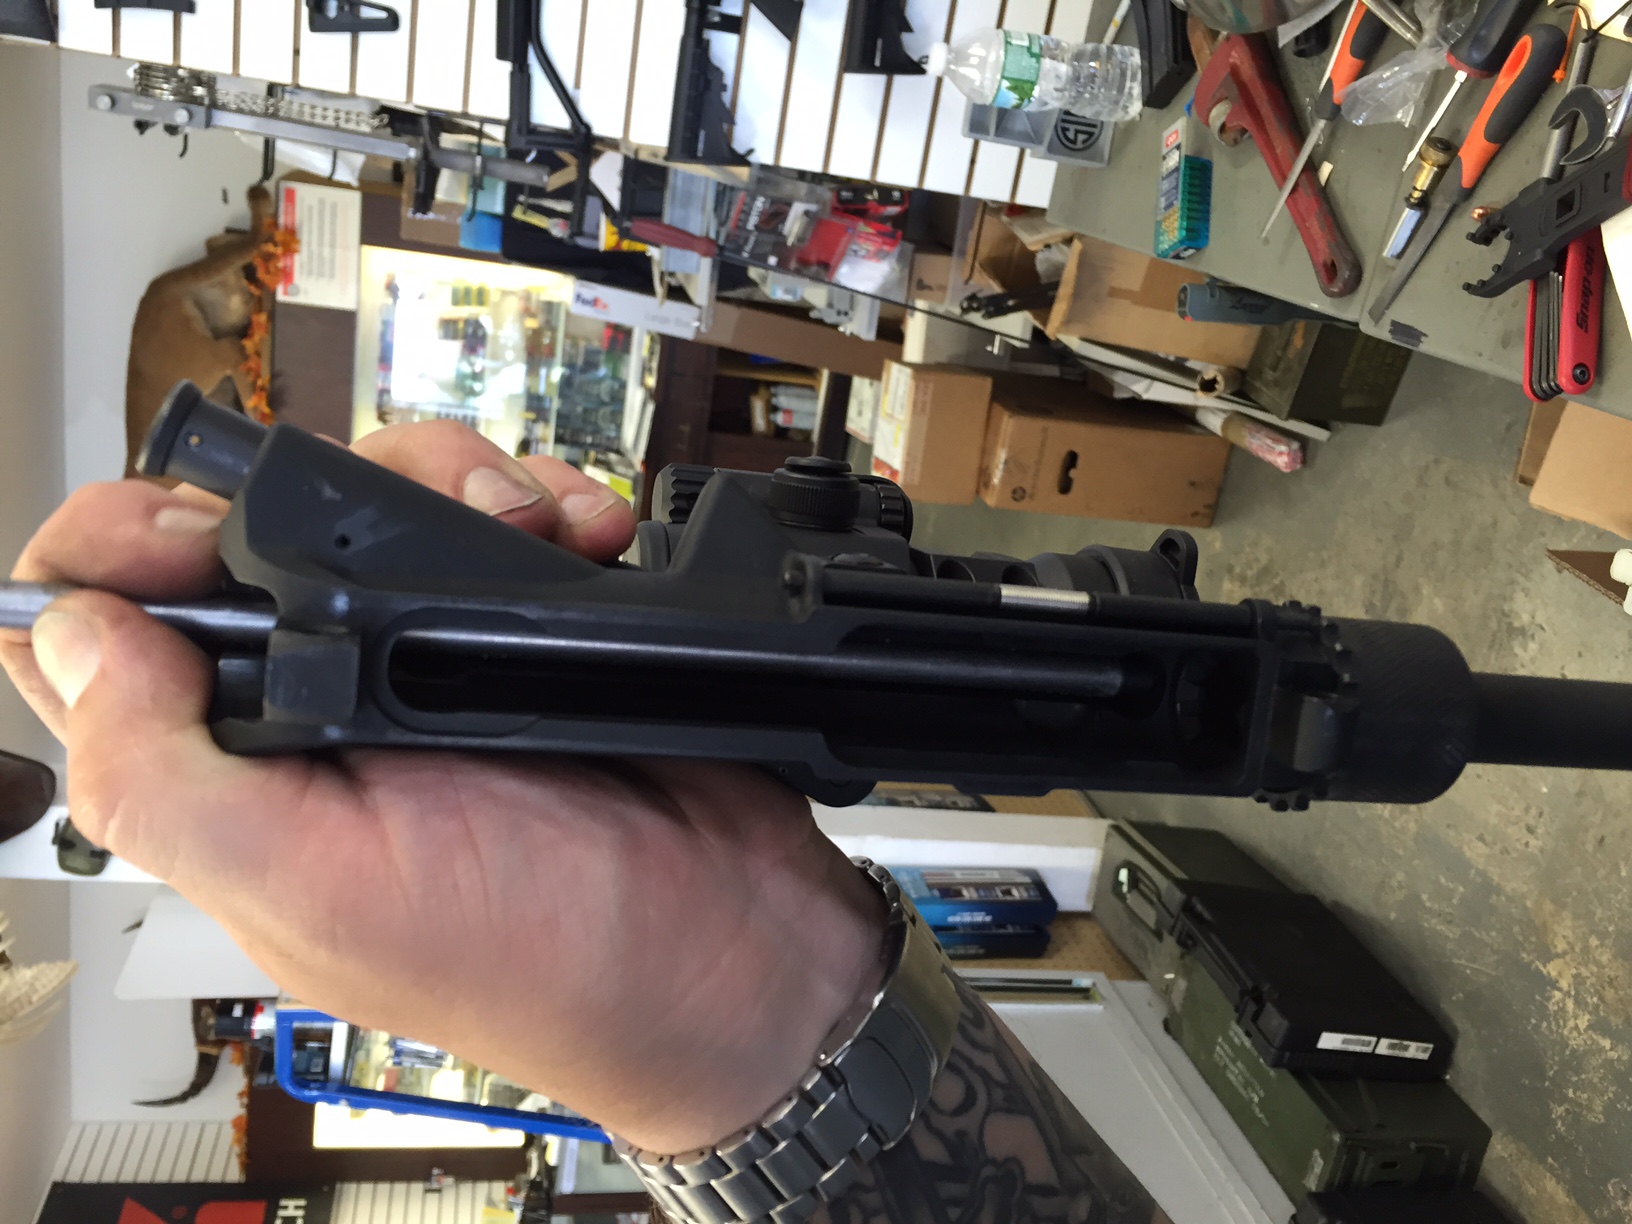
Step 8: Now it’s time to install the bushing on the upper receiver. Lube up the bushing with a lithium or equivalent grease, and use the provided tool to install the bushing. Use a hammer to drive in the bushing into the hole where the gas tube originally went into, until it bottoms out.
Step 9: Slide back on the piston rod and gas block assembly back on the barrel. Check the spacing to make sure the piston rod is moving freely and moving back and forth, not side to side. Make sure to have the appropriate spacing on the gas block (use a standard business card to get the spacing if you do not have a tool or original handguard retainer handy). After you check your spacing, tighten the screws on the bottom of the gas block to the appropriate torque specs.
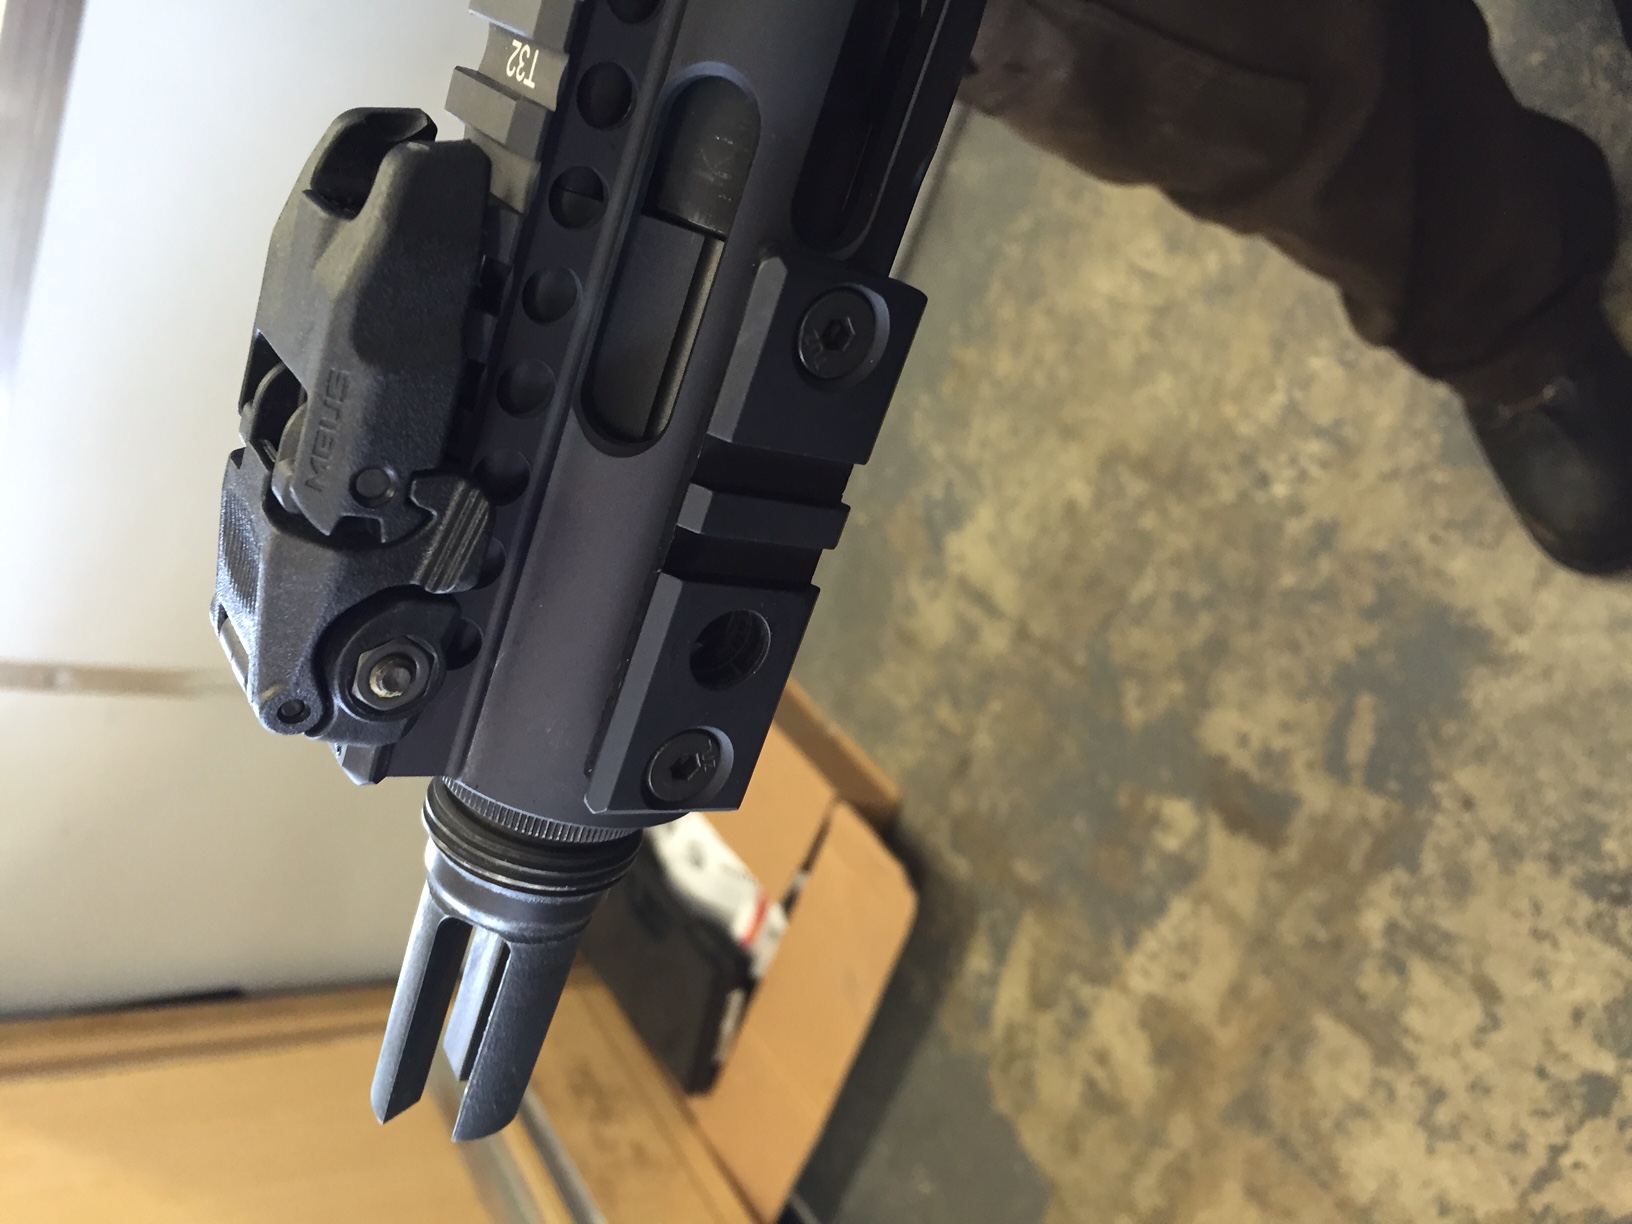
Step 10: Re-install the muzzle device with a drop of red Loctite and torque to appropriated ft/lbs.
Step 11: Re-install the Handguard and tighten down the screws to the appropriate in/lb.
Step 12: Install the assembled bolt carrier, using the new spring included in the kit where the washers once were.

Step 13: Place your upper back on your lower, and go to the range to test fire!
Overall, this project did not take long at all. It took about 30min to do. If you are on the fence about getting this kit, or converting it over, do it! With the product selling for around $330 online, it’s not a bad setup especially if you are shooting suppressed. If you do not feel comfortable tackling this task, don’t be afraid to take it to a gunsmith and let them convert it over for you. Most shops charge about $75/hr, but if you have the tools to take apart an AR, and are familiar with how an AR works, then it shouldn’t be too bad for someone with a little bit of know-how to tackle it. Thank you to Clayton Guns for allowing me use their equipment to perform this build.
As always, ya’ll be good and be safe!