
By Christopher Nyerges
In the past, every culture on the face of the earth used a bow. Archery was not only a part of daily life, but it also a way of life. Whether for the collection of food, or for hunting and protection, the bow is one weapon that was discovered and used by every ancient civilization, and is still used today, either as sport or necessity.
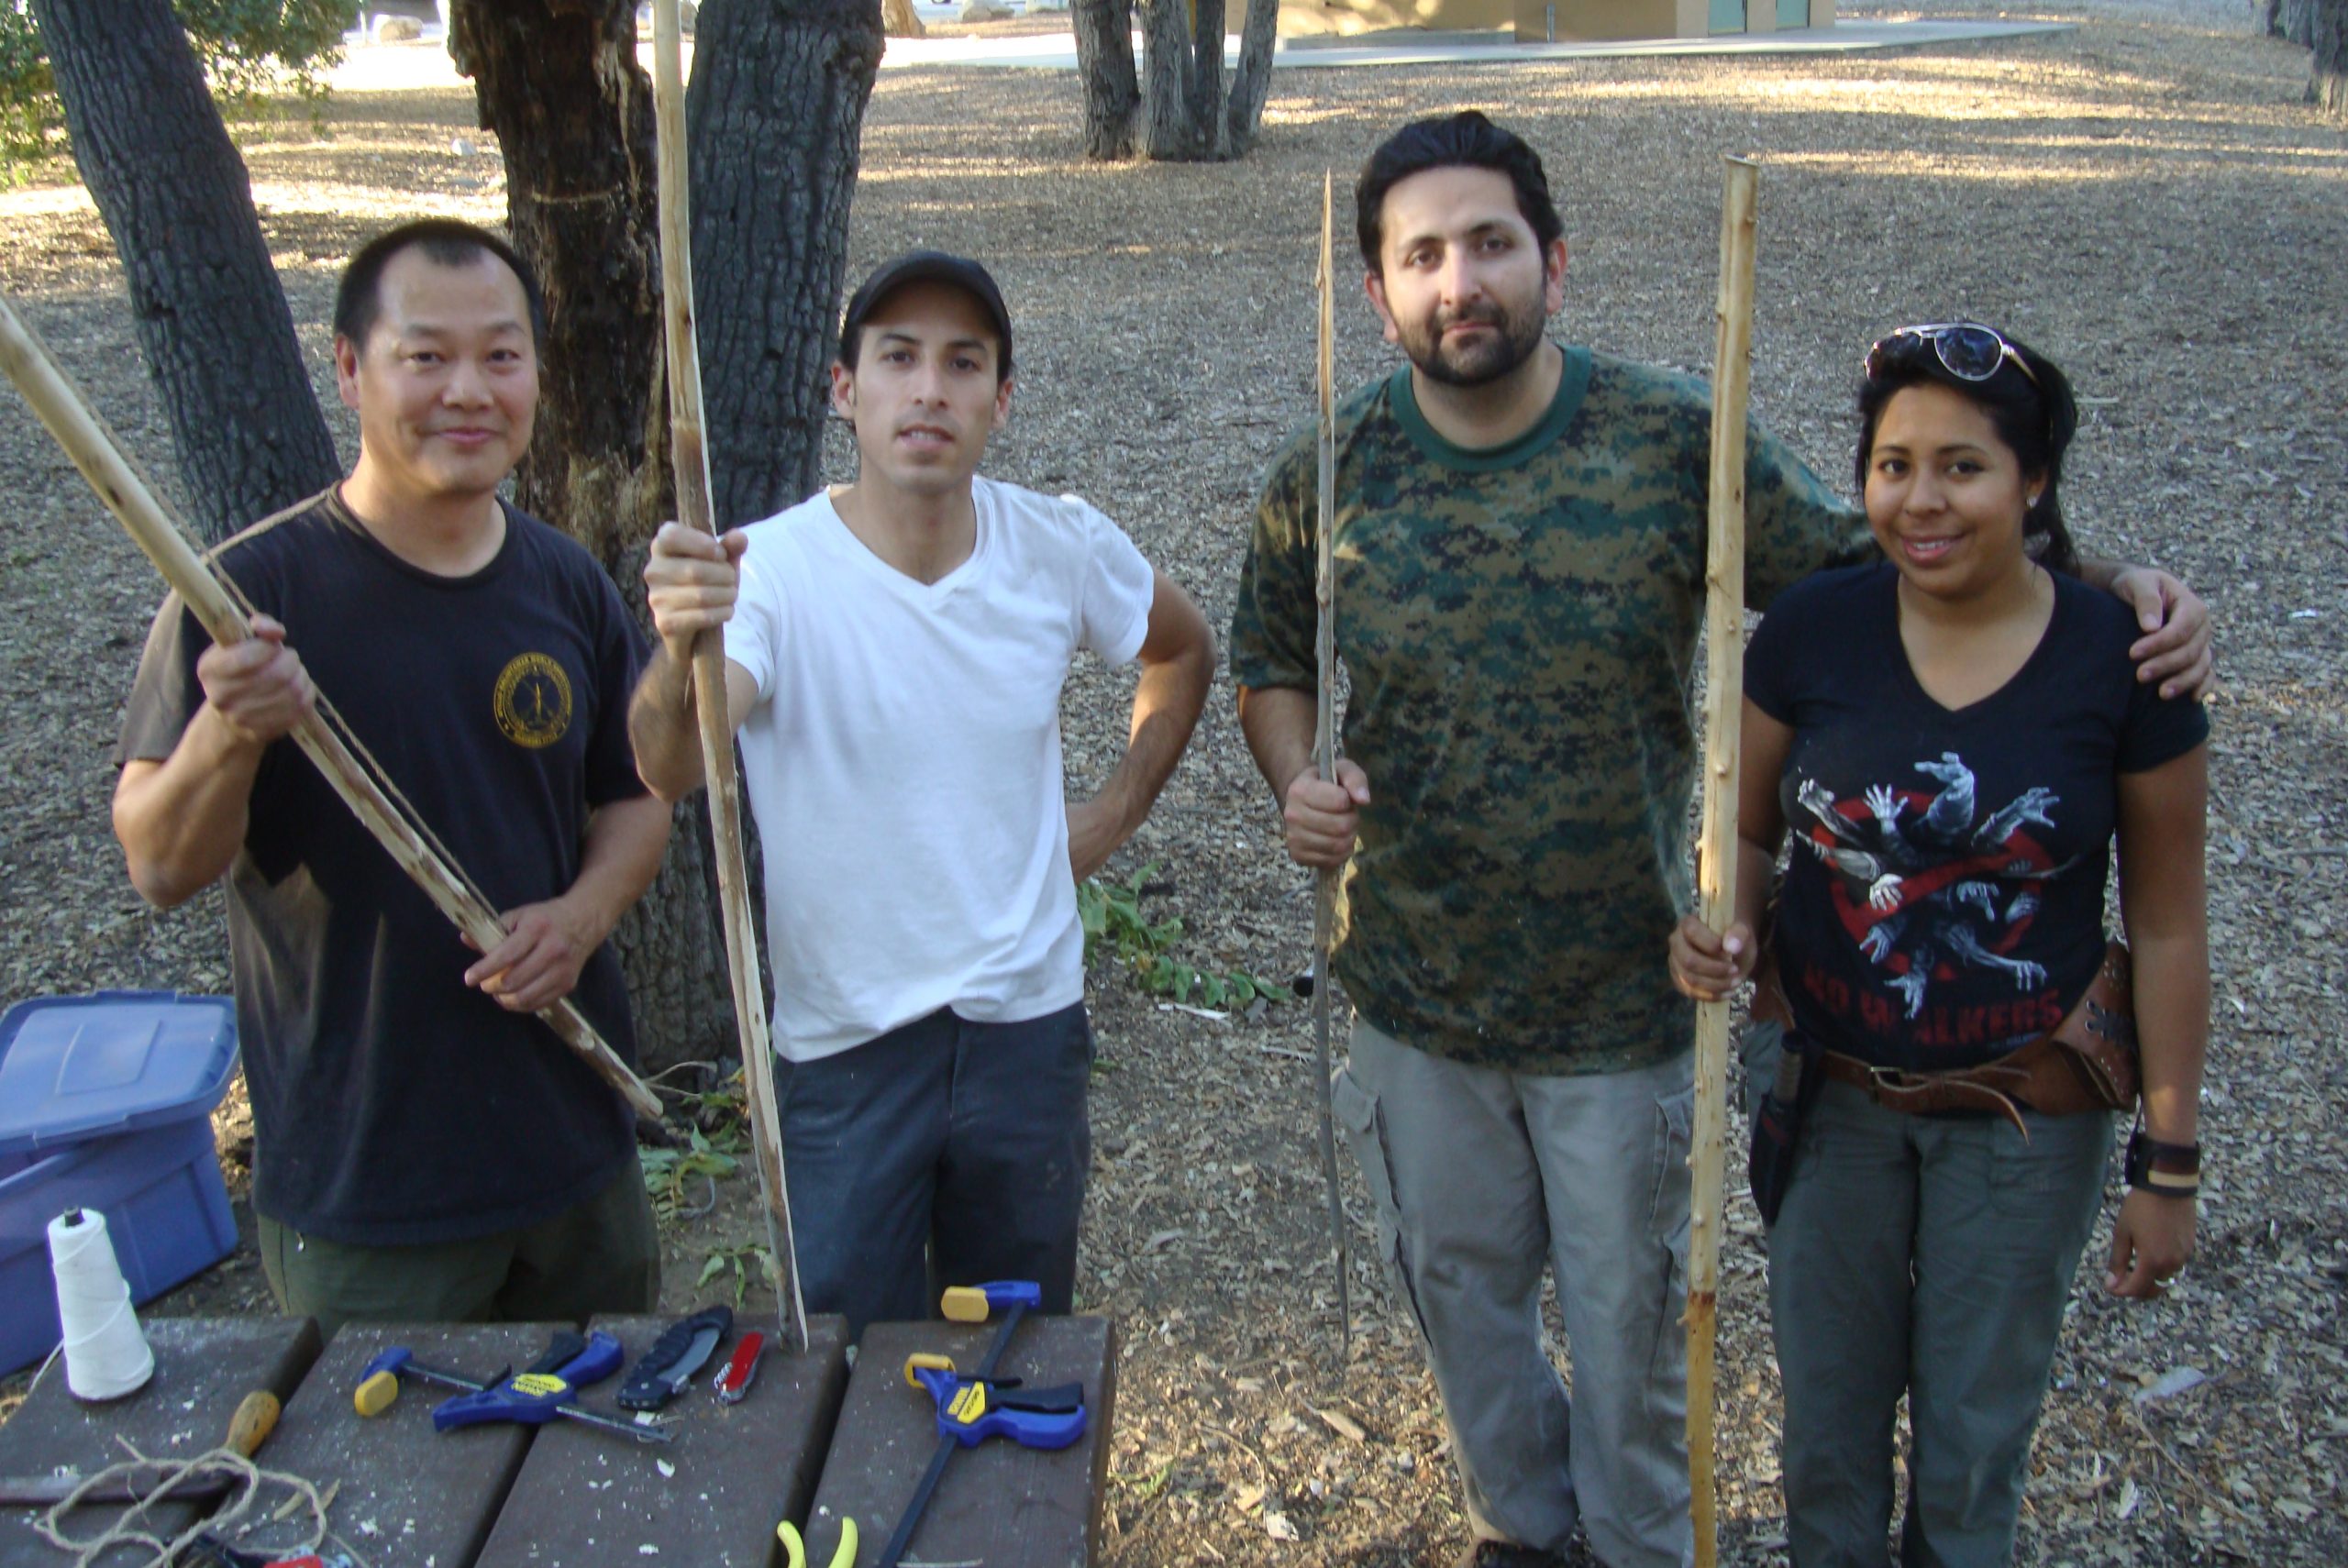
My first formal introduction to bow-making came during one of week-long Dirt-time events held in the Sequoia National Forest. There, under the tutelage of master bow-maker Joe Dabill, with Sig Nubla as his assistant, I was taken through the many steps and nuances of creating a useful bow, as well as the details of making functional arrows.
BOW-MAKING OVERVIEW

We began with a stave of wood that had already been cut and dried. My stave came from a California Bay tree and was more than 5 feet long. Our job was to reduce our staves to functional bows.
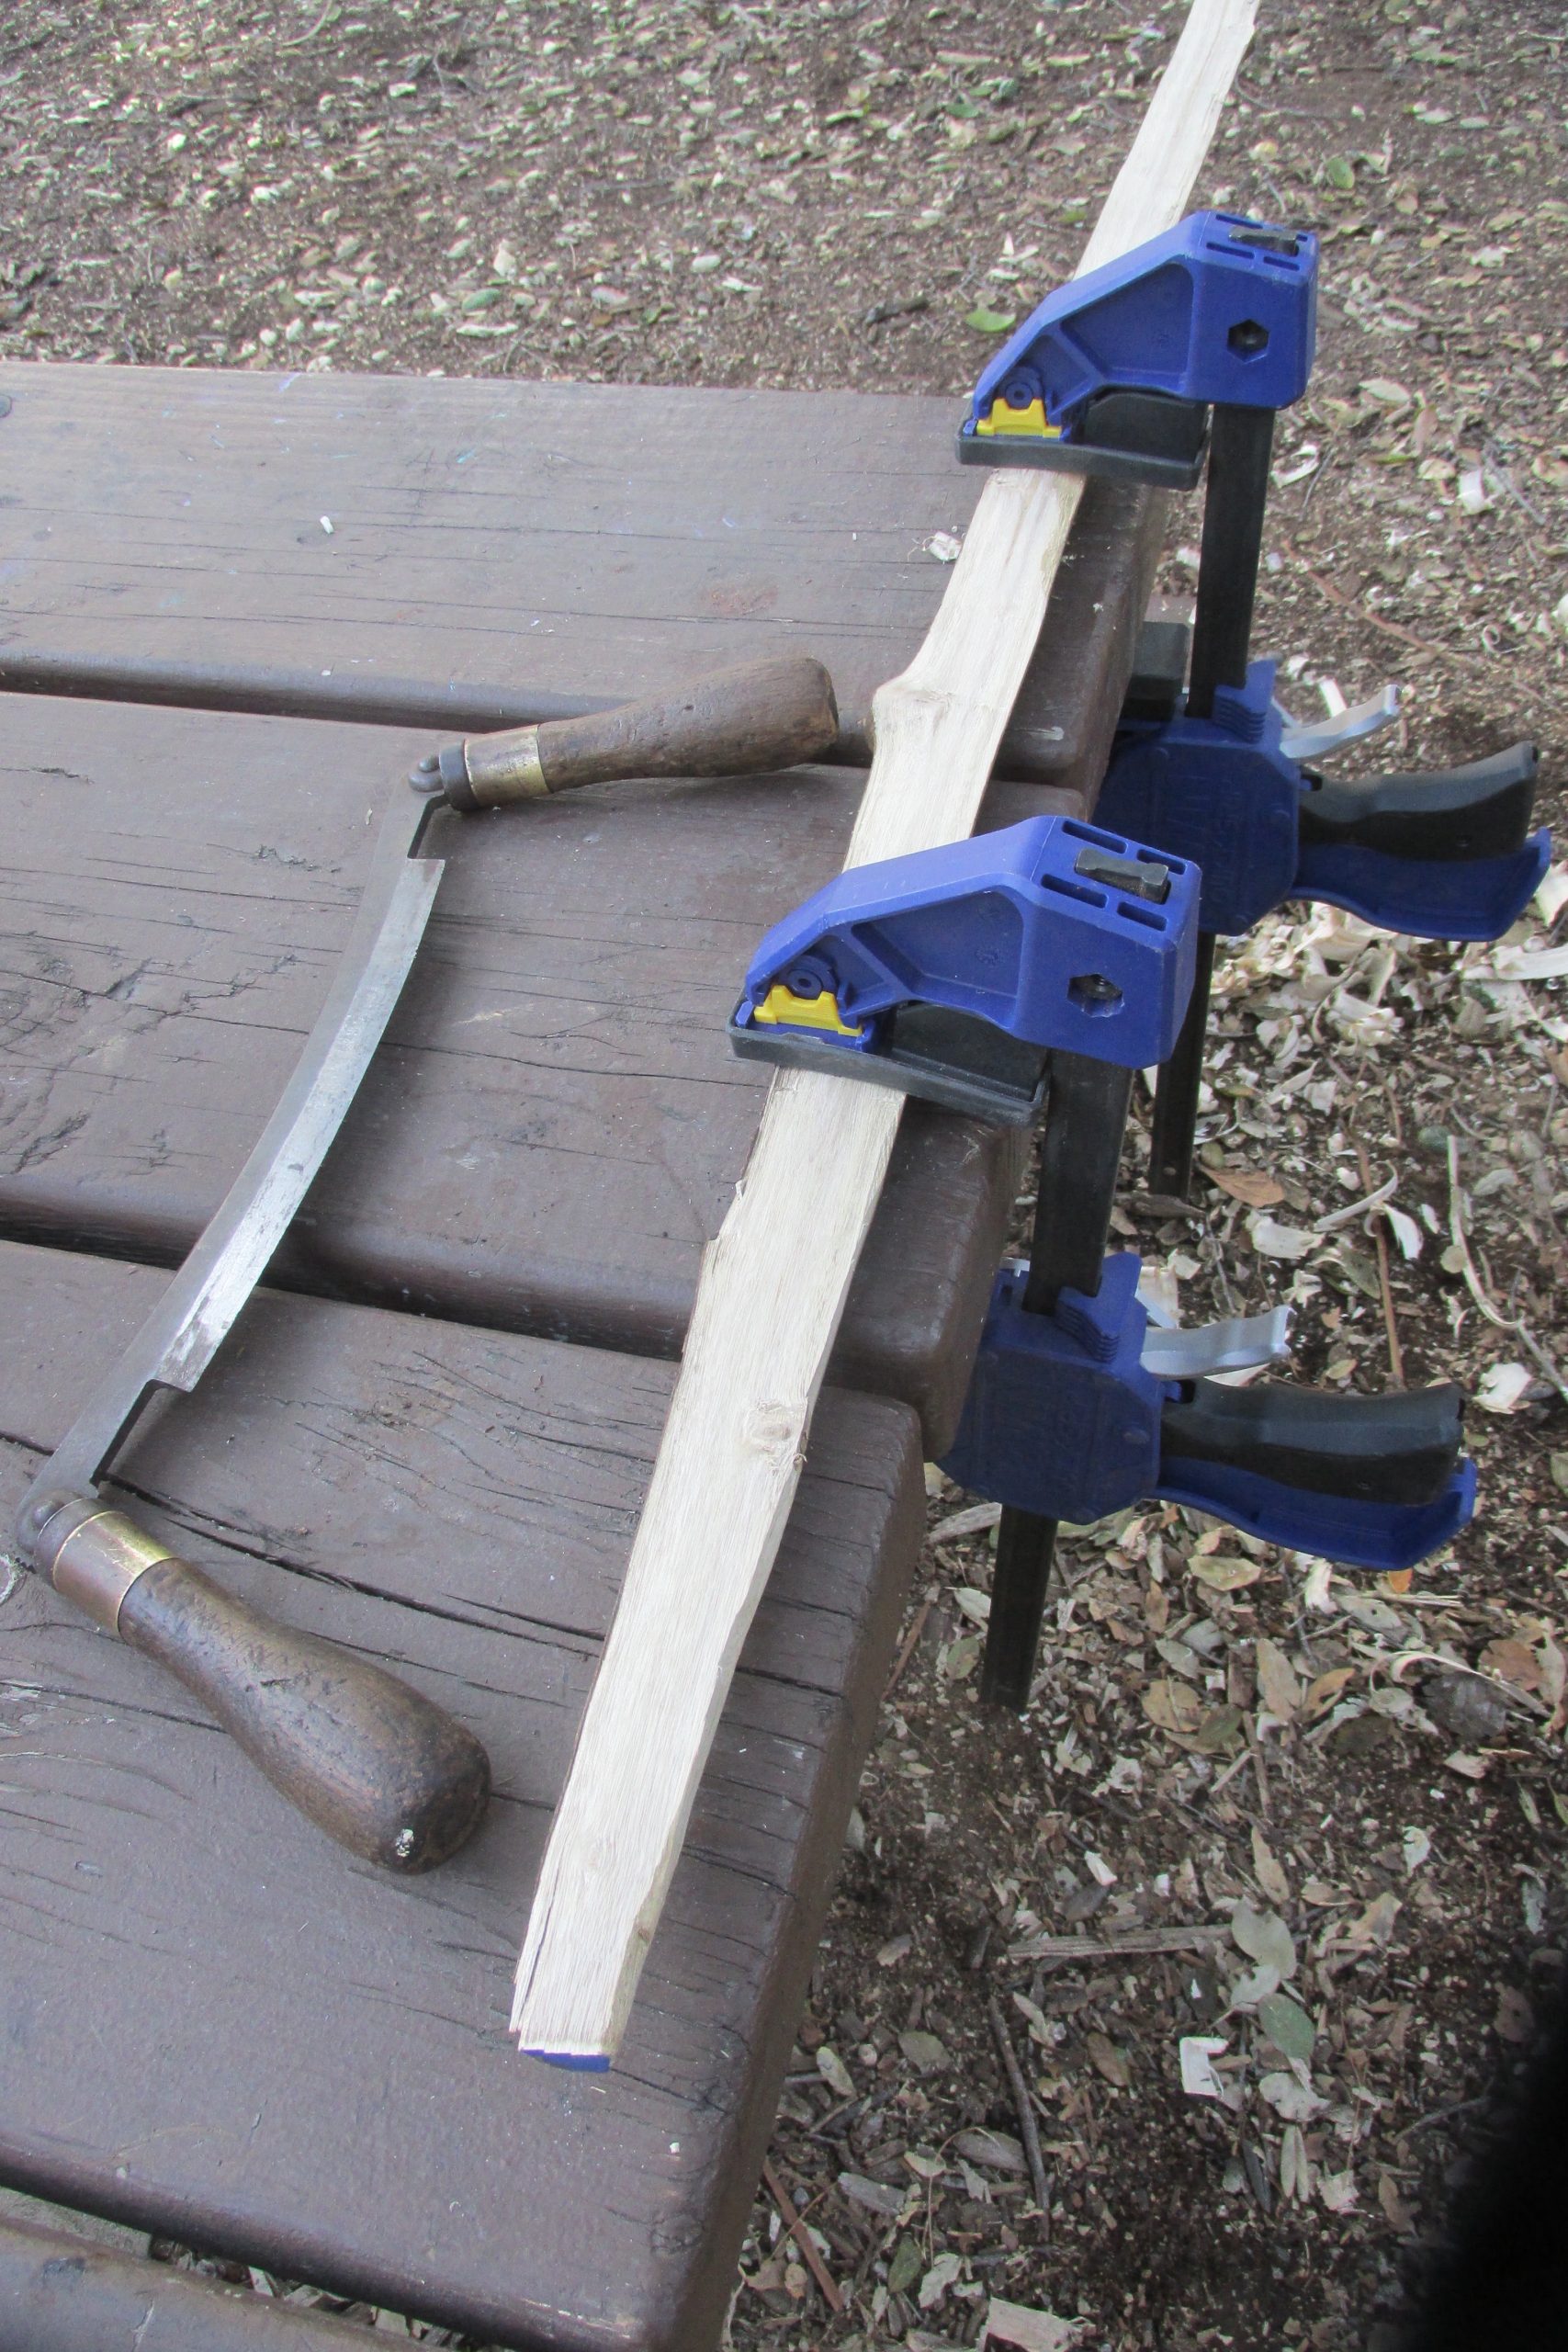
We began by clamping each stave to a wooden table, and examining it. No two pieces of wood are alike, and so each bow that you make will be unique. My stave that day was over an inch thick in sections, and as much as 2½ inches in others. Using various tools, my job was to evenly reduce the excess wood so that I have a bow that looked good, had the same width along its entire length (except at the tips), and had an even thickness. The correct thickness was critical, because that thickness was what allowed the bow to evenly bend, and cast arrows.
Using a spoke shave and a draw knife, I began the process of shaving off wood from my stave. Wood is always removed from the “belly” of what would become the bow — the “belly” is the side that faces you when you shoot the bow. You never remove wood from the back.
Eventually, in order to take off less wood, I used a Shinto wood rasp, which shaves off smaller amounts of wood. Then, as I was nearly done, I used a flat, rectangular piece of metal to scrape the belly and the sides of the bow. This removed fine slivers of wood and helped smooth out the surface. Remember: Go slow! You can always remove more wood from the stave, but you can’t put it back on.
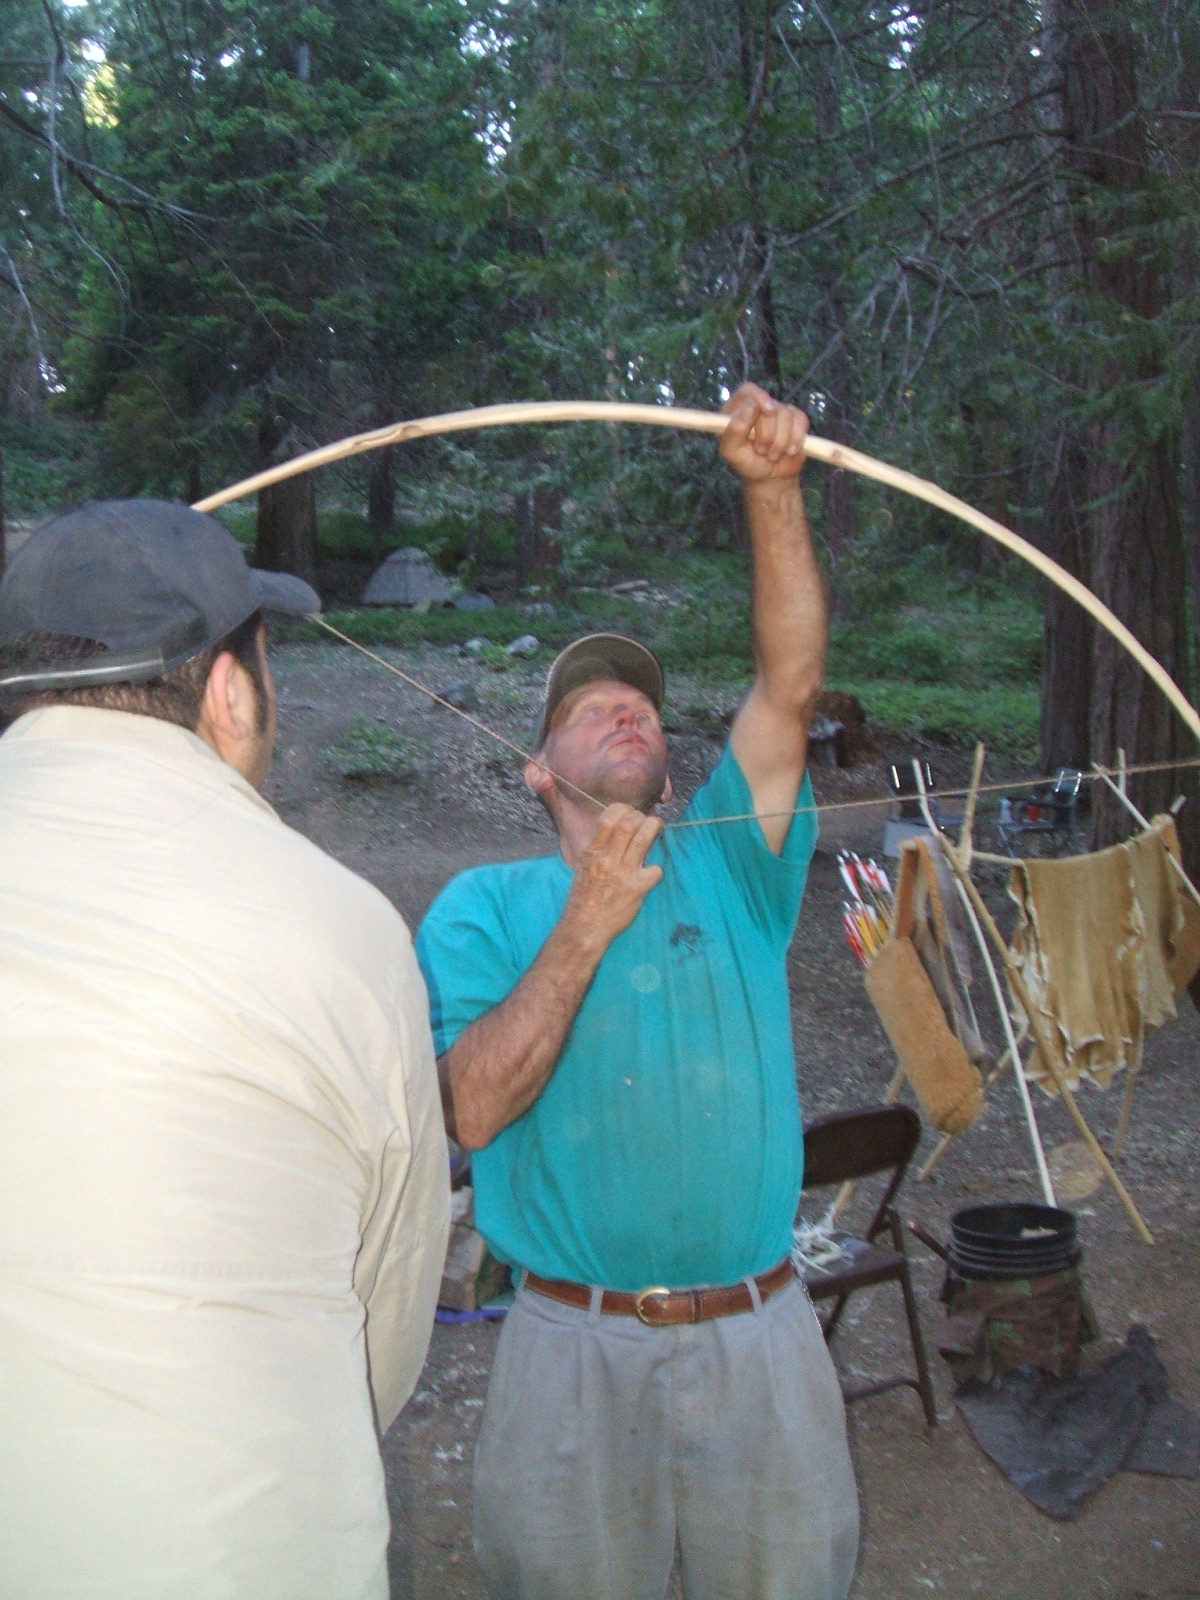
On the third day, Dabill removed my bow from the clamps and filed nocks into each end. I had already twined a bowstring from linen cord, which I then waxed with beeswax. Dabill strung it and tested the “tiller” – a good tiller means that each side of the bow bends evenly. After my strung-and-pulled bow was carefully examined, Dabill marked the stiff areas for still further reduction.
“You’re almost done,” said Dabill.
I re-clamped the bow to the table and continued the careful reduction. I reduced each end a little bit, and carefully thinned some of the areas that Dabill identified.
After another two hours, Dabill tested the bow’s tiller again. “Looks good,” he said. He then fired a few arrows at a nearby tree stump. “Shoots good,” he said with a smile.
GO TRADITIONAL
STEP BY STEP
Let’s go through it step by step. Begin with a good, straight piece of wood. You can select a perfectly straight shoot about 3 inches in diameter or cut a much larger tree and then quarter it down for separate staves. This traditional bow of Native Americans, often called a “self bow” or “long bow,” is generally not curved when unstrung, and it is made from one piece of wood.
I prefer the least amount of work, so I generally select a straight shoot about 6 feet tall. I typically use willow, ash or California Bay, because those are commonly available. Most woods will work. Osage orange is great, and so is mulberry.
The wood must then be thoroughly dried, maybe as little as two weeks but usually much longer. Some bowyers advise covering the ends of the wood with paint or wax during the drying process to cause the wood to dry slowly and evenly.
According to “Longbow,” also known as Alton Safford—one of the best old-time bowmakers—you should begin with a standing dead limb at least 4½ to 5 feet long and about 1¼ to 1¾ inches thick. Avoid green wood, because it is too heavy and doesn’t cast the arrows well. Also stay away from downed wood; it will likely be waterlogged or rotten.
In general, the best bowmaking woods are yew, Osage, mulberry, black locust, apple, juniper, hickory and ash. However, in a pinch, you would use whatever wood is available. Good functional bows were made out of willow in the old days, even though willow is soft and subject to breakage more than other woods. But willow is abundant!
Before you get to work, carefully examine your stave, bending it slightly to see which way it bends. You should be able to determine the natural direction to begin carving your bow.
REDUCTION
Your next step is to flatten one side— the side that faces you when using the bow. This flat side is called the “belly,” as explained earlier. While all wood is removed from the belly, nothing but bark should be removed from the back.
Clamp your stave to a vice or table. Use a knife, small axe, draw knife, rasp or a file for reduction (maybe all of these). Just be sure your tools are sharp and appropriate for the work.
Slowly, carefully and evenly cut flat strips all the way down the belly of the bow. As you remove wood from it, test the bow periodically by bending it. This process can take hours until the bow begins to take shape.
You might use a small axe and big knife at first, but you should wield them very carefully as you proceed. Remember that you can always shave off more wood, but you cannot put it back on. If you carve too deeply, you might ruin what could have been a good bow … and you’ll have to start over from the beginning.
The reduction process can take hours, and although everything can be done with one large knife, I strongly recommend that beginners get a few of the other tools mentioned here.

THE TILLER
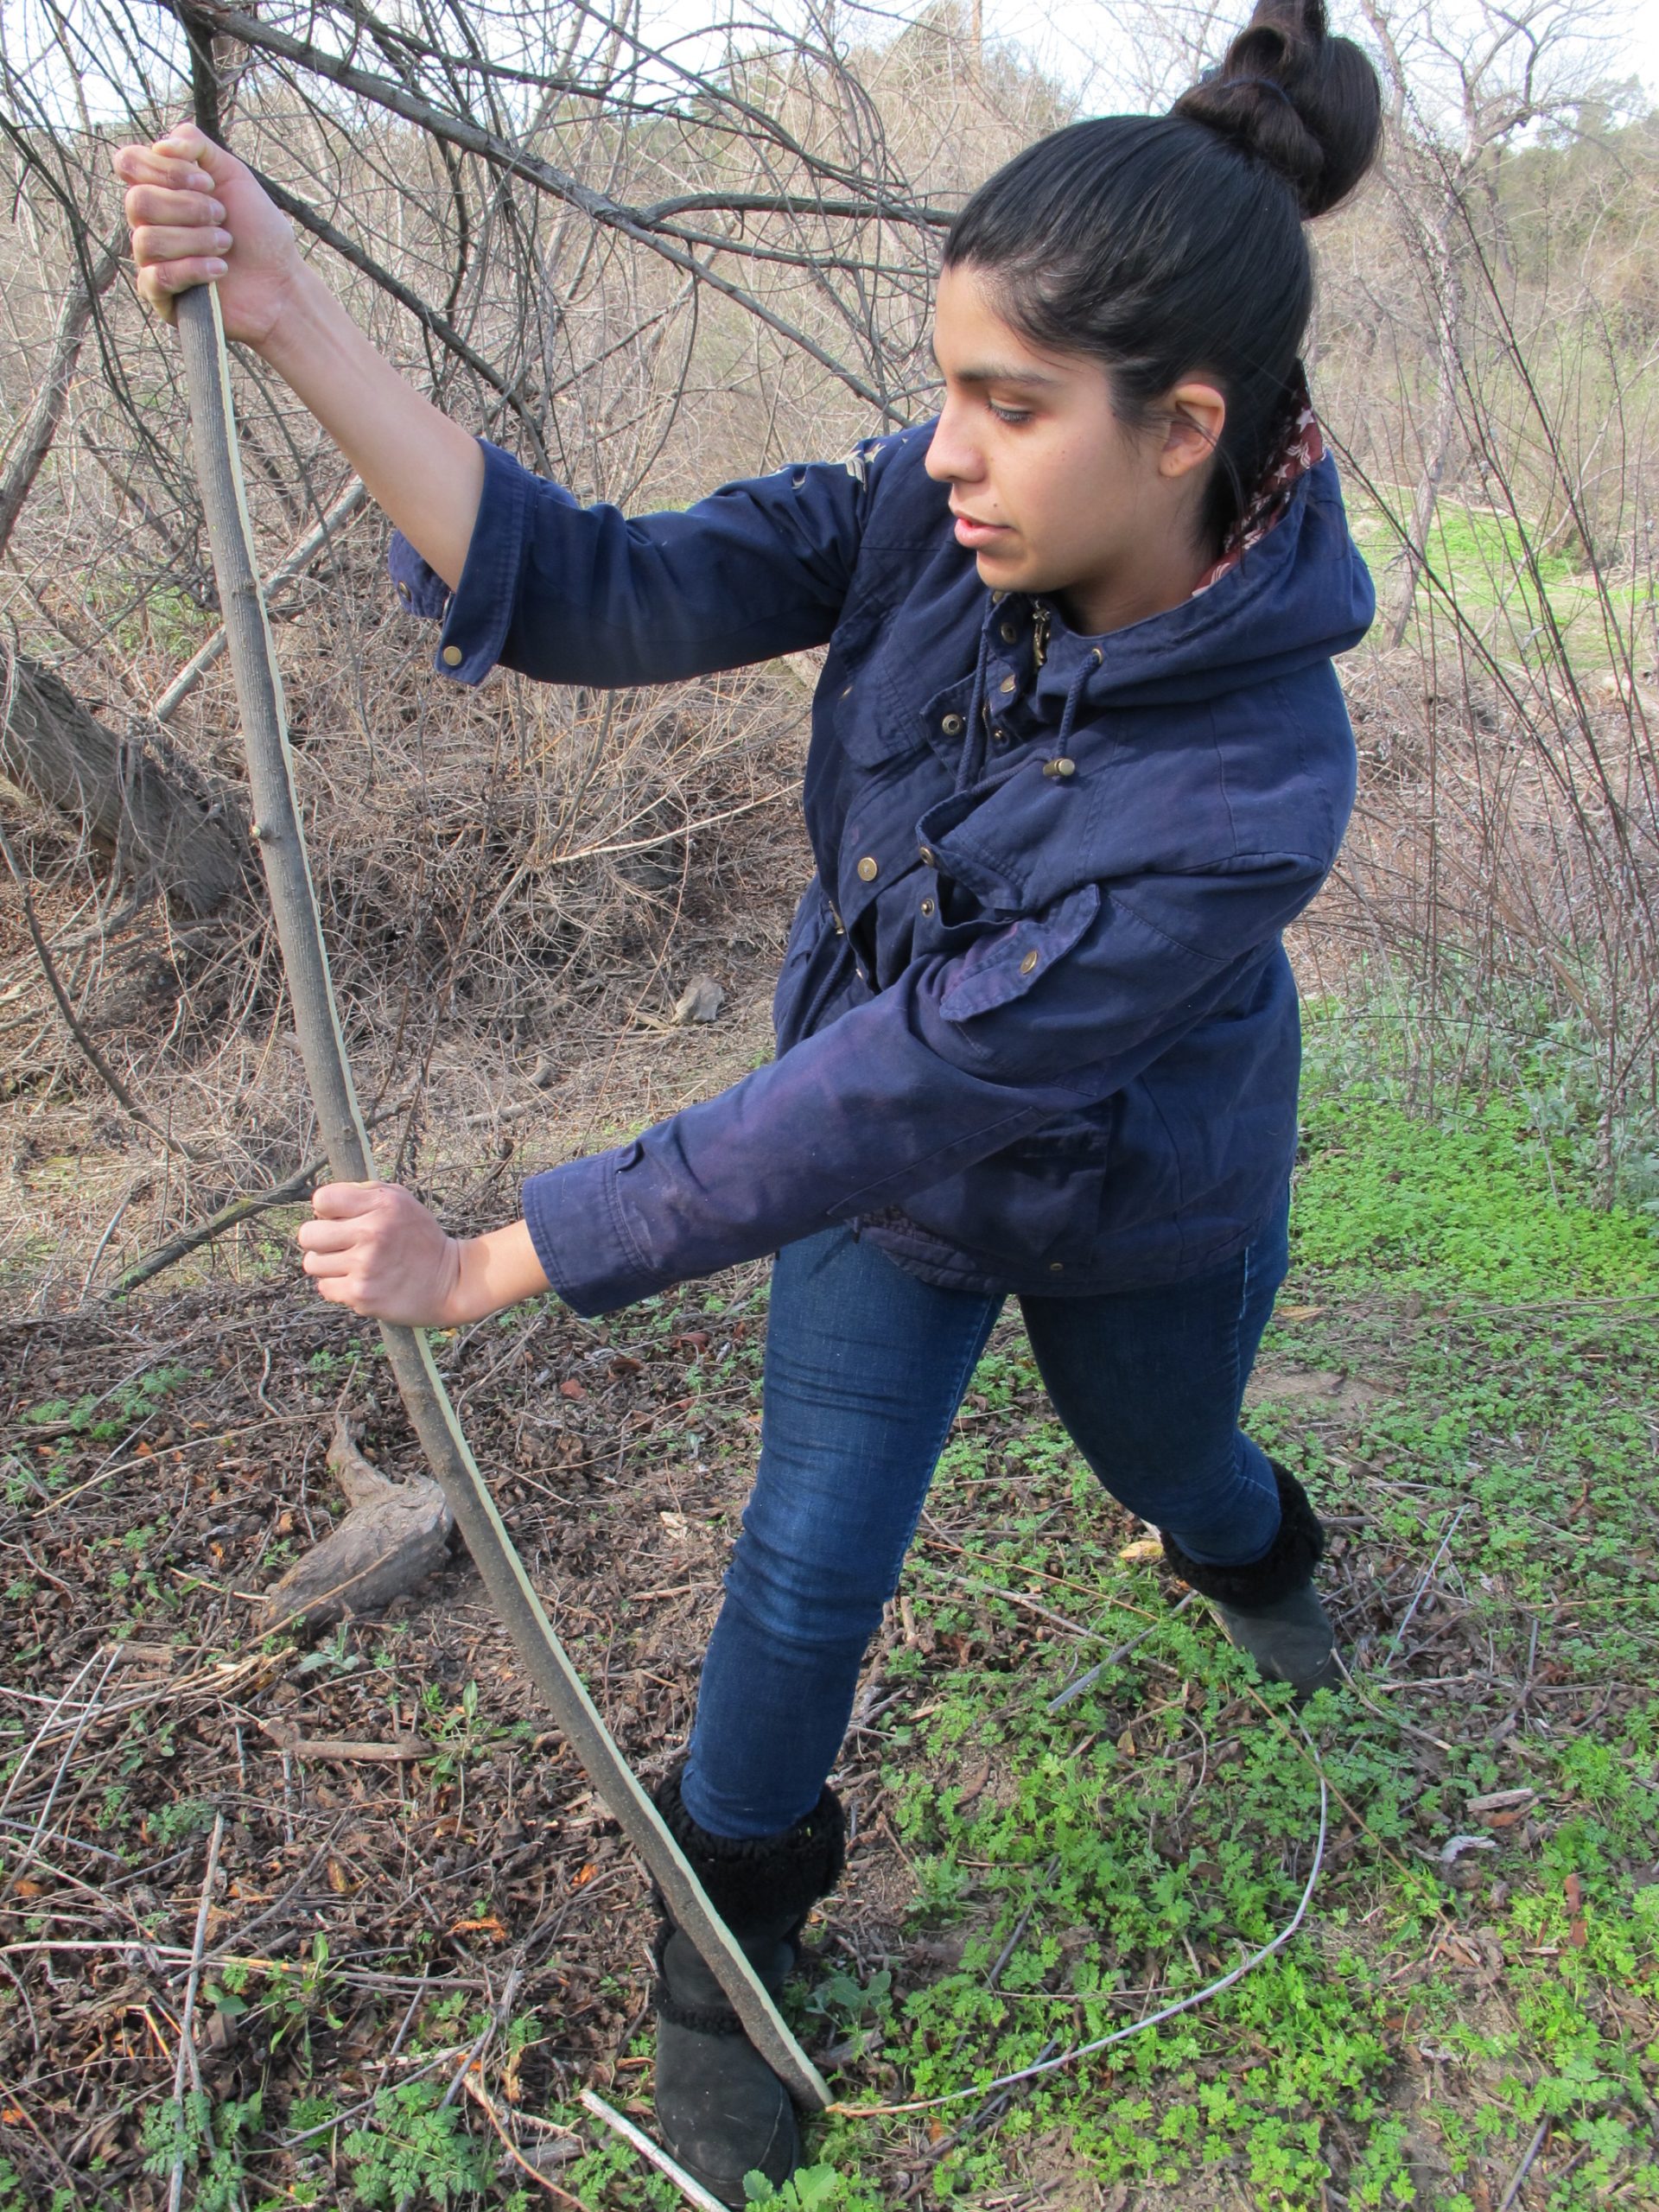
As you reduce more of each “arm” of the bow, you will get to the point at which you can test how well your bow-in-progress flexes. Also make sure you have an even tiller, which means you want each arm to bend the same. To do this, you need to string the bow, gently pull on it, and observe how much each side bends. There should be equal pull on both.
One way to observe the tiller is to do the pulling in front of a large mirror. Alternatively, have someone watch while you pull it. You can also use a tillering stick, which allows you to step back and observe. If the tiller is not even, continue to carefully and slowly reduce the stiff side until the tiller of both sides is equal.
When you are satisfied your bow is bending evenly, cut nocks on each end for the bow string. Add the string, and your bow is finished.
SOURCES
Bows and Arrows of the Native Americans. Jim Hamm; The Lyons Press, 1989. (An excellent presentation that includes data gleaned from Ishi, thought to be the last surviving member of the Yahi group of Yana Indians)
Encyclopedia of Native American Bows, Arrows, and Quivers. Allely and Hamm; Lyon’s Press, 1999. (A picture book full of line drawings showing the diverse styles of bows, arrow types, nocks, methods of construction, quivers, weaves, etc.)
Survival Skills of Native California. Paul Campbell; Gibbs Smith, 1999. (An excellent book that covers all the skills used to survive, with detailed sections on bow and arrow making)
The Traditional Bowyer’s Bible, Volume One. Allely, Baker, Comstock, Hamm, Hardcastle, Massey and Strunk; Bois d’Arc Press, 1992. (Everything you need to know about wood for bows, making bows, even making arrows. Yes, there are other volumes, but start here.)