[Nyerges has led wilderness survival classes and field trips since 1974, and is the author of many books, including “How to Survive Anywhere,” “Enter the Forest,” “Guide to Wild Foods,” and more. He can be contacted at www.SchoolofSelf-Reliance.com or Box 41834, Eagle Rock, CA 90041.]
If you ever get lost or stranded in the snow, the knowledge of how to properly construct a shelter from the snow could save your life.
A snow shelter can be a simple cave dug into a bank of snow. When you dig, remember that heat rises, so you should dig slightly up, and then create a flat area for sleeping. Obviously, you need snow that is thick enough to create such a shelter. You could dig such a hole from your skis, a hubcap, a piece of bark, or ideally from a shovel. You don’t want to dig with your hands because you’ll get frostbit, so only do that if you have waterproof gloves.
A snow shelter is simple to make, but make sure it’s big enough to lay down for as many people who will be using the shelter. It needed be big enough to stand up in, however. It really needs to be just big enough to sit.
A finished igloo; only the entry tunnel has to be finished.
You will need to lay something down on the snow of your snow shelter, like a tarp, or many layers of pine needles or soft leaves. If you try to sleep directly on the snow, you’ll lose body heat. Try to get something – anything – between you and the snow.
You might think that it would still be cold inside a snow shelter, and you’d be right. But, in general, it’s warmer inside such a shelter than outside. You’ll have no wind, and some ability to trap heat. A small candle inside such a shelter is usually sufficient for some warmth.
What about the igloo? Are they easy to make? Can you just throw one together?
Students carrying cut snow blocks for an igloo.
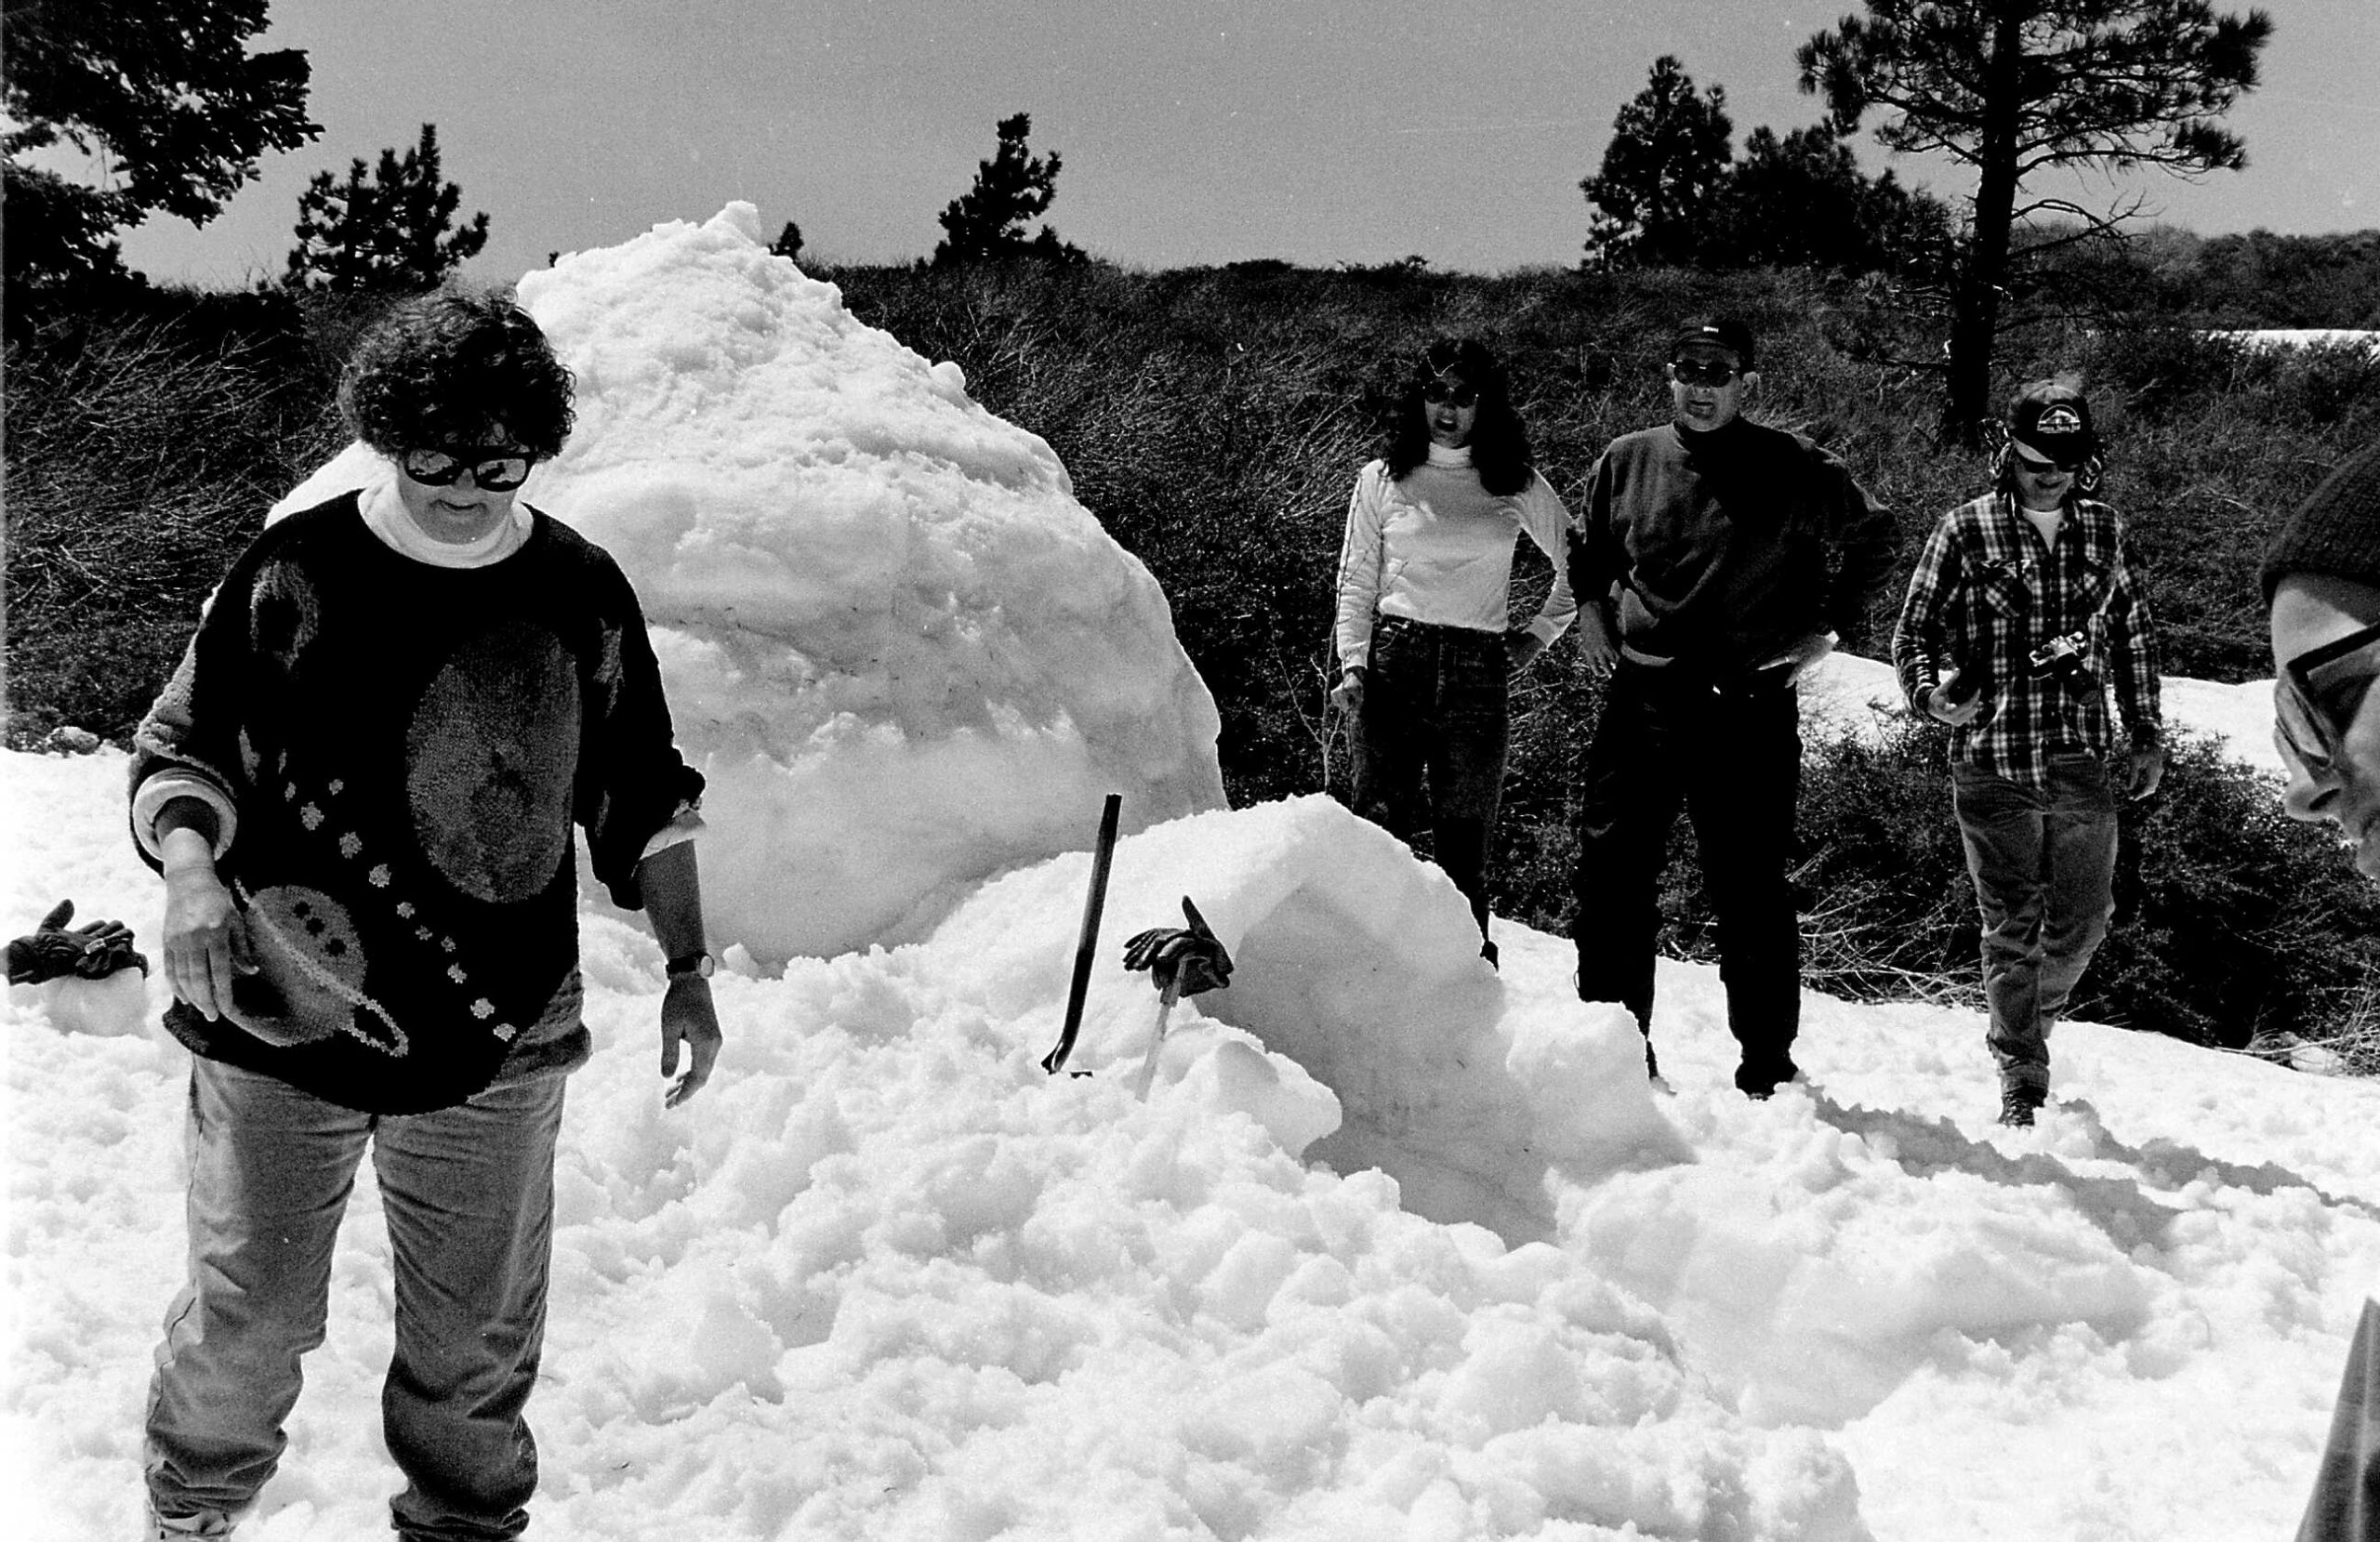
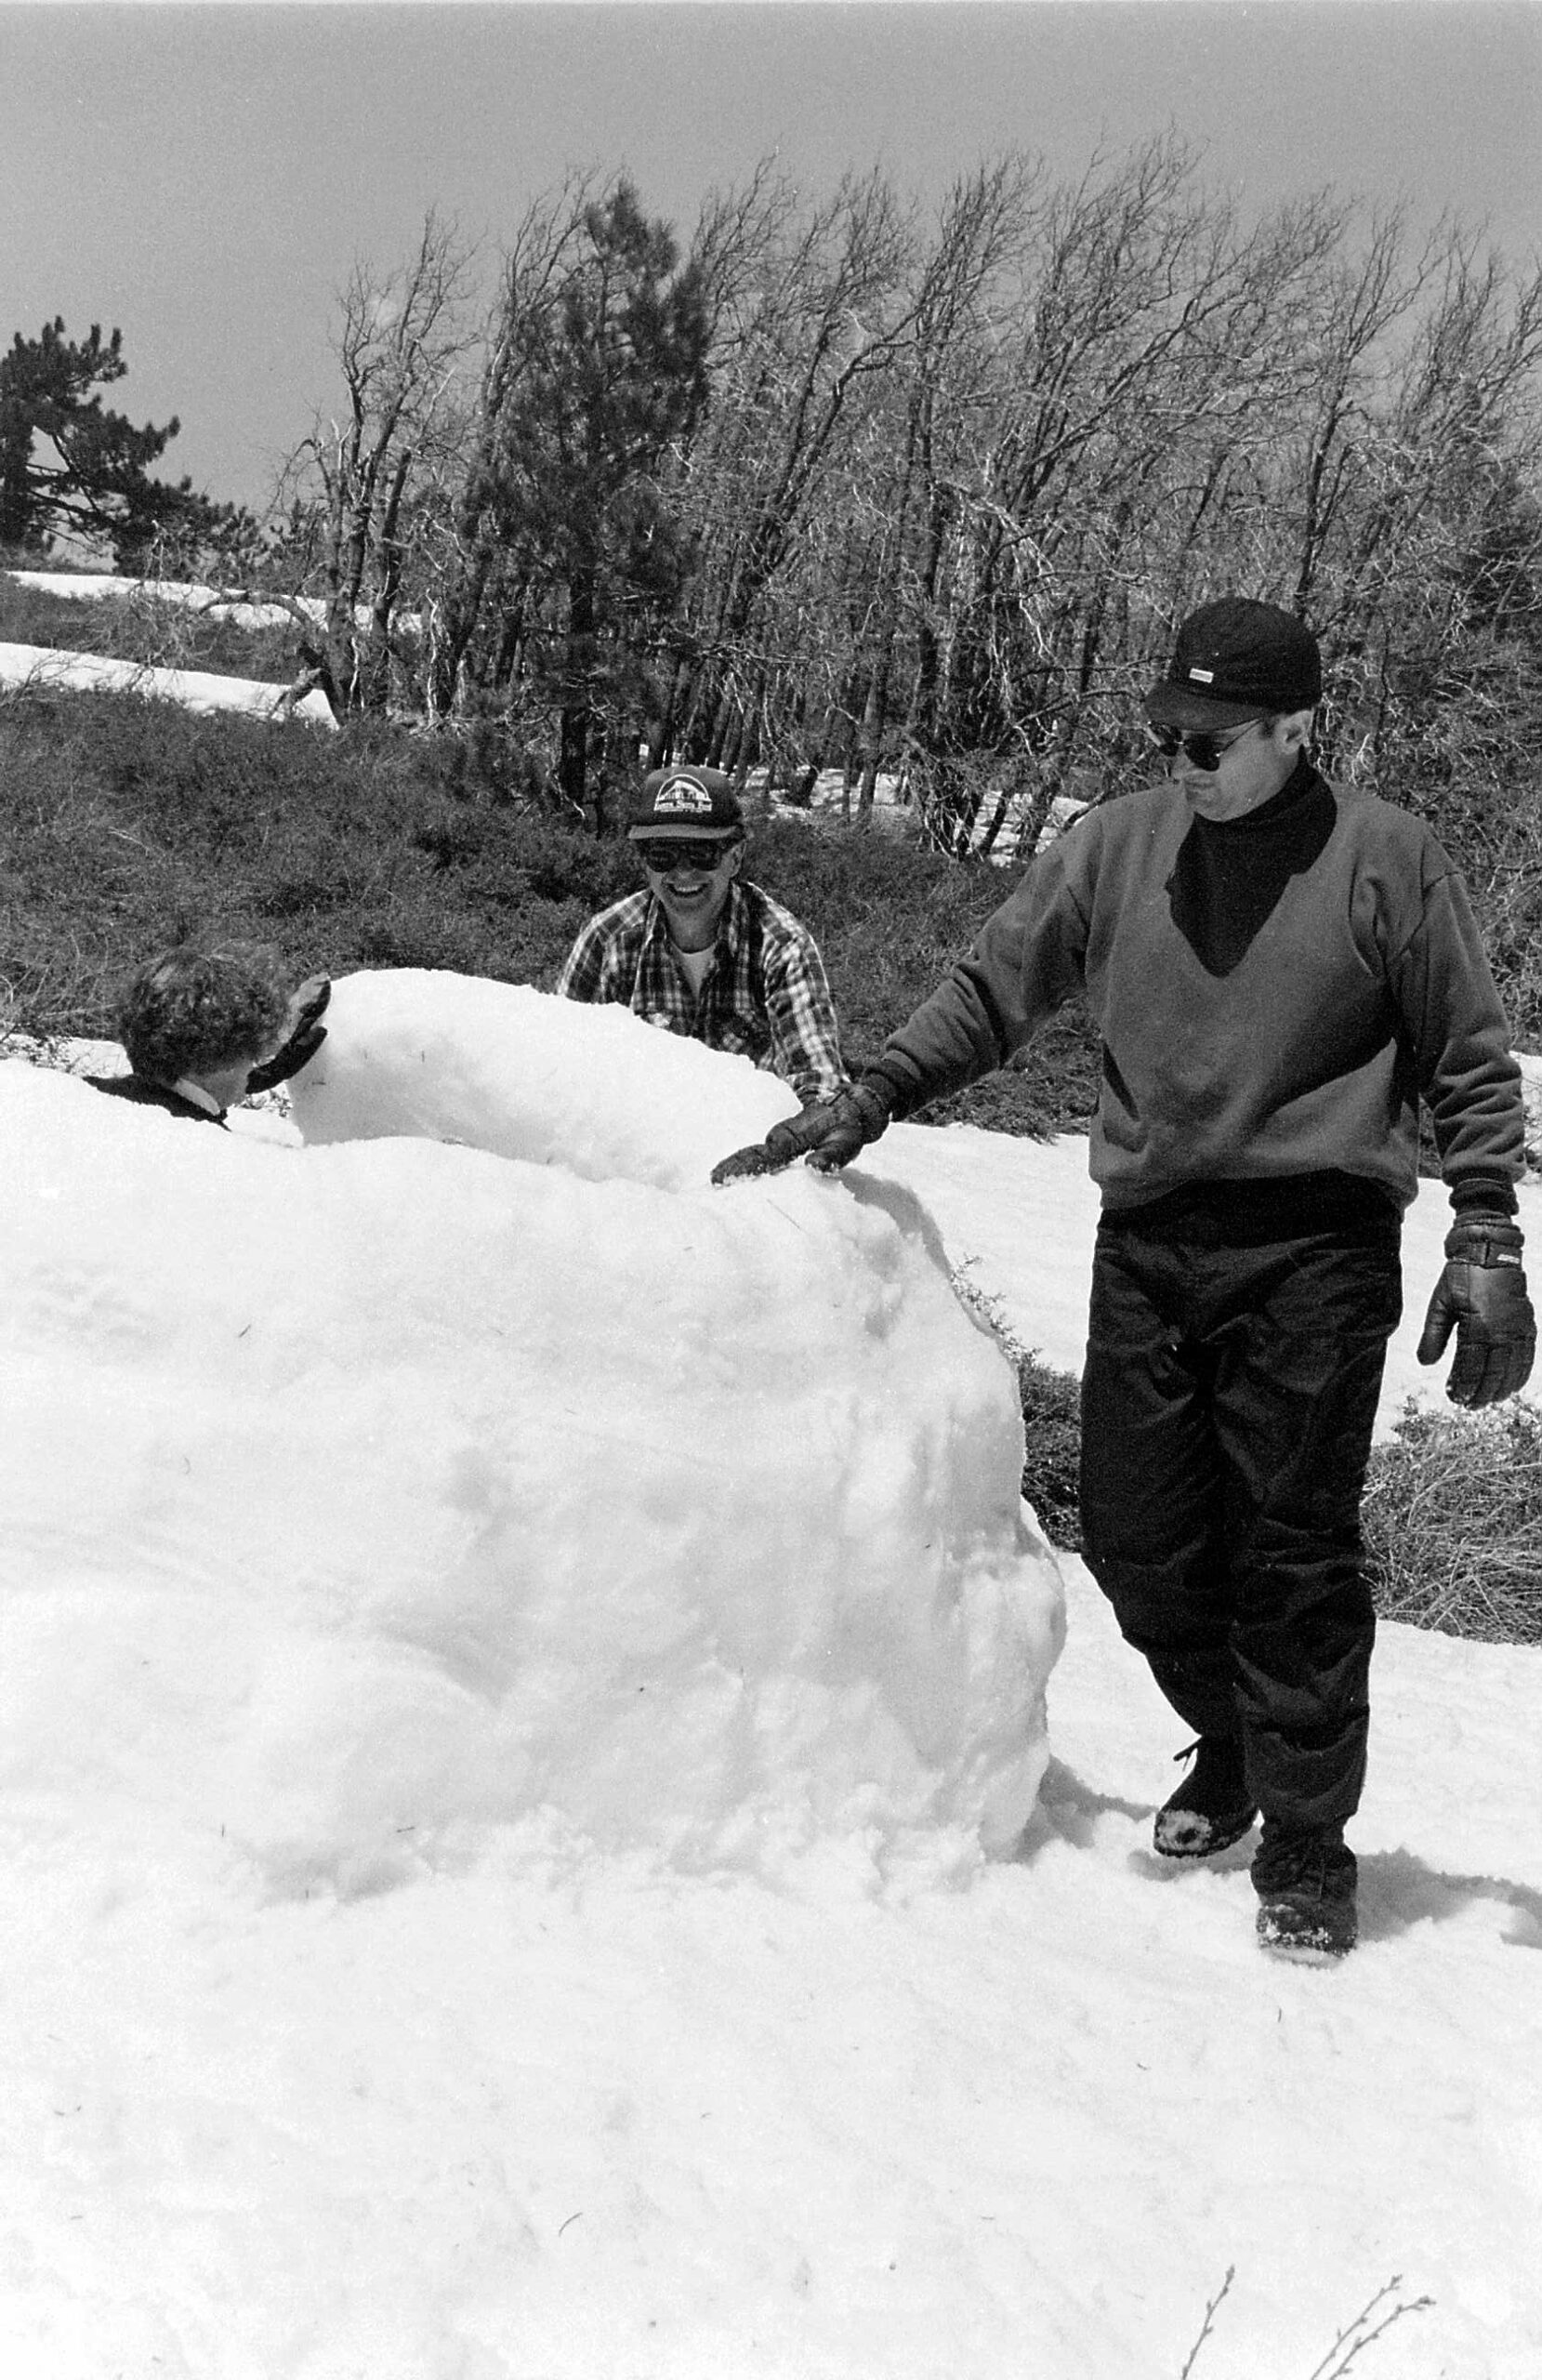
Once, all homes in the Arctic Circle were snow houses – igloos. But it’s a lost art today. I had the good fortune to learn igloo-making from Rick Maschek, who – by our best estimates – has made more igloos than anyone living today, Inuit or otherwise.
After two and a half hours of carefully cutting and stacking blocks of snow, our igloo was finished. Our group of seven students were working under the tutelage of Rick Maschek, who was a training officer of the Barstow, California Desert Rescue Squad. He also taught at a middle school and worked at an outdoor sporting goods store.
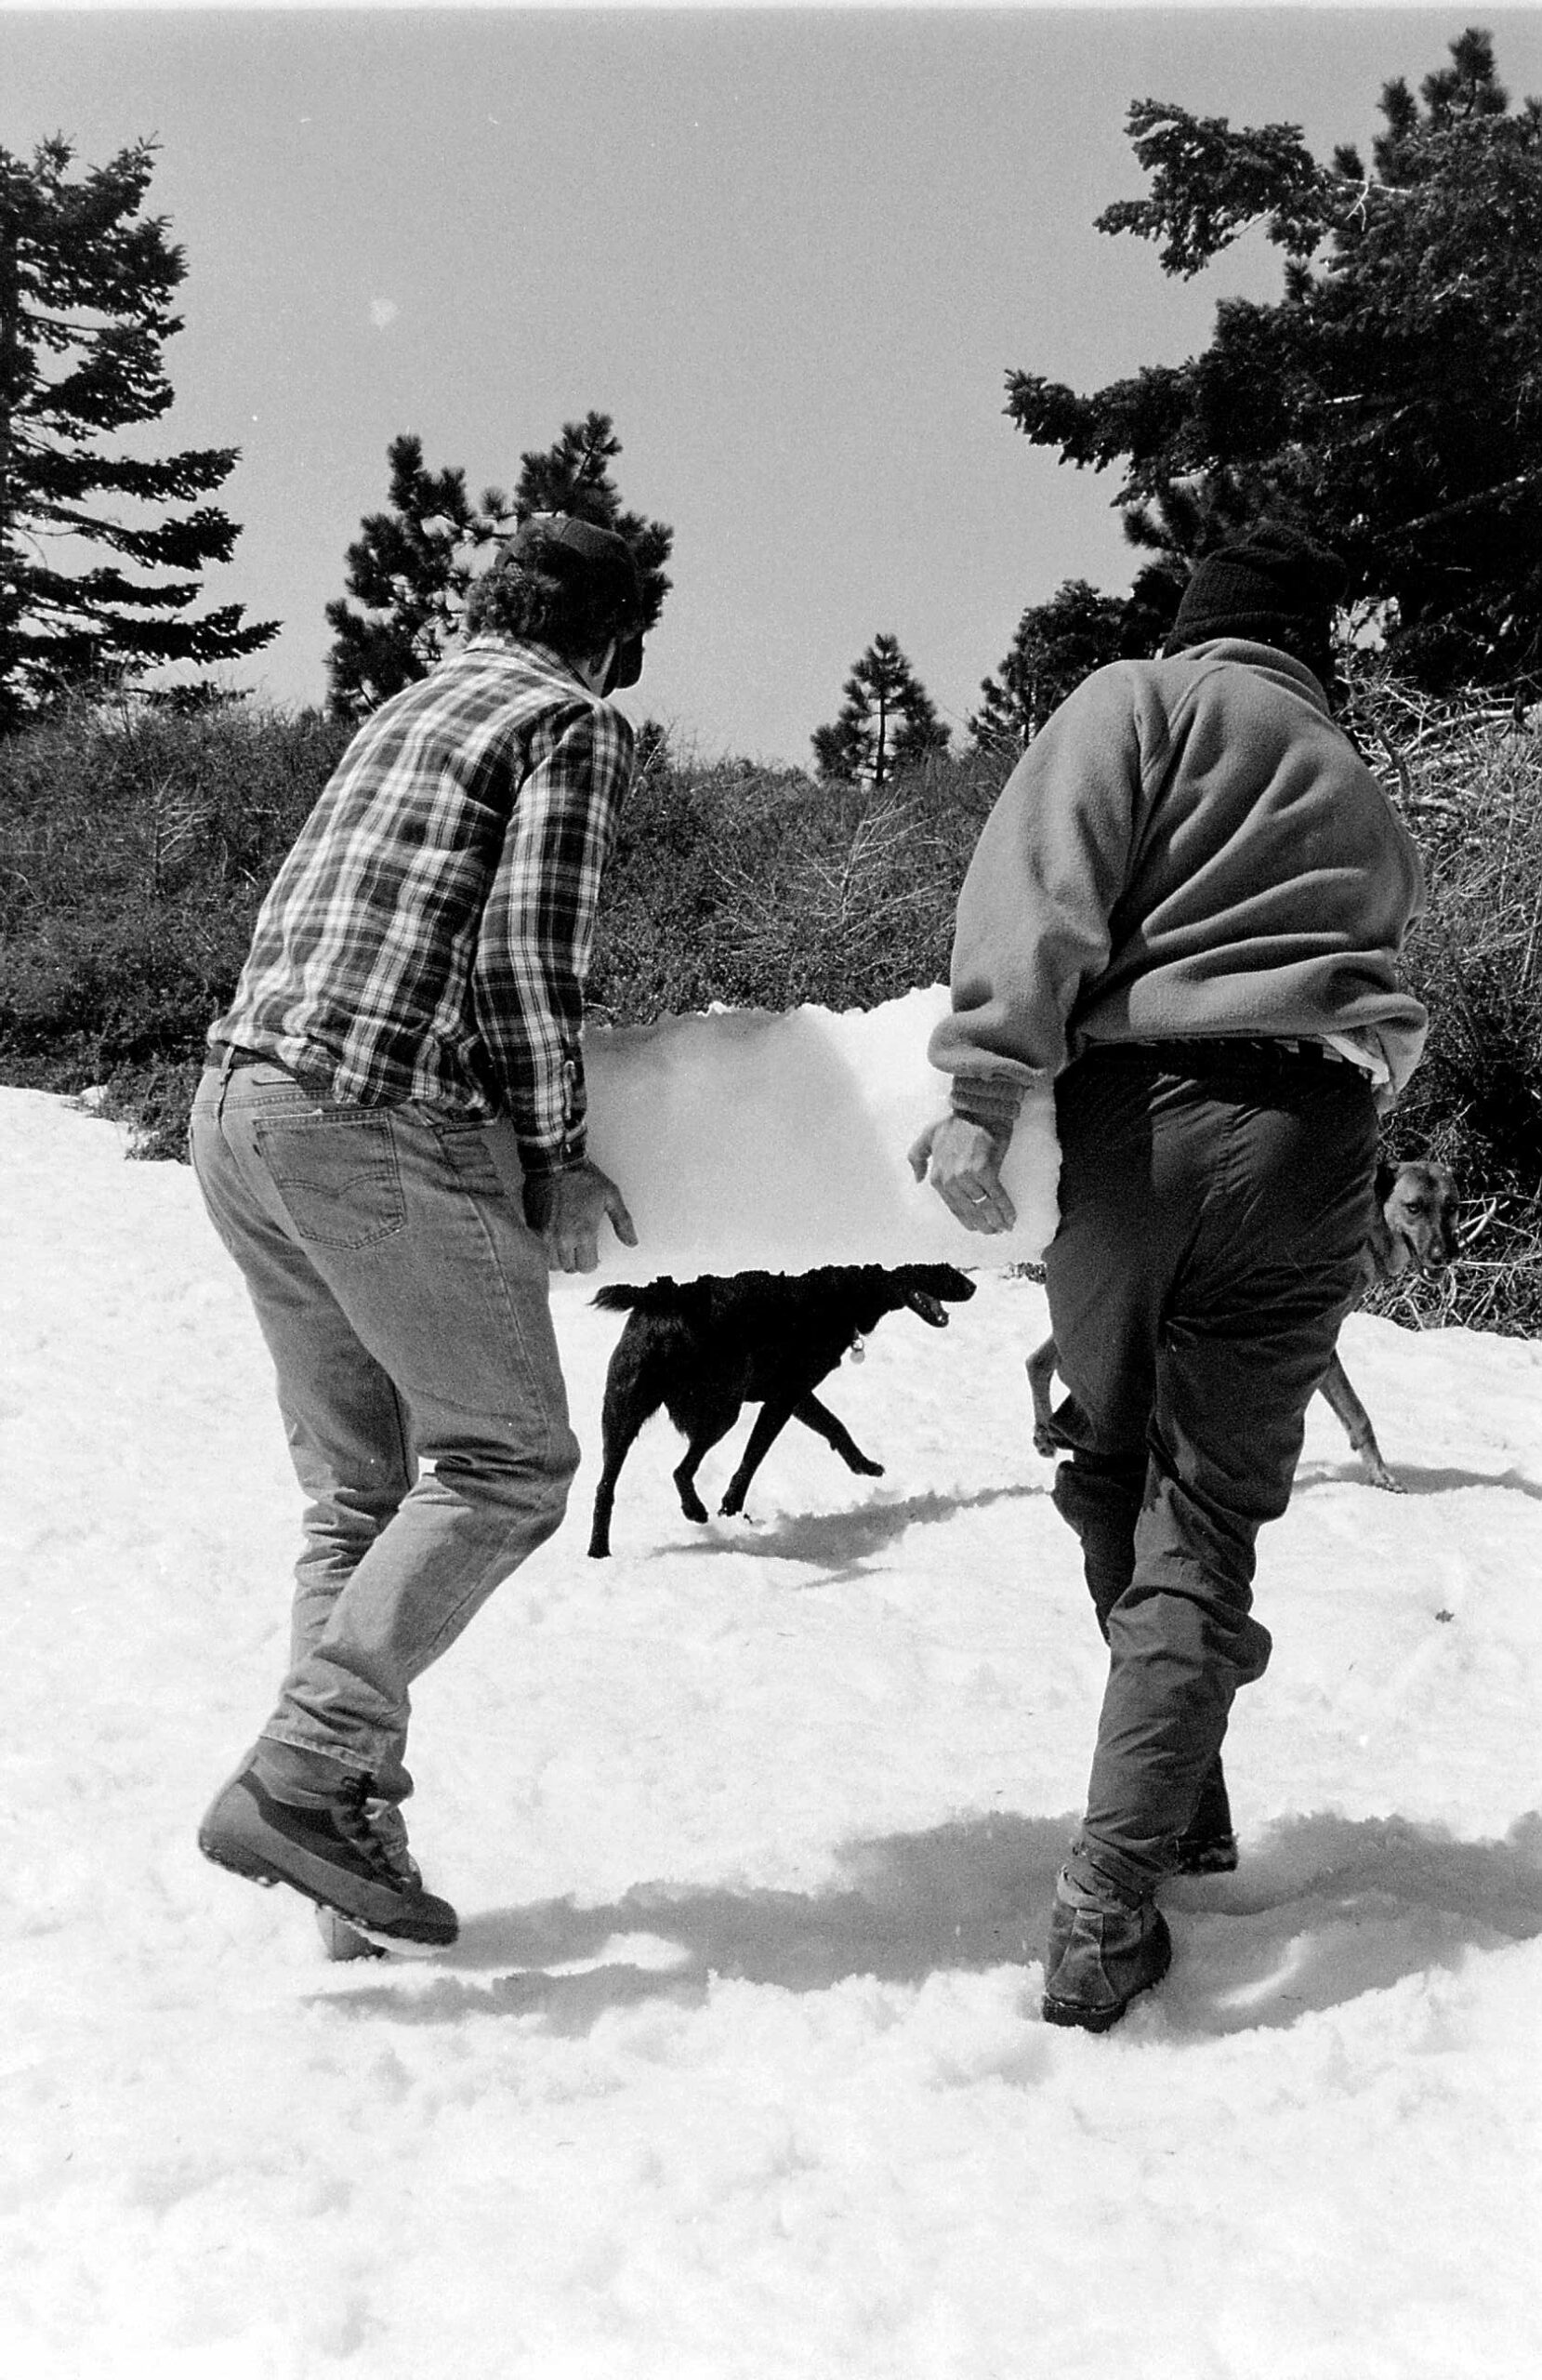
Once our foot diameter dome of snow was finished, we dug a tunnel into it and all seven of us (and two dogs) crawled into the igloo to inspect our handiwork. At first, our reaction was awed silence as we each entered into the subdued light and quietude of the igloo, and then we all began to spontaneously laugh at the remarkably unique experience of being inside an igloo for the first time. There was no wind, sound was muffled, and it was comfortably warm.

Rick Maschek, instructor in the art of igloo-making.
Maschek told us that he’d built his first igloo in a snow survival class many years earlier, and that hooked him. Now he said that he doesn’t carry a tent anymore when backpacking in the winter. “I carry a 12 ounce snow saw,” he told us, showing us a nearly foot long wooden-handled aluminum tool.
“Even the most expensive tents don’t hold up well in a heavy storm,” explained Maschek. “They’re shaky, noisy, and will sag from the weight of the snow. But an igloo is quiet and will hold up to the most severe of storms. In fact, the igloo gets stronger and thicker form the new layers of snow.” In a heavy winter storm, one needs to shovel constantly to keep the snow off a tent to prevent it from collapsing. Maschek advises his students not to waste their time with the shoveling, and to simply build an igloo.
During another expedition to Mount McKinley, Maschek and his team built four igloos and a snow cave, one at each successive camp as they made their ascent. As he came back down, he discovered that every one of the previous igloos were occupied by climbers who followed.
“When I leave my igloo behind,” says Maschek with a broad smile, “I leave behind an emergency winter shelter for others to use.”
BUILDING THE IGLOO
A finished igloo; only the entry tunnel has to be finished.
When building an igloo, you first need to select a relatively flat site with at least two feet of snow on the ground. You then begin by drawing a circle in the snow, which will be the igloo’s inner diameter. Using the snow saw (it should have a blade at least a foot long), blocks are cut from the snow. If you are lost and don’t have a snow saw, there are many other possible substitutes, such as a ski, or a flat piece of wood.
The size of the block will vary depending on the condition of the snow. When I made my first igloo with Maschek, we were just a few miles west of Wrightwood in the Angeles National Forest. The blocks we made were about two feet wide, a foot tall, and about eight inches deep.
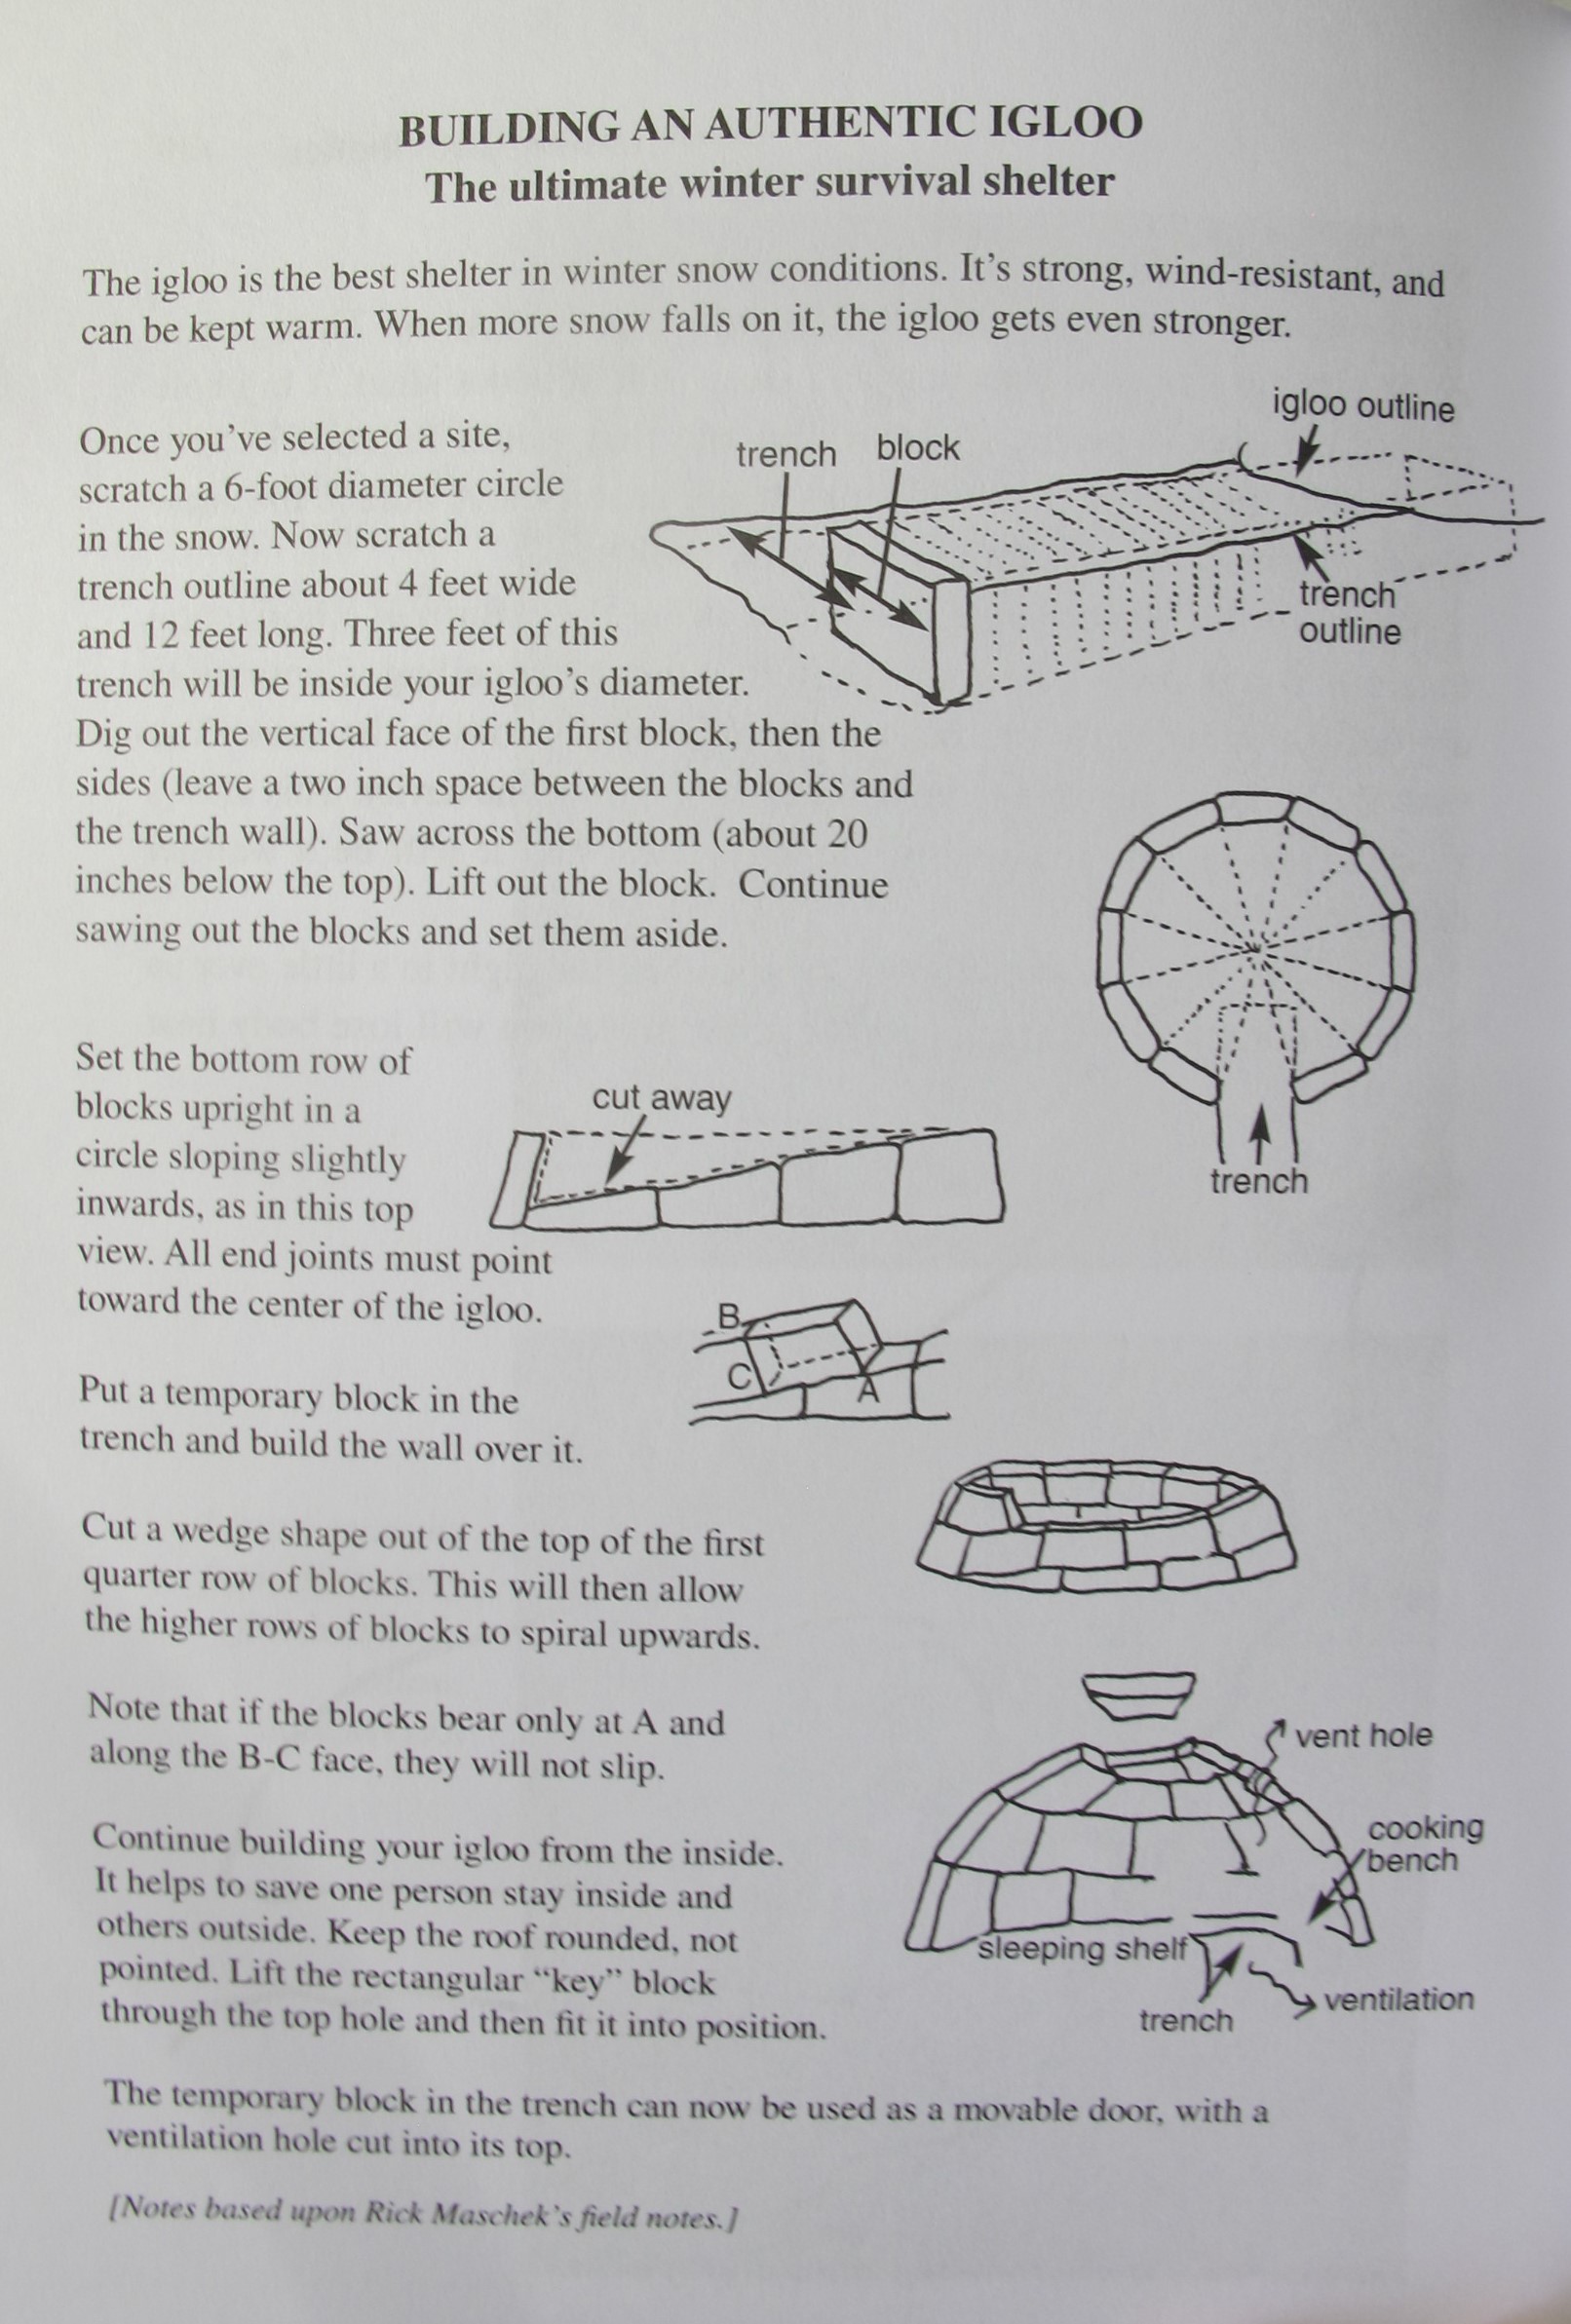
Steps to making an igloo, from Nyerges’ book, “How to Survive Anywhere.” Notes based on Rick Maschek’s field notes, which were in turn based upon the Boy Scout Manual.
As each block is placed around the circle that had been drawn in the snow, the workers (us) trim each block so that the outer edge of the block just placed points directly to the middle of the circle. You could put a post or stick in the middle as a reference. That is, each block is actually trapezoid in shape in order to fit snug and form a circle.
Once the first layer is in place, a diagonal cut is made across three blocks, and their top portions removed. This then forms a diagonal ramp, which then enables the subsequent blocks to be stacked spirally all the way to top. That’s right – an igloo isn’t made of layer after layer of blocks, but rather of one spiral to the top.
As each block is put into place, it should be chinked into place with snow by workers both inside and outside. Thus, it is considerably more difficult to build an igloo by oneself.
To make the dome, snow blocks are stacked at steeper and steeper angles. “Beginners usually think that the blocks will fall,” says Maschek, “but snow has an incredible cohesion quality which enables you to form the igloo’s rounded dome.”
A trench is then dug into the igloo, so that you walk or crawl up into the igloo. Once the trench is covered, the igloo is complete.
For the first day in the igloo, Maschek says that holes are not needed since snow is mostly air. “And the holes are not necessary for ventilation but to allow excess heat to vent, and prevent snow melting.” Holes should be poked on the sides of the igloo dome, but not directly on top. If it gets too warm inside the igloo, such as 80 degrees f. and hotter, the igloo will melt.
SNOW CAVE
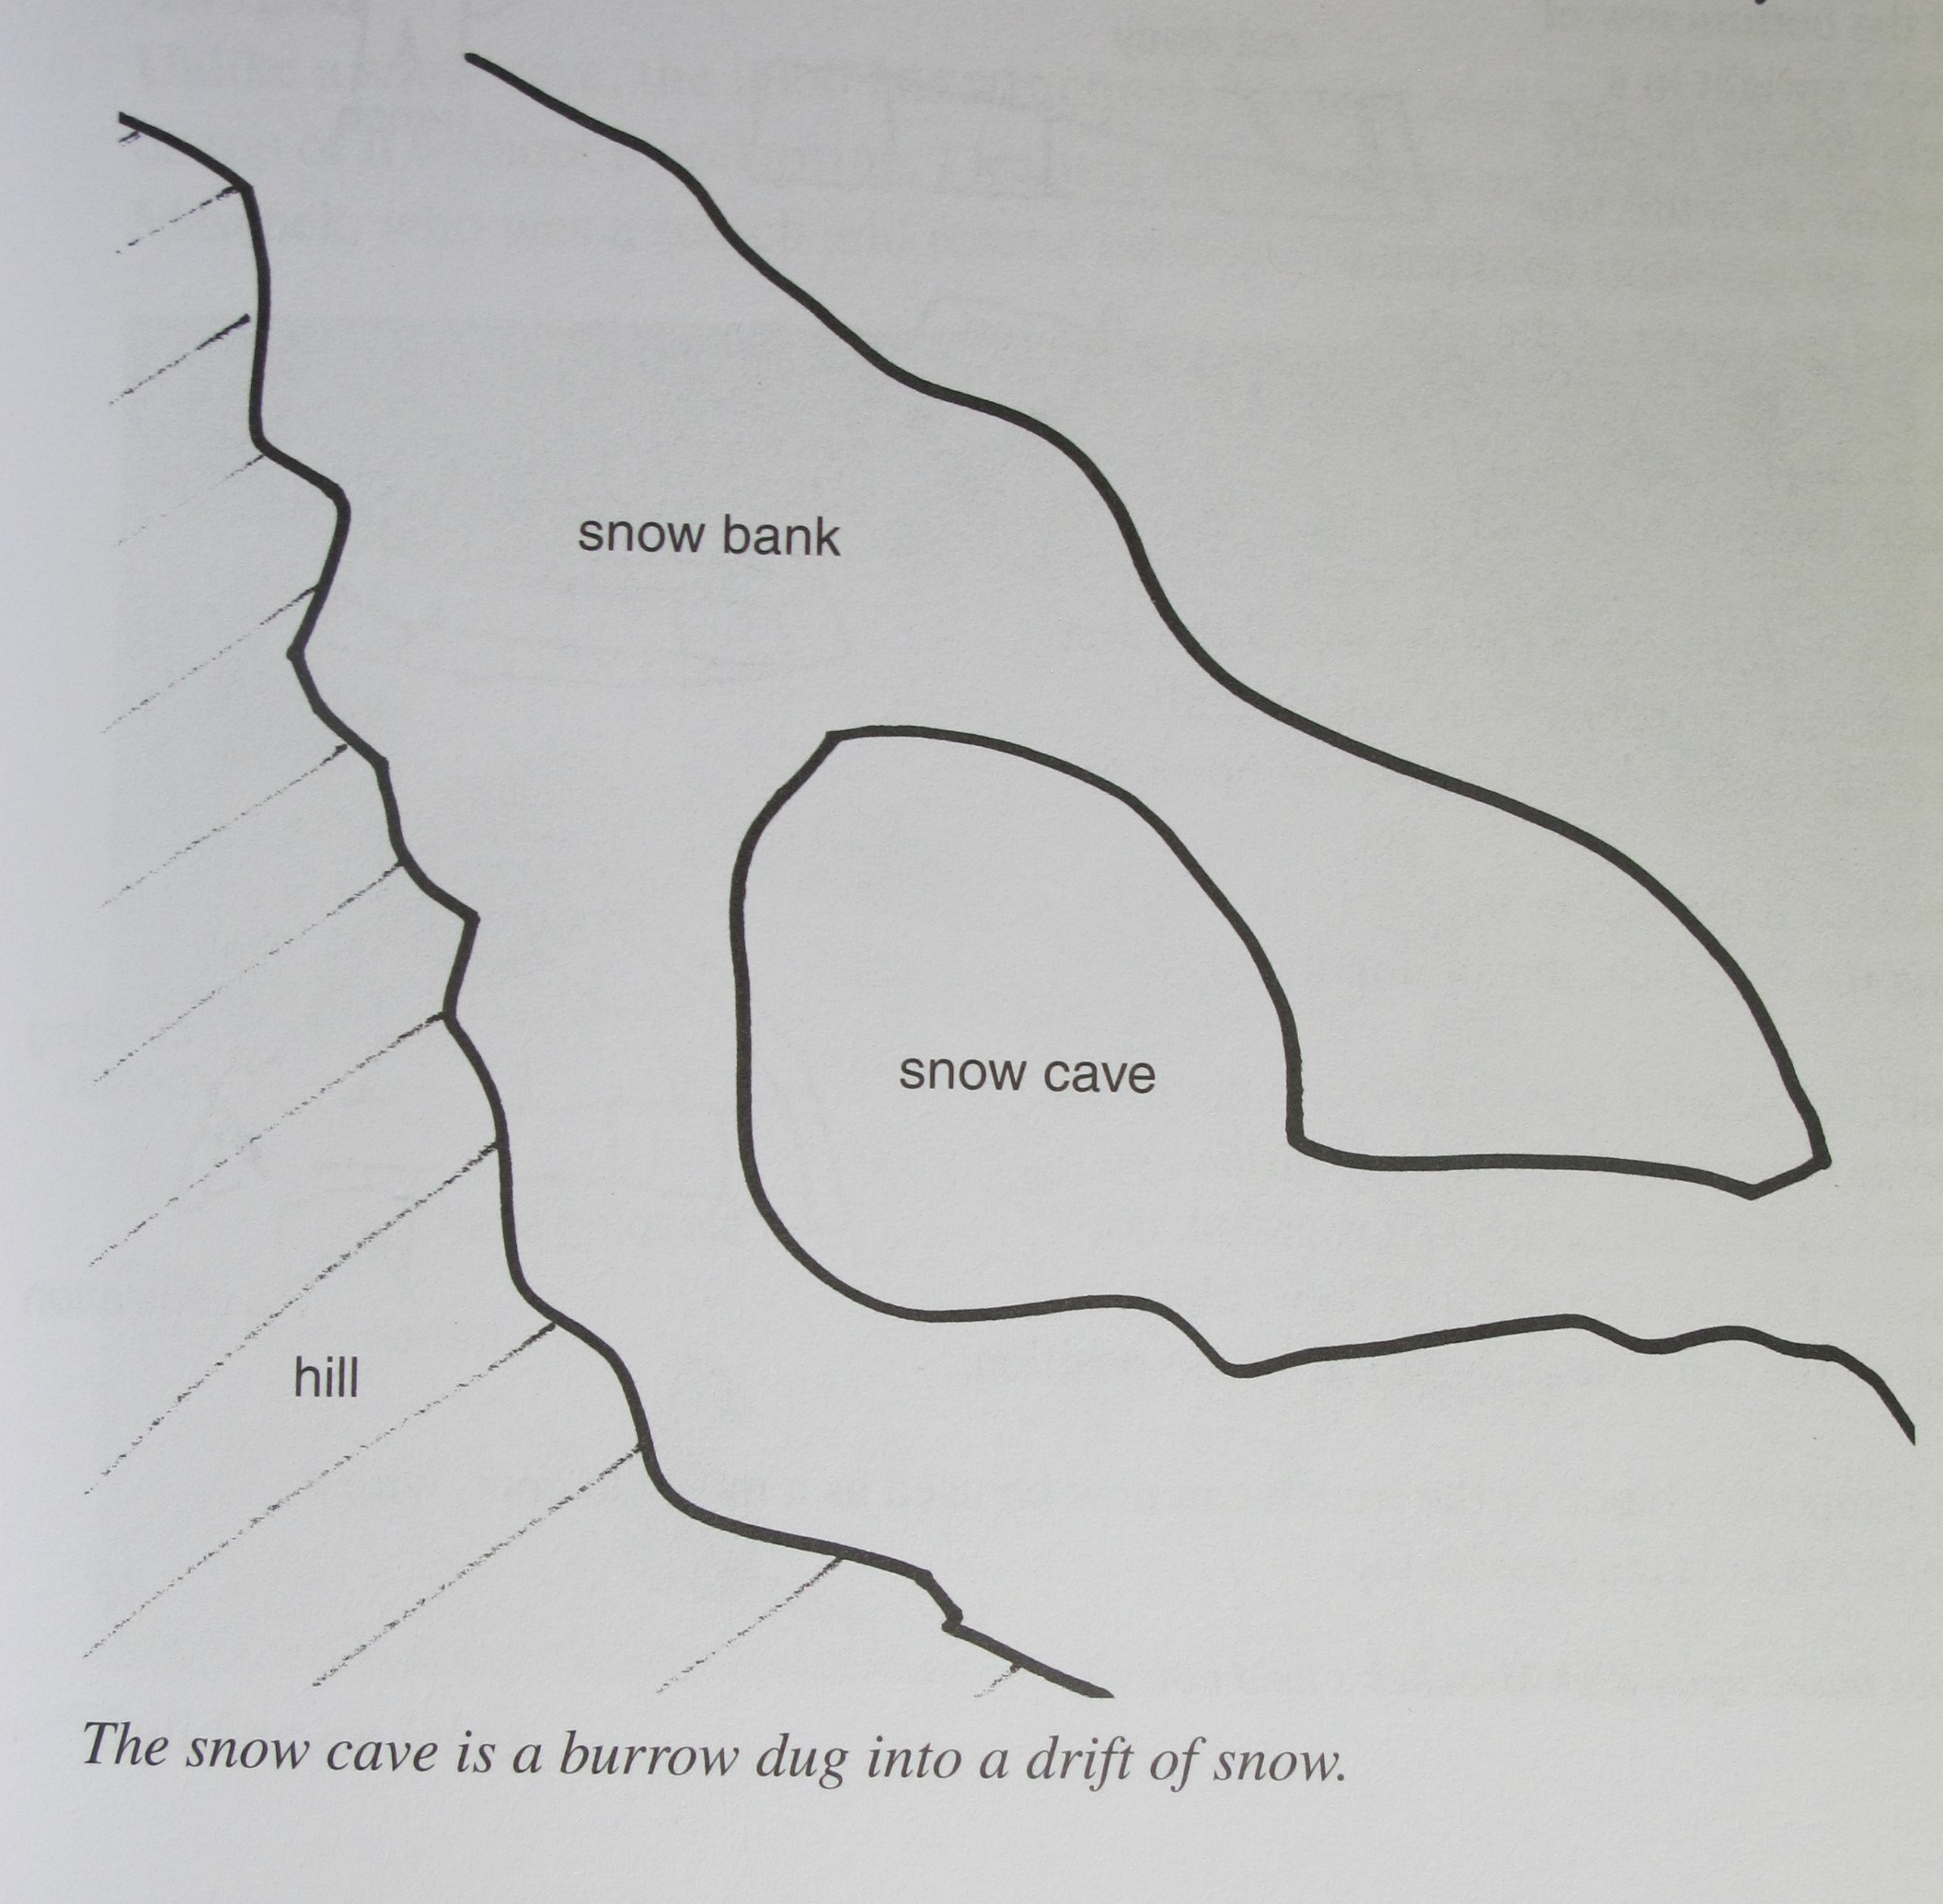
A cross section of a simple snow cave, taken from Nyerges’ book, “How to Survive Anywhere.”
Remember, in an emergency, you could simply burrow a cave into a thick drift of snow. This will insulate you as well as an igloo. A snow cave should always be dug into the side of a hill, so that you tunnel in horizontally, and then burrow out the cave up from the tunnel. This allows your body heat to rise and keep the cave warm. A simple hole burrowed down into the ground is not ideal because cold settles, and such a burrow would be like sleeping in a refrigerator.
The main advantages of an igloo over a simple cave is that you can build a much larger and stronger structure even if there is only a few feet of snow on the ground. But you can’t build an adequate snow cave if there are only two or three feet of snow on the ground.
Whether igloo or snow cave, you’ll need to insulate the floor with something so your body is not directly touching the snow. A blanket, sheet of plastic, or a thick layer of pine needles, would do.